background image

8

9

BATTERY CHARGING

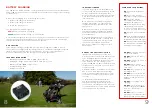
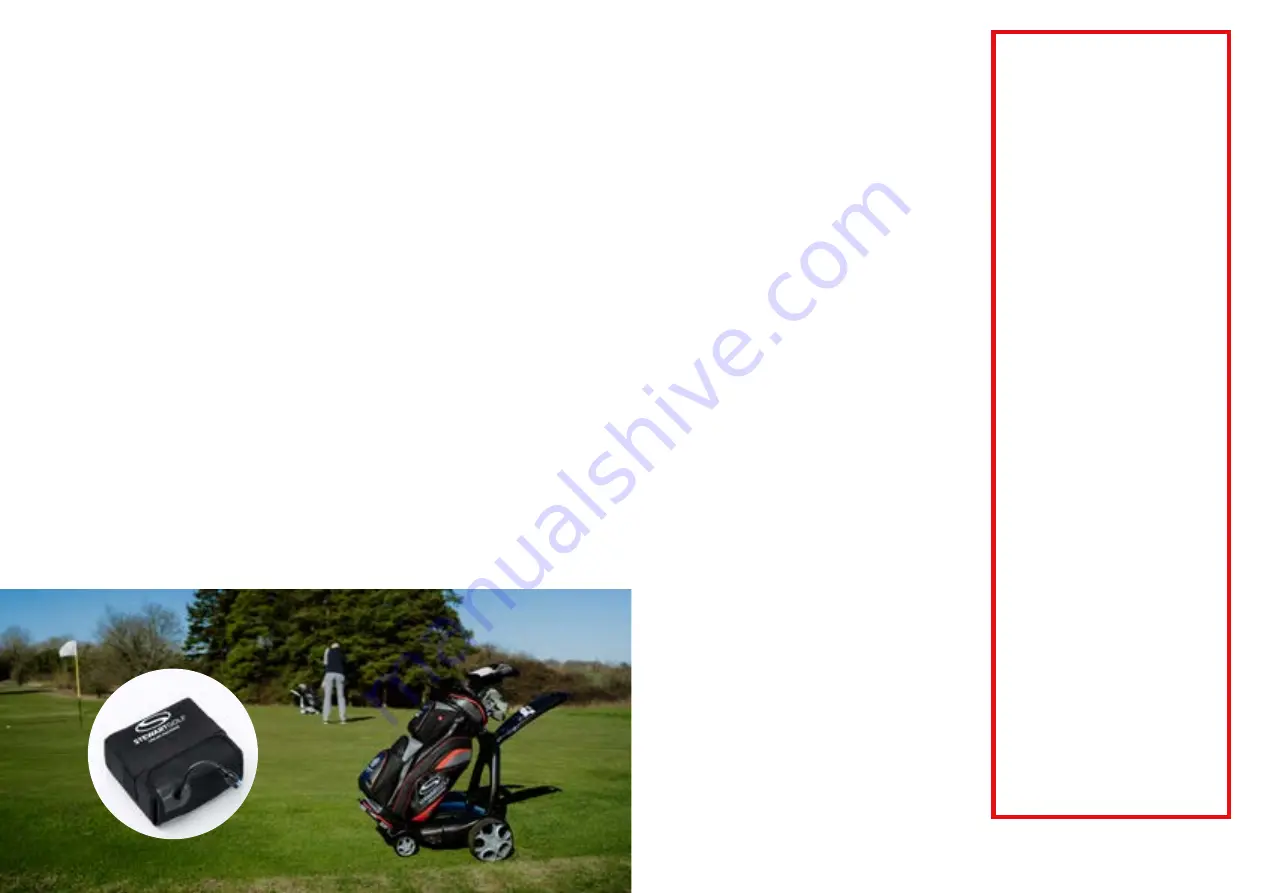
The X10 has two lithium batteries: one large battery that powers the trolley (available as 

22Ah or 30Ah), and one small one that powers the handset. These pages cover the large 

trolley battery. 

Always start a charging cycle by following these steps:

1.  Connect the charger to the battery.
2.  Connect the charger to the wall.
3.  Switch the wall socket on.

The charger has an indicator light on it:

RED

Indicates the battery is charging. 

GREEN

:

 Indicates that the charge cycle has finished.

Note that the charger also shows green if connected to the wall but not the battery. The 

charge cycle time varies depending on how much power has been used: the average 

charge should take 3-4 hours, but can be up to 10 hours.  

BEST PRACTICE 

If the battery is being used regularly (once a week for example), it is OK to leave it 

connected to the charger, with the charger turned on. The Battery Management System 

(BMS) within the battery will prevent any damage. However it is good practice to 

disconnect the battery from the charger once the green light shows. 

TECHNICAL INFORMATION

•  Operating temperature: -10°C to 50°C (14°F to 122°F)
•  Charging & storage temperature: 15°C to 25°C (59°F to 77°F)
•  Battery Lifespan: >1000 charge cycles
•  Nominal Voltage: 12.8V
•  Charge current: 2~5A

BATTERY LIFE & BATTERY LIFESPAN

Battery life” is the amount of time your 

machine will run for before the battery needs 

to be recharged. “

Battery lifespan” is the 

amount of time a battery lasts until it needs 

to be replaced. The mix of things you do 

with your X10 Remote affects battery life and 

lifespan but no matter how you use it, there 

are ways to help.

A battery’s lifespan is related to its “chemical 

age”, which is more than just the passage 

of time. It includes different factors, such as 

the number of charge cycles and how it was 

cared for. 

To help maximise battery performance 

and help extend battery lifespan, avoid 

charging or leaving the battery in very hot 

environments (including direct sun exposure) 

for extended periods of time. Please read and 

follow the advice in this manual. 

LONG TERM STORAGE

If you are not going to use the X10 Remote 

for more than one month, the battery should 

be fully charged after its last game then 

disconnected from the charger and stored in 

a dry environment between 15°C and 25°C 

(59°F and 77°F). 

Once a month you should put the battery 

through a full charge cycle. Before using 

it again, the battery should be given a full 

charge cycle. 

Batteries are a complex technology and a 

number of variables contribute to battery 

performance and thus the performance of 

your X10 Remote. 

All rechargeable batteries are consumables 

and have a limited lifespan: eventually their 

capacity and performance decline so that 

they need to be replaced. As batteries 

age, it can contribute to changes in their 

performance.  

CARING FOR YOUR BATTERY

•  DO 

follow these instructions 

exactly. 

•  DO


only use the charger 

supplied to charge the battery.

•  DO


charge the battery 

immediately after each use, 

certainly within 48 hours.

•  DO


ensure the battery is fully 

charged before each round 

to ensure you have sufficient 

power to complete your round.

•  DO


charge in a well ventilated 

area.

•  DO


store & charge the battery 

in a dry environment between 

15°C and 25°C (59°F and 77°F). 

•  DO

 fully disconnect and unplug 

the charger from the mains and 

battery between charges. 

•  DO NOT


drop, throw, puncture 

or crush the battery.

•  DO NOT


immerse in water or 

any liquid.

•  DO NOT


use water or a hose to 

clean the battery. 

•  DO NOT


clean with any 

abrasives or solvents; a damp 

cloth is fine.

•  DO NOT


leave the battery in a 

discharged state.

•  DO NOT


open or disassemble 

the battery or charger. This is 

dangerous and will void the 

warranty.

•  DO NOT


cover during use or 

charging.

•  DO NOT


expose the battery 

extreme temperatures (

never


store in a car in winter or 

summer.)

•  DO NOT 

solder or connect 

anything to the terminals other 

than as guided in this manual.

8

9

Содержание X Series

Страница 1: ...1 OWNER S MANUAL ...

Страница 2: ...hannel youtube com c stewartgolf they ll help you get the most from your X10 Remote CONTENTS Important Information Welcome X Series Anatomy Setting Up Putting Away Battery Charging Handset Guide Handset Charging Care Manual Operation Remote Control Follow Other Features FAQ Warranty Information Trouble Shooting Guide WELCOME IMPORTANT INFORMATION This machine is designed solely for the transportat...

Страница 3: ...rd Holder 3 Golf Ball Tee Holder 4 Top Bungee 5 Bag Cushion 6 Main Support 7 Front Cover 8 Bottom Bungee 9 Front Lifting Point 10 Front Cover S Clips 11 Handset Cradle 12 Accessory Point 13 Bluetooth Light 14 On Off Button 15 Main Support Release Buttons 16 Rear Stabiliser 17 Rear Cover 18 Front Wheels 19 Rear Wheels 20 Handle Realise Clip 4 UNDER THE COVER Under the front cover you will find the ...

Страница 4: ... BAG 1 Stand the base of your golf bag on the front chassis 2 Ensure the bag cradle is fully lowered then lean the golf bag back until it rests on the silicone bag cushion 3 Pull the upper bungee around the golf bag evenly and fix 4 Pull the lower bag strap over the bottom of the bag using the handle Note The X10 Remote has been optimised for use with a cart or tour style bag weighing 14kg 31lbs P...

Страница 5: ...e and help extend battery lifespan avoid charging or leaving the battery in very hot environments including direct sun exposure for extended periods of time Please read and follow the advice in this manual LONG TERM STORAGE If you are not going to use the X10 Remote for more than one month the battery should be fully charged after its last game then disconnected from the charger and stored in a dr...

Страница 6: ...itch on power if applicable 6 The indicator light on the handset will show RED while charging and GREEN when fully charged 7 Once the indicator light is GREEN disconnect the power cable from the handset 8 Return the black plug to the charging port on the side of the handset then refit the protective silicone skin HANDSET CARE Using the handset skin and charging port plug means that the handset wil...

Страница 7: ...ad or negotiating a tight path you should steer manually from the handle You can control the speed of the machine using the speed up slow down buttons or program the cruise control speeds to your walking pace see P16 BEST PRACTICE When in tight areas you should physically keep control of the X10 Remote by steering from the handle The handset can either be clipped to the cradle which can be fitted ...

Страница 8: ...ndset in your hand and position the machine approximately 10m in front of you and on the line of your ball Make small adjustments to direction and speed as you see fit Do not place the handset in your pocket When you get to your ball park the machine to the right of your ball or to the left if you are left handed Place the handset on the cradle when taking a shot If you are going to walk any dista...

Страница 9: ...el lift from the top of the main support How many holes will the battery last for We expect any genuine Stewart Golf battery to last 18 holes on a normal course with a normal weight bag and in normal conditions However a hole of golf can be anywhere between 100 and 600 yards long so is not a reliable unit of measurement Terrain ground condition bag weight and a number of other factors can make a d...

Страница 10: ... year warranty against faulty workmanship and materials Loss of battery performance owing to external damage howsoever caused misuse and or abuse incorrect charging or other failures not attributable to a manufacturing defect are specifically excluded from this warranty The handset and trolley batteries must be charged only with the equipment supplied by Stewart Golf and the instructions must be f...

Страница 11: ...20 ...

Отзывы:

Похожие инструкции для X Series