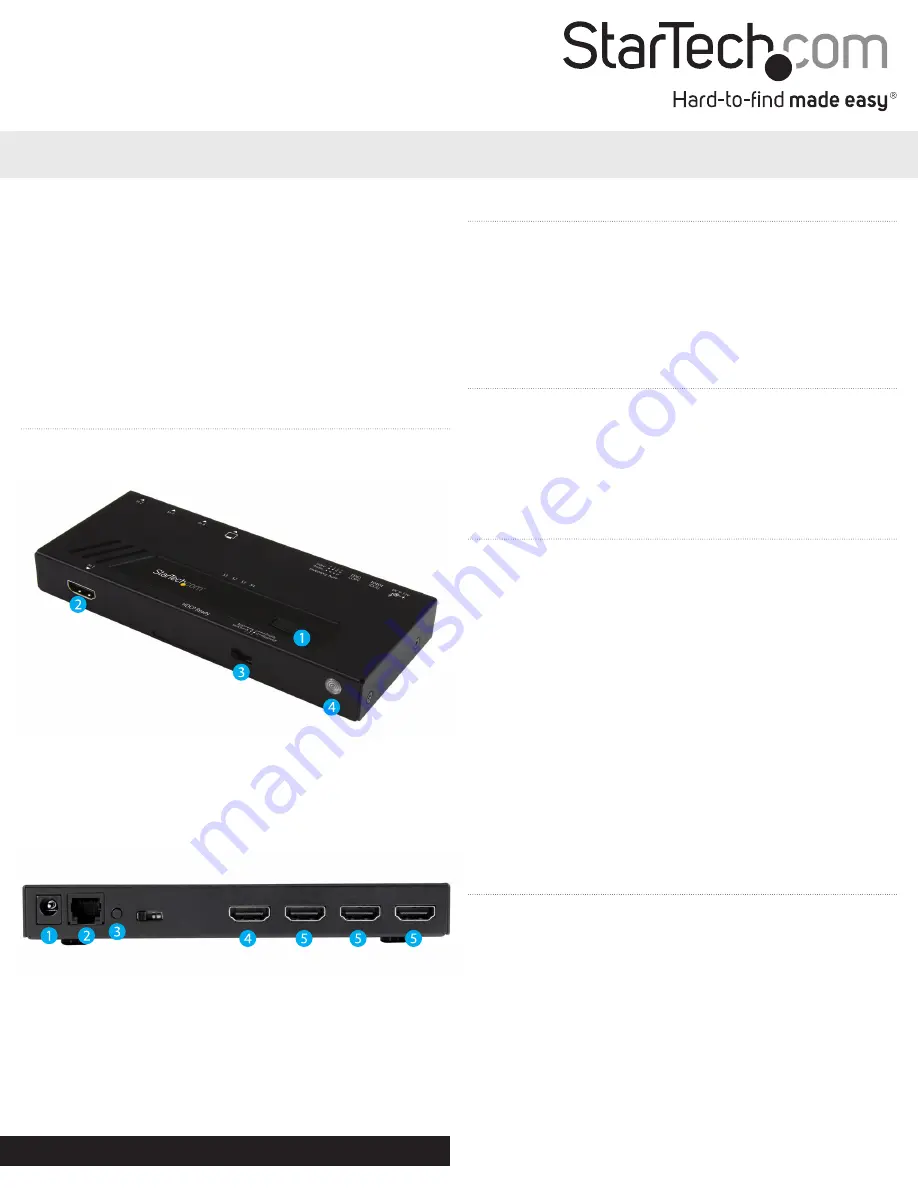
1. Input selection button
2. HDMI input port (in1)
3. Mode selection switch
4. IR sensor
Quick Install Guide
DE:
Bedienungsanleitung - de.startech.com
FR:
Guide de l'utilisateur - fr.startech.com
ES:
Guía del usuario - es.startech.com
IT:
Guida per l'uso - it.startech.com
NL:
Gebruiksaanwijzing - nl.startech.com
PT:
Guia do usuário - pt.startech.com
Manual Revision: 07/15/2015
For the latest information, technical specifications, and support for
this product, please visit www.startech.com/<sku>.
Packaging contents
• 1 x 4-port HDMI switch
• 1 x remote control
• 1 x universal power adapter (NA/EU/UK/AU)
• 1 x RJ11 cable
• 1 x RJ11 to DB-9 serial adapter
• 1 x mounting kit
• 1 x quick start guide
System requirements
• 4 x HDMI enabled Video Source Device w/ HDMI cable
(i.e. Blu-ray player, computer, etc.)
• 1 x HDMI enabled Display Device w/ cable (i.e. Television,
projector, etc.)
Operating system requirements are subject to change. For the latest
requirements, please visit www.startech.com/VS421HD4KA.
VS421HD4KA
4-Port HDMI® Automatic Switch – 4K
*actual product may vary from photos
Installation
Note: Ensure your HDMI enabled video source devices, and the HDMI
enabled display are powered off before you begin installation.
1. Connect an HDMI cable (not included) from each of the HDMI
output ports on your HDMI source devices, to the HDMI input
port on the HDMI switch.
Notes:
Each port is numbered, please take note of which number
is assigned to each HDMI source device.
2. Connect an HDMI cable (not included) from the output port on
the HDMI Switch to your HDMI display device.
3. Power on your HDMI display, followed by each of your HDMI
source devices.
4. Connect the included power adapter from an available power
source to the power adapter port on the HDMI switch.
5. (Optional for serial control) Connect the included RJ11 cable to
the RJ11 to DB-9 serial adapter. Then connect the D9 connector to
a 9-pin serial port on your computer system.
6. Your HDMI switch is now ready for operation.
Operation
Automatic operation
The HDMI switch features automatic operation that allows the switch
to automatically select the most recently activated or connected
HDMI source device.
Simply connect a new device or turn on an already connected device
to automatically switch video sources.
Priority operation
The HDMI switch features priority operation which will prioritize
ports 1, 2, 3 and 4 respectfully. When you turn on a higher prioritized
video source device (i.e port-1 ), that video source will automatically
be selected. Turning off the device will automatically switch back to
the lower prioritized video source (i.e: port-4).
Product overview
Front View
Rear View
1. Power adapter port
2. RJ-11 serial jack
3. EDID copy button
4. HDMI output port
5. HDMI input ports (in2, in3, in4)


