Instruction Manual
2
WARNING!
Hard drives and storage docks require careful handling, especially when
being transported. If you are not careful with your hard disk, lost data may result.
Always handle your hard drive and storage device with caution. Be sure that you
are properly grounded by wearing an anti-static strap when handling computer
components or discharge yourself of any static electricity build-up by touching a large
grounded metal surface (such as the computer case) for several seconds.
Hard Drive Installation
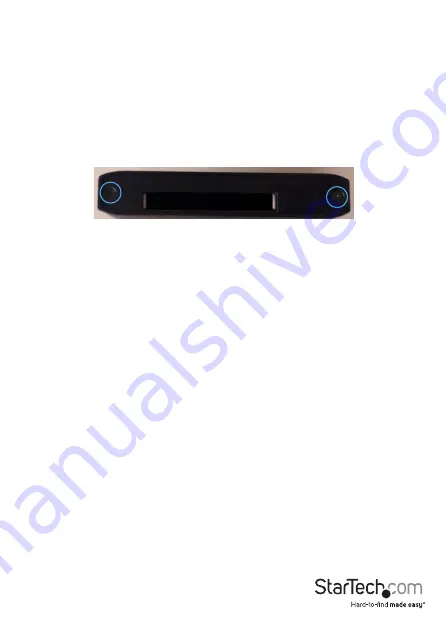
1. With the USB 3.0 to USM adapter removed from the S2510U33USM USM Enclosure,
remove the two screws on either side of the USM port, to remove the SATA plate.
2. Slide the inner tray forwards out of the housing.
3. To install the hard drive start by placing one side into the tray then lower the other
size into place until the drive snaps into place.
4. Install the tray back into the housing and replace the back plate ensuring that the
plate is aligned to the SATA connector.
5. Fix the two screws on the SATA plate back into place.
Interfacing with S2510U33RUSM 5.25 in. Installation Bay
Mount Drive
With the USB 3.0 to USM adapter removed from the S2510U33USM USM Enclosure,
gently slide the USM Enclosure Drive into the slot provided by the 5.25 in. USM drive
tray (S2510U33RUSM), until you feel full resistance.
Remove Drive
Press the drive eject button on the 5.25 in. USM drive tray (S2510U33RUSM). The USM
Enclosure will slide away from the installation bay slightly. Grasp the Enclosure with
your fingers and slide the drive the rest of the way out.
NOTE:
It is important to eject or unmount the hard drive from your computer system
before physically removing the drive. See How to Use - Disconnecting the Hard Drive
section for instructions.


