background image

40660-1608

1

16

Instructions

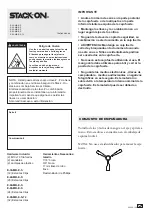
WARNING

Tip Over Hazard

A child or adult can tip the safe and be 

killed or seriously injured.
Failure to secure the safe as shown in 

these instructions can result in death or 

serious injury to children and adults.

Children should not play with or around 

the safe at any time.

IMPORTANT

Serial # 

Combination #

NOTE:  You can store your Key #, Serial # and 

Combination on Stack-On’s SECURE web site – 

stack-on.com under Customer Service.

Storing your Key # or Combination will provide instant 

access to this important information should you ever 

lose your keys or your combination.  

Only you will have access to this information.

Hardware Included:  

(2) M10x70 Lag screws

(2) washers  

(2) plastic anchors

Tools required:  

drill

7/16” drill bit

3/8” drill bit

17mm socket wrench

Phillips screwdriver.

®

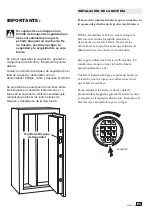
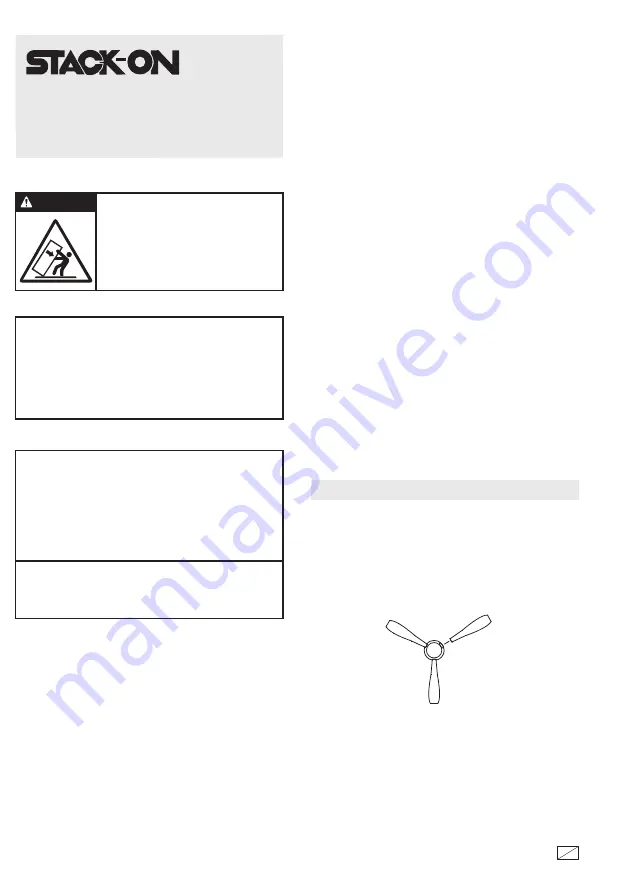
Screw the 3 handle spokes into the hub and hand 

tighten.  These spokes are located in the front foam 

packaging.  

NOTE:  Do not use this handle to move the safe.

HANDLE ASSEMBLY

•  

Record the serial number from the tag on the 

back of the safe or from the tag on the front 

bottom corner of the safe.

•  

Keep keys and combination in a secure place 

away from children.

•  

Do not store the back up key, your combination 

or this document in the safe.

•  

Do not move this safe using its handle.  The 

handle should only be used for opening and 

closing the door of the safe.

•  

Do not store electronic media, computer disks, 

audio-visual media or photographic negatives in 

this safe.  This material will not survive the rated 

internal temperature of the safe.  This material 

may be damaged or destroyed.

•  

Warning: Keep your safe closed and locked at 

all times when not in use.  Children could 

accidentally be locked inside the safe.

E-30-MB-E-S

E-40-MB-E-S

E-69-MB-E-S

E-90-MB-E-S

E-90-MB-E-S-72

E-30-MB-E-S

(12) Shelf Clips

E-40-MB-E-S

(20) Shelf Clips

E-69-MB-E-S

E-90-MB-E-S

(24) Shelf Clips

E-90-MB-E-S-72

(32) Shelf Clips

Содержание E-30-MB-E-S

Страница 1: ...and hand tighten These spokes are located in the front foam packaging NOTE Do not use this handle to move the safe HANDLE ASSEMBLY Record the serial number from the tag on the back of the safe or from...

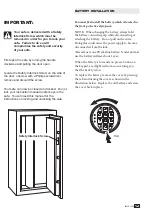
Страница 2: ...the battery remove the cover by pressing the tab and turning the cover as shown in the illustration below Replace the old battery and screw the cover back in place IMPORTANT Your safe is delivered wi...

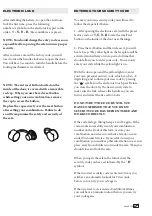
Страница 3: ...d 3 additional times you will have a 5 minute lockout before you can try your code again With the door open and the yellow light on enter your own personal security code which can be 3 8 digits long a...

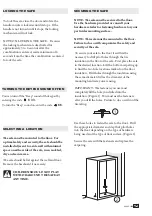
Страница 4: ...ns marked on the floor insulation Drill holes through the insulation using the same diameter drill as the diameter of the mounting hardware you are using IMPORTANT The fasteners you use must completel...

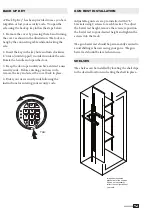
Страница 5: ...y and screw the cover back in place 4 Enter your new security code following the instructions for entering your security code Image demonstrates placement of the shelves It does not necessarily reflec...

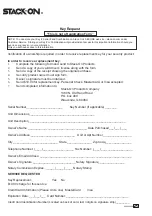
Страница 6: ...umber and combination in a secure place separate from your safe To order a replacement key set follow the instructions on the attached form DOOR ORGANIZER ACCESSORIES Your door organizer provides a va...

Страница 7: ...___ ___ ____ Owner s Address ___________________________ Unit or Apt Number _________________ City ___________________________ State _______________ Zip Code________________ Telephone Number ____ ____...

Страница 8: ...NOT COVER ANY PRODUCT OR ANY PART OF ANY PRODUCT WHICH HAS BEEN SUBJECT TO EXCESSIVE USE ACCIDENT NEGLIGENCE IMPROPER INSTALLATION INCORRECT MAINTENANCE ALTERATION OR REPAIR BY ANYONE OTHER THAN STAC...

Страница 9: ...ano Estos radios se encuentran en el embalaje de espuma frontal NOTA No use este identificador para mover la caja fuerte CONJUNTO DE EMPU ADURA Anote el n mero de serie en la parte posterior de la caj...

Страница 10: ...ando la leng eta y girando la cubierta como se muestra en la siguiente ilustraci n Reemplace la bater a vieja y atornille la tapa en su lugar IMPORTANTE Su caja fuerte se entrega con un tornillo de bl...

Страница 11: ...un cierre patronal 5 minutos antes de poder probar su c digo de nuevo Con la puerta abierta y la luz amarilla en introduzca su propio c digo de seguridad personal que puede ser de 3 8 d gitos y confir...

Страница 12: ...cios marcados en el aislamiento del piso Perforaciones efectuadas a trav s del aislamiento utilizando el mismo ejercicio di metro que el di metro de las piezas de montaje que est utilizando IMPORTANTE...

Страница 13: ...vo c digo retire la llave y el tornillo de la tapa en su lugar 4 Ingrese su nuevo c digo de seguridad siguiendo las instrucciones para introducir su c digo de seguridad 40660 1608 13 16 Leng eta Image...

Страница 14: ...en un lugar seguro separado de su caja fuerte Para pedir un juego de llaves de repuesto siga las instrucciones en el formulario adjunto PUERTA ORGANIZADOR ACCESORIOS Su organizador puerta ofrece una...

Страница 15: ...ompra___ ___ ____ Direcci n propietario _____________________________ No Interior _________________ Ciudad ________________________ Estado _______________ C P ________________ No Tel fono ____ _______...

Страница 16: ...de compra del producto ESTA GARANT A NO CUBRE NING N PRODUCTO O CUALQUIER PARTE DE CUALQUIER PRODUCTO QUE HA SIDO OBJETO PARA USO EXCESIVO ACCIDENTE NEGLIGENCIA INSTALACI N INADECUADA UN MANTENIMIENT...

Отзывы: