


1
User Guide
v3.1 - December 2012
Congratulations with the purchase of your StreamBuddy, your new networked Media Hub
and LiveTV player, unleashing a massive amount of Internet content to your home.
We hope you will take as much satisfaction as the pleasure we had to develop this product.
These notes will guide you through various functions and features this little media devil
has to offer.
1.
Installation
NETWORK CONNECTION
Preferred way
of connecting the StreamBuddy to you network
is via
LAN cable
as this provides the most stable link:
Plug the StreamBuddy in one available LAN port of your
HomeVPNBox
(server Los Angeles 3 or Dallas G1)
.
Alternatively
Wi-Fi
, if the HomeVPNBox is at proximity (same room, or adjacent):
1.
Enter the
SETUP
menu
2.
Select the
Network
tab
3.
Select Wireless and scan for Wi-Fi Access Points
4.
Select SecureNetworX and enter “HomeVPNBox” as password (respect capitals)
VIDEO CONNECTORS
Use the HDMI cable provided to connect to your TV set.
Alternatively, if your TV does not have HDMI, RCA (Yellow/White/Red) is
available.
AUDIO CONNECTORS
7.1 CH audio is carried over HDMI.
An optical out is available if you want to connect the StreamBuddy to your
HomeTheather amplifier.
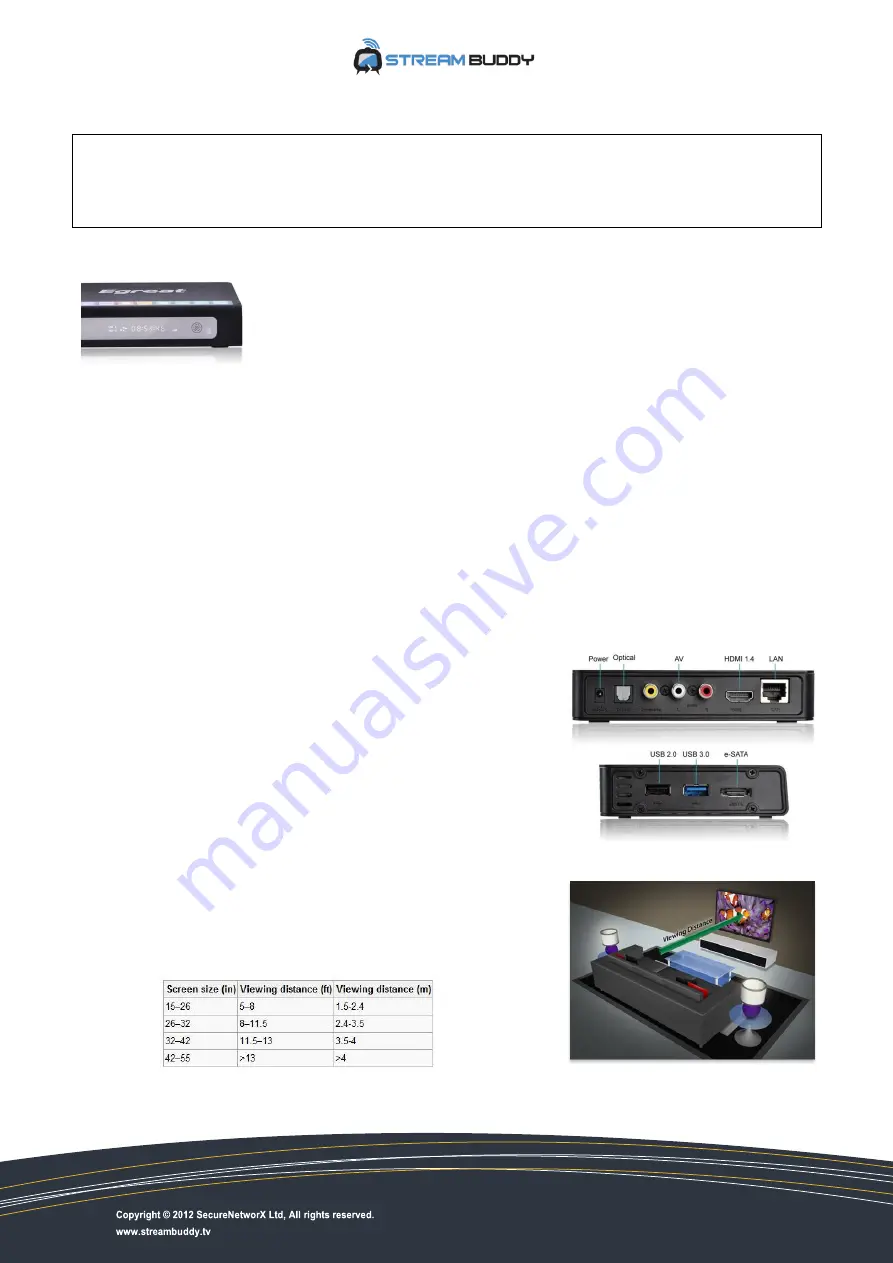
OPTIMAL VIEWING EXPERIENCE
32-40 inch TV sets are providing the best viewing experience for LiveTV
channels which are of Internet quality video (Standard Definition or Medium
Quality).
Respect the seating distance. The bigger the display, the further back you will
have to sit in order for SD television to look good.


