SY-7IZB
Motherboard
****************************************************
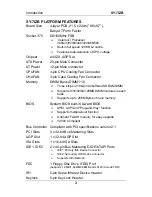
Socket 370 for Intel Celeron
TM
Processor
Intel 440 ZX AGP/PCI Motherboard
66 &100MHz Front Side Bus supported
Baby AT Form Factor
****************************************************
User's Guide
&
Technical Reference