Hundreds of Thousands of Lathes Sold With a Tradition of
Q
uality Since 1906!
OWNER'S MANUAL
Copyright © July, 2010
For Equipment Mfg. Since 10/09
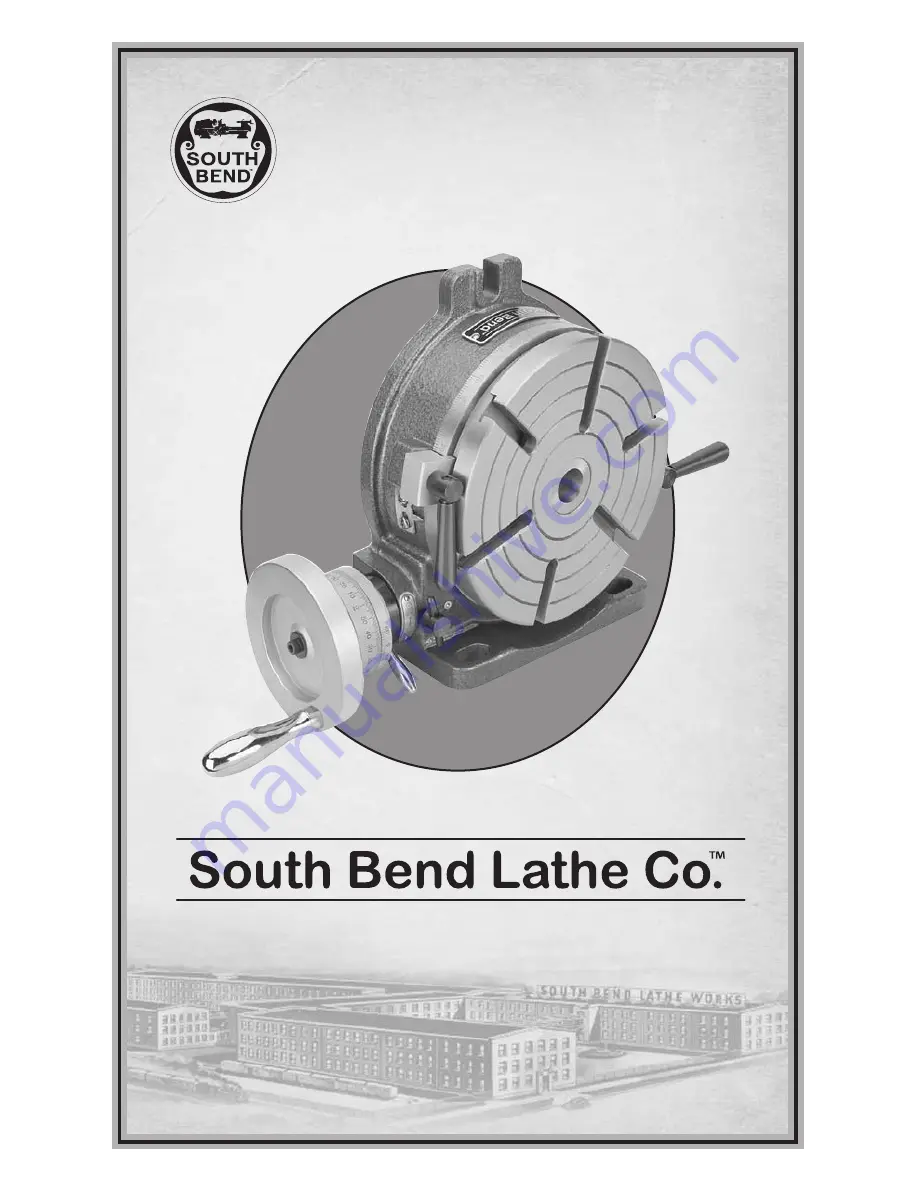
MODEL SB1363 4"
MODEL SB1364 6"
MODEL SB1367 8"
MODEL SB1368 10"
ROTARY TABLE
Страница 1: ...ds of Thousands of Lathes Sold With a Tradition of Quality Since 1906 OWNER S MANUAL Copyright July 2010 For Equipment Mfg Since 10 09 MODEL SB1363 4 MODEL SB1364 6 MODEL SB1367 8 MODEL SB1368 10 ROTARY TABLE ...
Страница 2: ...appen or the design changes after the documentation process so the manual may not exactly match the item you received If a difference between the manual and what you received leaves you in doubt contact our customer service for clarification We highly value customer feedback on our manuals If you have a moment please share your experience using this manual What did you like about it Is there anyth...
Страница 3: ...n 8 Aligning to Spindle Centerline 8 Horizontal Installation Alignment 9 Vertical Installation Alignment 10 OPERATION Controls Components 11 Aligning Handwheel Vernier Scales 12 Using Vernier Scale 12 Operational Examples 13 Five Evenly Space Holes 13 Two Circular Slots 14 MAINTENANCE Maintenance Schedule 16 Cleaning Protecting 16 Surface Care 16 Lubrication 17 Ball Oilers 17 Worm Gear Shaft 17 SE...
Страница 4: ... 0008 0 0008 0 0008 0 0008 Overall Height Horizontal 3 05 3 30 4 17 4 50 Height to Center of Spindle Bore 3 20 3 94 5 12 6 38 Morse Taper MT 1 MT 2 MT 3 MT 3 T Slot Width 6 Each 0 393 0 433 0 433 0 512 Table Diameter 3 94 5 90 8 03 10 00 Shipping Weight 16 lbs 28 lbs 62 lbs 98 lbs Figure 1 Identification Model SB1367 shown Rotary Handwheel Handwheel Scale Backlash Ring Lever Backlash Adjustment Lo...
Страница 5: ...WILL occur Moderate injury or fire MAY occur Machinery or property damage may occur Death or catastrophic harm COULD occur Basic Machine Safety Owner s Manual All machinery and machining equipment presents serious injury hazards to untrained users To reduce the risk of injury anyone who uses THIS item MUST read and understand this entire manual before starting Properly Functioning Equipment Poorly...
Страница 6: ...e when the machine is started Reduce this risk by developing the habit of always removing these tools immediately after using them Secure Workpiece Tooling Loose workpieces cutting tools or rotating spindles can become dangerous projectiles if not secured or if they hit another object during operation Reduce the risk of this hazard by verifying that all fastening devices are properly secured and i...
Страница 7: ...fic steps for each of these points will be covered in detail later in this section The typical preparation process is as follows 1 Unpack the tool and inventory the contents 2 Clean the tool and its components 3 Install the rotary table on the mill table horizontally or vertically 4 Align the rotary table with the mill spindle centerline Required for Setup The items listed below are required to su...
Страница 8: ...otive degreasers mineral spirits or WD 40 can be used to remove rust preventative Before using these products though test them on an inconspicuous area of a painted area to make sure they will not damage it Basic steps for removing rust preventative 1 Put on safety glasses and disposable gloves 2 Coat all surfaces that have rust preventative with a liberal amount of your cleaner or degreaser and l...
Страница 9: ...ounting slots Model SB1363 shown Mounting Slots Key Slots To mount the rotary table horizontally 1 DISCONNECT MILL FROM POWER 2 Position the rotary table horizontally on the mill table so that the mounting slots shown in Figure 3 are aligned with the mill table center T slot You MUST properly secure the rotary table to the mill table to prevent unexpected movement of the rotary table and workpiece...
Страница 10: ...handle is hanging over the edge of the mill table 3 Place the rotary table on the mill table so that you can use the clamping hardware to secure it in the next step 4 Place the machinist s square along the front of the mill table and the machined side of the rotary table foot square the rotary table to the mill table then fully tighten the clamping hardware 5 Perform the Vertical Installation Alig...
Страница 11: ...dicator 90 then repeat Step 4 6 Repeat Step 5 until the test indicator reads zero deviation in all four directions Tip Use a mirror to read the indicator when it is facing away from you To use an edge finder to align the rotary table 1 Mount an edge finder into the mill spindle then position it roughly in the center of the rotary table spindle bore and below the rotary table surface 2 Set the mill...
Страница 12: ...asteners tap the rotary table into the proper position then re tighten the mounting fasteners 4 Repeat Step 3 until the entire rotary table surface is correctly aligned with the mill spindle To center the rotary table with the mill spindle centerline 1 DISCONNECT MILL FROM POWER 2 Fully seat a lathe center into the rotary table spindle Note Any center runout will have to be determined and accounte...
Страница 13: ...tion When cutting circular slots a slight drag can be applied with the table locks to help reduce chatter caused by gear backlash F Spindle Bore Holds a center to support a workpiece for dividing work Also used in rotary table alignment with the mill spindle centerline G Backlash Adjustment Lock Secures the backlash adjustment ring in place H Backlash Adjustment Ring Lever Conveniently controls th...
Страница 14: ...e 10 Location of the rotation scale pointer Rotation Scale Pointer 3 Loosen the set screw on the handwheel see Figure 9 rotate the handwheel scale until the 0 mark aligns with the 0 mark on the vernier scale then re tighten the set screw Using Vernier Scale The vernier scale is used to measure table rotation by 10 ten arc seconds at a time Use your rotary table to follow along with the example bel...
Страница 15: ...e the marks on the right are used 4 Identify the mark on the handwheel scale that is immediately to the left of the vernier scale 20 mark then slowly rotate the handwheel clockwise until the this mark and the vernier scale 20 mark are aligned The table is now set at 16 32 20 Operational Examples Use your rotary table and mill to follow along with the operational examples below to better understand...
Страница 16: ... mark reverse the handwheel one full turn then try again This will eliminate any backlash error that occurs when reversing the handwheel direction 4 Lock the table in place and drill the hole 5 Repeat Steps 3 4 to produce the third hole at 144 the fourth hole at 216 and the fifth hole at 288 Figure 13 Layout for creating two circular slots 92º 0 25 1 125 Start Here Radius To make two circular slot...
Страница 17: ...e cutter to the starting point of the second slot Note Rotating the rotary table in only one direction throughout the operation will remove any error from backlash 6 Make a 0 083 deep hole then with the end mill continuing to cut turn the rotary table handwheel clockwise 23 full turns to begin the second 92 slot 7 Raise the end mill rotate the rotary table clockwise back to the 0 mark on the rotat...
Страница 18: ... the moving parts reducing the life and accuracy of the tool Instead use a stiff bristled brush to remove the chips and swarf then wipe down the machined surfaces with a clean shop rag before applying a thin coat of light machine oil to prevent corrosion Surface Care Nicks dings and scratches on the machined surfaces of the rotary table can have an adverse effect on accuracy and may damage the wor...
Страница 19: ...e two ball oilers Ball Oilers Important Use an oil can or gun that has a plastic or rubber tip Metal tips can damage the ball and spring inside the oilers Clean away debris and grime from around the ball oilers then depress the ball with the oil can tip to add oil until it is seen exiting between the parts Clean away any excess lubricant then rotate the table at least one full revolution to evenly...
Страница 20: ... 6 Remove the table from the housing as shown in Figure 17 7 Use the stiff bristled brush shop rags and mineral spirits to clean grime and debris from inside the housing cavity the worm shaft and the worm gear 8 When these parts are dry apply a medium coat of multi purpose gear grease to the teeth of the worm shaft and gear 9 Use a clean shop rag and mineral spirits to wipe clean the mating surfac...
Страница 21: ...e table can be freely rotated by hand and not the handwheel 3 Position the table in a vertical position so that both the front and the back are accessible 4 From the back of the rotary table loosen the spindle lock collar cap screw see Figure 16 on the previous page 5 Loosen the lock collar at least two full turns to remove any preload 6 Rotate the table by hand as you re tighten the lock collar W...
Страница 22: ...CLAMP BOLT HANDLE M6 1 X 10 23 PSB1363023 HANDWHEEL SCALE 7 PSB1363007 CLAMP 24 PSB1363024 HANDWHEEL 8 PSB1363008 MAIN CASTING 25 PSB1363025 HANDWEEL HANDLE 3 8 16 X 1 2 9 PSB1363009 THRUST NEEDLE BEARING 20 X 35 X 4 26 PWF06M FENDER WASHER 6MM 10 PSB1363010 LOCK COLLAR M20 1 28 PCAP26M CAP SCREW M6 1 X 12 11 PLUBE001 TAP IN BALL OILER 1 4 29 PSB1363029 BACKLASH DIRECTION LABEL 12 PSB1363012 BACKL...
Страница 23: ...ANDLE M6 1 X 10 23 PSB1364023 HANDWHEEL SCALE 7 PSB1363007 CLAMP 24 PSB1364024 HANDWHEEL 8 PSB1364008 MAIN CASTING 25 PSB1363025 HANDWEEL HANDLE 3 8 16 X 1 2 9 PSB1364009 THRUST NEEDLE BEARING 25 X 42 X 4 26 PWF06M FENDER WASHER 6MM 10 PSB1364010 LOCK COLLAR M24 1 5 28 PCAP26M CAP SCREW M6 1 X 12 11 PLUBE001 TAP IN BALL OILER 1 4 29 PSB1363029 BACKLASH DIRECTION LABEL 12 PSB1363012 BACKLASH ADJUST...
Страница 24: ...T HANDLE M6 1 X 13 23 PSB1367023 HANDWHEEL SCALE 7 PSB1367007 CLAMP 24 PSB1367024 HANDWHEEL 8 PSB1367008 MAIN CASTING 25 PSB1367025 HANDWEEL HANDLE 3 8 16 X 1 2 9 P32007 TAPER ROLLER BEARING 32007 26 PWF06M FENDER WASHER 6MM 10 PSB1367010 LOCK COLLAR M32 1 5 28 PCAP26M CAP SCREW M6 1 X 12 11 PLUBE001 TAP IN BALL OILER 1 4 29 PSB1367029 BACKLASH DIRECTION LABEL 12 PSB1367012 BACKLASH ADJUST LOCK 30...
Страница 25: ...PSB1367025 HANDWEEL HANDLE 3 8 16 X 1 2 7 PSB1367007 CLAMP 26 PWF06M FENDER WASHER 6MM 8 PSB1368008 MAIN CASTING 28 PCAP26M CAP SCREW M6 1 X 12 9 P32007 TAPER ROLLER BEARING 32007 29 PSB1367029 BACKLASH DIRECTION LABEL 10 PSB1367010 LOCK COLLAR M32 1 5 30 PK05M KEY 4 X 4 X 10 11 PLUBE001 TAP IN BALL OILER 1 4 31 PSB1367031 TAPER SLEEVE MT 3 12 PSB1367012 BACKLASH ADJUST LOCK 32 PCAP18M CAP SCREW M...
Страница 26: ......
Страница 27: ... this machine equipment complies with the provisions of any law act code regulation or standard of any domestic or foreign government industry or authority In no event shall South Bend s liability under this warranty exceed the original purchase price paid for this machine equipment Any legal actions brought against South Bend Lathe Company shall be tried in the State of Washington County of Whatc...
Страница 28: ...South Bend Lathe Co P O Box 2027 Bellingham WA 98227 PHONE 360 734 1540 Administrative Offices FAX 360 676 1075 International FAX 360 734 1639 USA only southbendlathe com Printed In Taiwan TS13041 ...