background image

www.soundskulptor.com

Document revision 1.3 – Last modification : 28/02/20

MP 566 Assembly guide

Safety warning

This kit use high voltages that are potentially lethal. Under no circumstance should someone undertake the realisation of 
this kit unless he has full knowledge about safely handling high voltage powered devices.

Please read the “DIY guide” before beginning.

Print or open the following documents :

MP566 Schematics

MP566 Components layout

MP566 Parts list

MP566 Test guide

Follow this guide from item number 1 till the end, in this order. The assembly order is based on components height, from 
low to high profile, in order to ease the soldering process : The component you are soldering is always taller than the 
previously assembled ones and it is pressing nicely against the work area foam.

Soldering

All the PCB holes are metallized. It means the connection between the top and bottom pads is already 
done. The parts must be soldered only from below (unless differently stated).

Use only small diameter solder, 0.5 or 0.7 mm, 1mm maximum. Use the minimum possible amount of 

solder. Bad joints are almost always caused by too much solder.

Warning

 : Some components on this board carry high voltages. It is compulsory to cut the component 

leads and pins totally flush with the PCB after soldering. A too long tail could create an electric arc with 
the side plate.
Here are two excellent introduction to soldering videos:

http://www.eevblog.com/2011/06/19/eevblog-180-soldering-tutorial-part-1-tools/
http://www.eevblog.com/2011/07/02/eevblog-183-soldering-tutorial-part-2/


MP 566 Assembly guide – PCB split

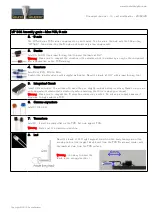
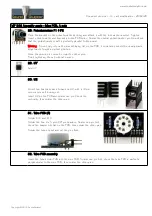
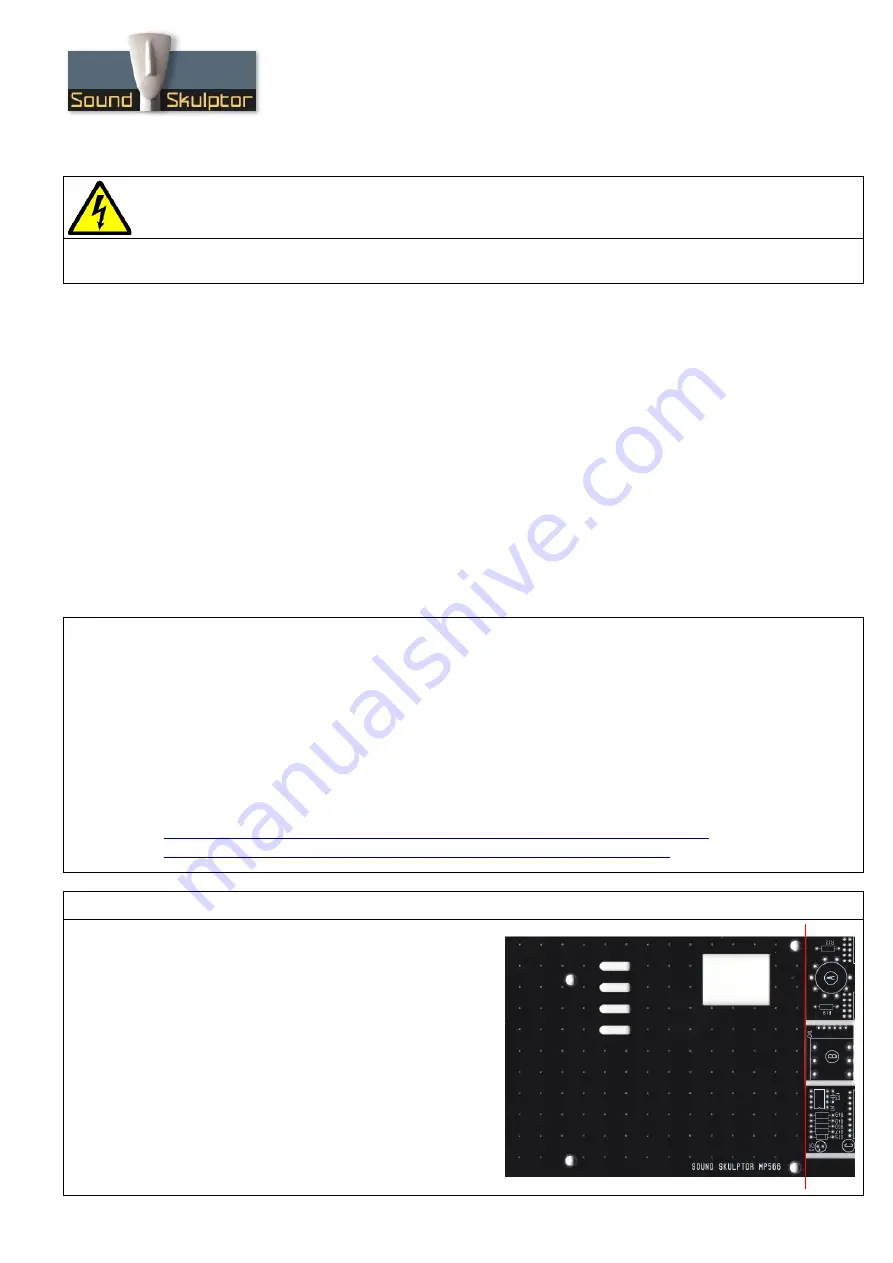
1. PCB split

Split the multiple PCB along the red line on the 

picture.

This will separate the tube PCB, the DI jack PCB, 
the power-up PCB and the protection cover.

Clean up the break line with very thin sand paper. 

Copyright ©2015 SoundSkulptor

Содержание MP 566

Страница 1: ...CB holes are metallized It means the connection between the top and bottom pads is already done The parts must be soldered only from below unless differently stated Use only small diameter solder 0 5 or 0 7 mm 1mm maximum Use the minimum possible amount of solder Bad joints are almost always caused by too much solder Warning Some components on this board carry high voltages It is compulsory to cut...

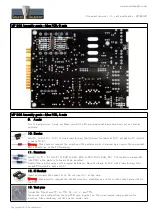
Страница 2: ...0 4 with a lead forming tool 5 Integrated Circuit Insert U3 and solder You will need to bend the pins slightly inwards before inserting Make sure you are not charged with electrostatic electricity before handling the IC or remove your shoes Warning Make sure to respect the IC direction marked by a notch Do not use a socket because it would be to high under the PCB 6 Ceramic capacitors Add C19 C20 ...

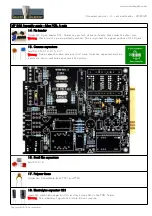
Страница 3: ...marking 11 Resistors Add R1 to R11 R13 to R18 R20 to R23 R26 to R35 R45 R46 R51 The resistors marked NC like R33 in the parts list should not be installed Control the resistor values with a digital multimeter Bend the leads at 0 4 with a lead forming tool except R34 which is bent at 0 6 12 IC Socket Insert and solder the socket of UI Do not insert U1 at this time Warning Make sure to respect the s...

Страница 4: ...ood position of the DI jack 15 Ceramic capacitors Add C2 C8 C12 C15 C17 Warning Some capacitors have provision for 2 sizes Small size capacitors must be inserted in the correct holes as shown in the picture 16 Small film capacitors Add C3 C16 17 Polymer fuses Solder the 2 resettable fuses PTC1 and PTC2 18 Electrolytic capacitor C21 Insert the electrolytic capacitor C21 and lay it down flat on the ...

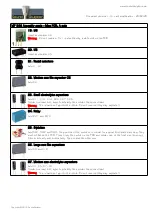
Страница 5: ...ning The lead must go into the hole Do not reverse they may explode 24 Relay Add RLY1 and RLY2 25 Switches Add SW1 SW2 and SW3 The position of the switches is critical for a good front plate matching They must sit flat on the PCB Press firmly the switch on the PCB and solder one of the front pins housing Check verticality and horizontality Then solder the other pins 26 Large size film capacitors A...

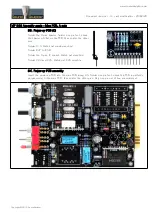
Страница 6: ...et a perfect position Once the position is correct solder the other pins Finish tightening the nut without excess 29 U7 Add U7 30 U2 Mount two heatsinks back to back on U2 with a 10mm screw and a self locking nut Insert U2 on the PCB and solder one pin Check the verticality then solder the other pins 31 Tube PCB A Solder R12 and R19 Solder the two 2 x 5 pins 90 pin headers Solder one pin first che...

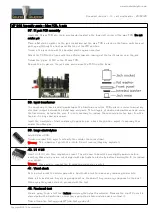
Страница 7: ...n solder the other pins Solder D15 Watch out diode direction Solder R47 to R50 Solder the 8 pins IC socket Watch out direction Solder C24 and C25 Watch out C25 direction 34 Power up PCB assembly Insert the power up PCB into the main PCB along U5 Solder one pin first check the PCB is perfectly perpendicular to the main PCB then solder the other pins Only one pin out of two are soldered Copyright 20...

Страница 8: ...e with two M3x6 black countersunk screws Warning Do not confuse the M3x6mm countersunk black screws with the 4 40 3 8 black screw that are used to attach the module in the lunchbox 36 DI PCB B Solder the jack socket to the DI jack PCB on the side marked CN1 the jack opening on opposite side of the connecting 6 pads row Cut the pins short Copyright 2015 SoundSkulptor ...

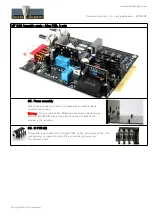
Страница 9: ...ctive layer from the tape as it is only used as a spacer Insert the transformer Start soldering 2 opposite pins check the position adjust if necessary then solder the other pins 39 Large electrolytics Add C22 and C23 Solder one lead first adjust verticality then solder the second lead Warning The lead must go into the hole Do not reverse they may explode 40 U1 U4 Insert U1 U4 into their respective...

Страница 10: ... washer on the jack socket and put the main PCB in place on the frame switches and pots going through the front panel Watch out the LED position Screw in the jack nose with the bevelled plastic spacer inserted Attach the PCB to the frame with four 25mm spacers with four lock washers inserted 45 Knobs Attach the 2 knobs 46 Audio test Please follow the rest of the testing procedure described in the ...

Страница 11: ...ww soundskulptor com Document revision 1 3 Last modification 28 02 20 MP 566 Assembly guide Main PCB A side 47 Closing Attach the cover PCB with four M3x6 countersunk screws Copyright 2015 SoundSkulptor ...

Отзывы: