Test Instructions (mech)
1261-4720 Rev 2
Sony Mobile Communications AB
– Company Internal
12(25)
Tests: Service Tests
2.2.15
WLAN
Make sure there’s a WLAN network before performing
this test.
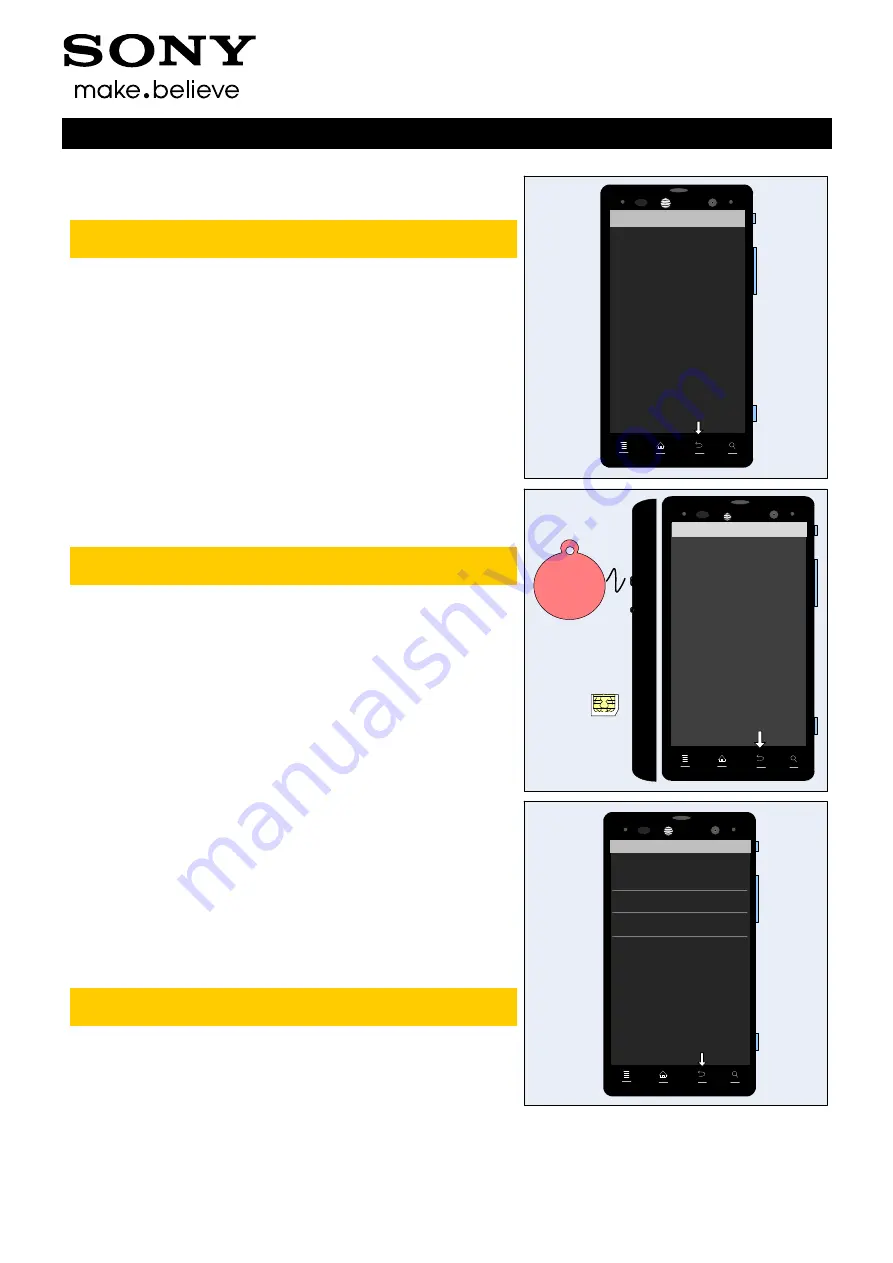
The WLAN test will be done in following sequences:
Step 1: Enable WLAN; wait 4-5 seconds, shows OK;
Step 2: Searching;
Step 3: Access points found list;
Step 4: Select the Target WLAN network, and type the
password to get connected;
Step 5: Enter a web address (e.g. Google.com)
Step 6: When connection suc
ceeded, it shows “Test
Complete
”.
Press the Back key to return to the Service Test Menu.
SONY
WLAN
Enable WLAN OK
Searching
Access points found
Connect to ….. WLAN Connection
successfully
Setup. Enter WEB address to
connect to.
Connect to http://
….Connect OK
Test Complete
at&t
2.2.16
NFC
A NFC SIM card 3FF should be inserted in the phone
before the start of this test!
The NFC test will be done in following sequences:
1.
Step 1: Select “NFC”
2. Step 2: NFC Diag Test
3. Step 3:
After “Tag Reading…Enabled” can be seen on
the display, bring a NFC Tag close to the camera lens.
D
on’t touch each other to avoid Rear Cover scratch.
Press the Back key two times to return to service test menu.
SONY
at&t
NFC
XPERIA
NFC
NFC Tag
NFC SIM card
Swp … OK
Baseband ID … OK
Tag Reading ...OK
SW-Ver:0xA7 0x6D 0x0C
HW-Ver:0x62 0x00 0x03
PmuVcc present
Tag Reading...
New Tag Discovered
Tag ID:04490d1ad22684
Tag Type: Type A
2.2.17
GPS
Enter the GPS Location Test, and wait for the GPS location
data.
Press the Back key to return to the Service Test Menu.
For GPS testing, refer to
1220-1333: Generic Repair Manual
– mechanical
Sony Ericsson
SONY
GPS
GPS Test Settings
GPS Location Test
Purge assistance data
at&t


