


29
Rec
o
rd
in
g
Setting the Timer
You can set the date, time, and channel name of up
to 40 programmes one month in advance.
z
Hints
• Timer recordings will be made regardless whether or
not the recorder is turned on. You can turn off the
recorder without affecting the recording even after
recording starts.
• You can set the timer for two TV programmes
overlapped at the same time. Note that a third timer
setting overlapping two other settings cannot be made.
b
Notes
• Check that recorder has enough available disk space for
the recording (page 28).
• If any digital teletext is operated while recording, its
contents will be recorded on the HDD.
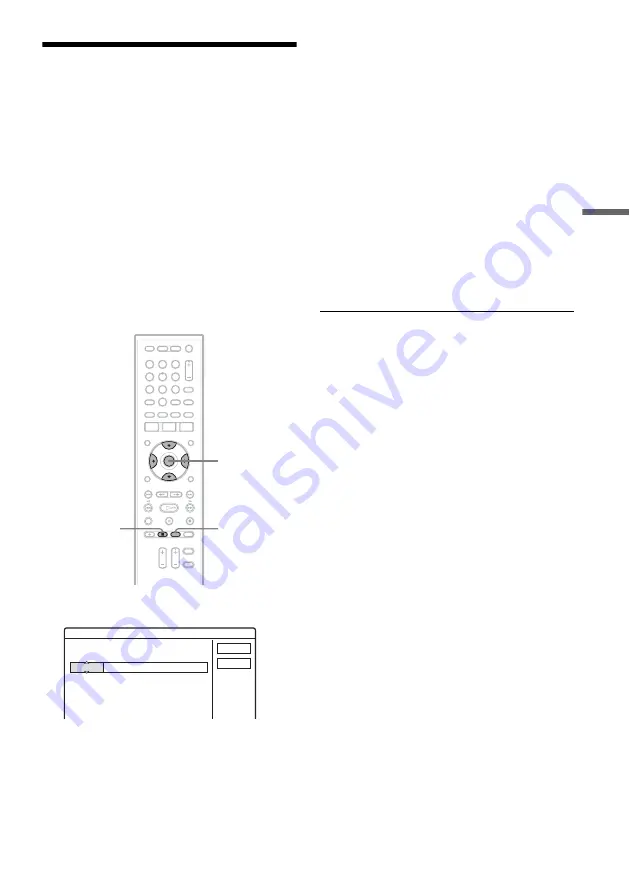
1
Press TIMER.
2
Press
M
/
m
to set the date and press
,
.
The date changes as follows:
Example: Today is 30.10 (Monday)
Today
y
Tomorrow
y
Wed 1.11
y
……
y
Tue 28.11
y
Sun (every Sunday)
y
……
y
Sat (every Saturday)
y
Mon-Fri (Monday to Friday)
y
Mon-Sat
(Monday to Saturday)
y
Sun-Sat (Sunday to
Saturday)
y
Today
3
Press
,
to set the start time, the stop
time, and the programme position by
pressing
M
/
m
.
• If you make a mistake, select the item and
change the setting.
4
Select “OK,” and press ENTER.
The Timer List (page 30) appears. The
TIMER REC indicator lights up on the front
panel and the recorder is ready to start
recording.
To stop recording during timer recording
Select the programme position being recorded,
and press
x
REC STOP.
You can also stop recording from the Title List.
1
Press TITLE LIST to select the title currently
being recorded and press ENTER.
2
Select “Stop Recording” from the sub-menu
and press ENTER.
3
Select “OK,” and press ENTER.
Note that it may take a few seconds for the
recorder to stop recording.
b
Note
If a message indicating that the HDD is full appears on
the screen, make available space for the recording
(page 37).
6
5
4
8
9
7
0
3
2
1
<
/
M
/
m
/
,
,
ENTER
TIMER
x
REC STOP
Timer - Standard
Set the timer manually.
Cancel
Day and Time
Today
20 : 00 - 21 : 00
NCE1
OK
,
continued


