


32
GB
x
When playing a DATA CD or DATA
DVD
• [OFF]: does not play repeatedly.
• [DISC]: repeats all of the albums on the
disc.
• [ALBUM]: repeats the current album.
• [TRACK] (MP3 audio tracks only):
repeats the current track.
• [FILE] (DivX video files only): repeats
the current file.*
* Except for the United Kingdom models.
4
Press ENTER.
The item is selected.
To return to normal play, press CLEAR, or
select [OFF] in Step 3.
To turn off the Control Menu
Press
DISPLAY repeatedly until the Control
Menu is turned off.
• You cannot use this function with VIDEO CDs and
Super VCDs with PBC playback.
• When playing a DATA CD which contains MP3
audio track and JPEG image files, and their playing
time are not the same, the audio sound will not match
the image.
• When [MODE (MP3, JPEG)] is set to [IMAGE
(JPEG)] (page 38), you cannot select [TRACK].
A DVD is divided into a lot of sections, which
make up a picture or music feature. These
sections are called “titles.” When you play a
DVD which contains several titles, you can
select the title you want using TOP MENU.
When you play DVDs that allow you to select
items such as the language for the subtitles and
the language for the sound, select these items
using MENU.
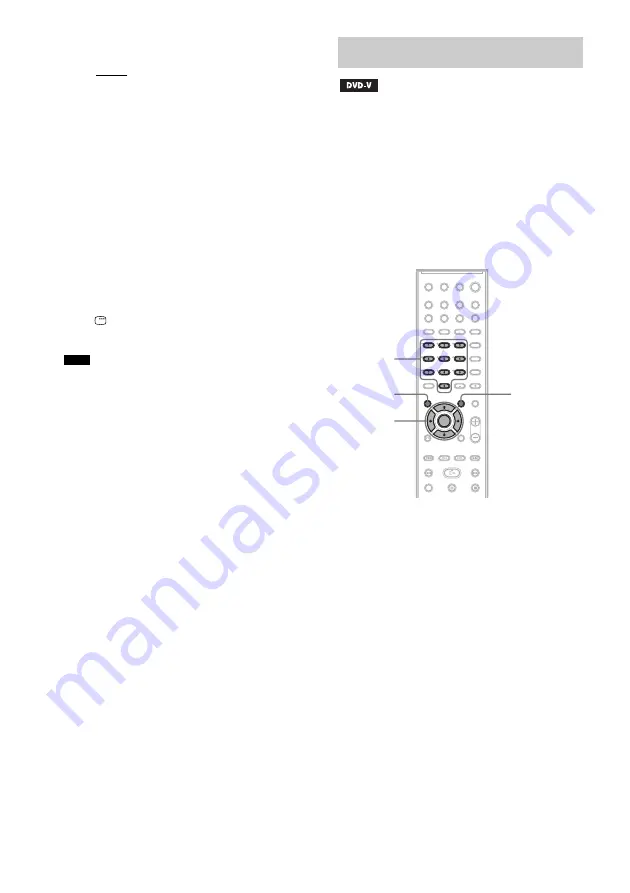
1
Press TOP MENU or MENU.
The disc’s menu appears on the TV screen.
The contents of the menu vary from disc to
disc.
2
Press
C
/
X
/
x
/
c
or the number buttons to
select the item you want to play or
change.
3
Press ENTER.
Note
Using the DVD’s Menu
MENU
Number
buttons
C/X/x/c
ENTER
TOP
MENU


