56
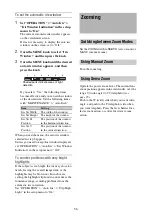
To set the automatic iris window
1
Set “OPERATION” > “Auto Iris” >
“Iris Window Indication” in the setup
menu to “On.”
The current automatic iris window appears
on the viewfinder screen.
If it is not necessary to display the auto iris
window on the screen, set to “Off.”
2
Turn the MENU knob to select “Iris
Window,” and then press the knob.
3
Turn the MENU knob until the desired
auto iris window appears, and then
press the knob.
If you select “Var,” the following items
become effective and you can set the window
of the desired size. Set the following items
with “MAINTENANCE” > “Auto Iris2.”
When you exit the menu, the auto iris window
selected in step
3
appears.
Unless you need to keep this window displayed,
set “OPERATION” > “Auto Iris” > “Iris Window
Indication” in the setup menu to “Off.”
To counter problems with very bright
highlights
If the subject is too bright, the iris may close too
much, leaving the overall image dark, or the
highlights may be blown out. In such cases,
setting the highlight clip function on reduces the
luminance range, avoiding problems from the
automatic iris correction.
Set “OPERATION” > “Auto Iris” > “Clip High
Light” in the setup menu to “On.”
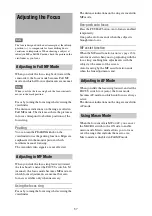
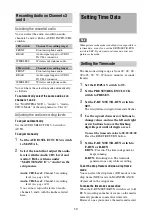
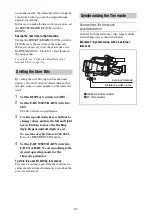
Set the ZOOM switch to SERVO (servo zoom) or
MANU (manual zoom).
Turn the zoom ring.
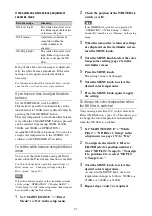
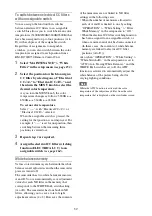
Operate the power zoom lever. The current lens
zoom position appears in the viewfinder, over the
range 0 (wide-angle) to 99 (telephoto)
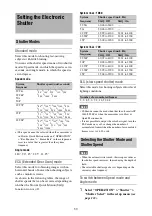
Push to the W (wide) side when you want wide-
angle, and push to the T (telephoto) side when
you want telephoto. Press the lever harder for a
faster zoom action, or softer for slower zoom
action.
Item
Setting
Iris Var Width
The width of the window
Iris Var Height
The height of the window
Iris Var H
Position
The position of the window
in the horizontal direction
Iris Var V
Position
The position of the window
in the vertical direction.
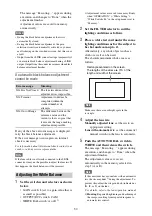
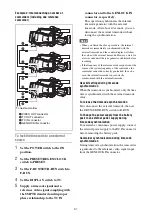
Shaded parts indicate areas of light
detection
Zooming
Switching between Zoom Modes
Using Manual Zoom
Using Servo Zoom
Содержание PXW-X320
Страница 223: ......

