Software Guide
Using Video software
54
Using Web camera mode
With the Web camera function, you can set up the camera and software to take still images automatically,
without you being there, according to conditions you specify. The function allows you to set a time interval
for regularly capturing images, and a time period during which images are automatically captured.
To set the camera up as a Web camera, proceed as follows:
1
Launch Network Smart Capture.
2
Connect your i.LINK™-compatible digital camera or USB Web camera to your computer and turn it on.
The viewfinder image appears in the main window.
3
Click
Web camera
to activate
Web camera
mode.
Making settings for Web camera mode
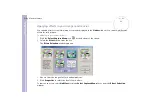
Before you capture a Web camera image, you can set your own preferences.
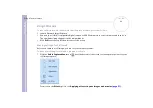
To make your settings for Web camera mode, proceed as follows:
1
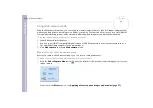
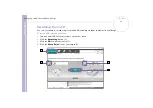
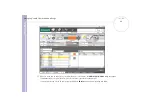
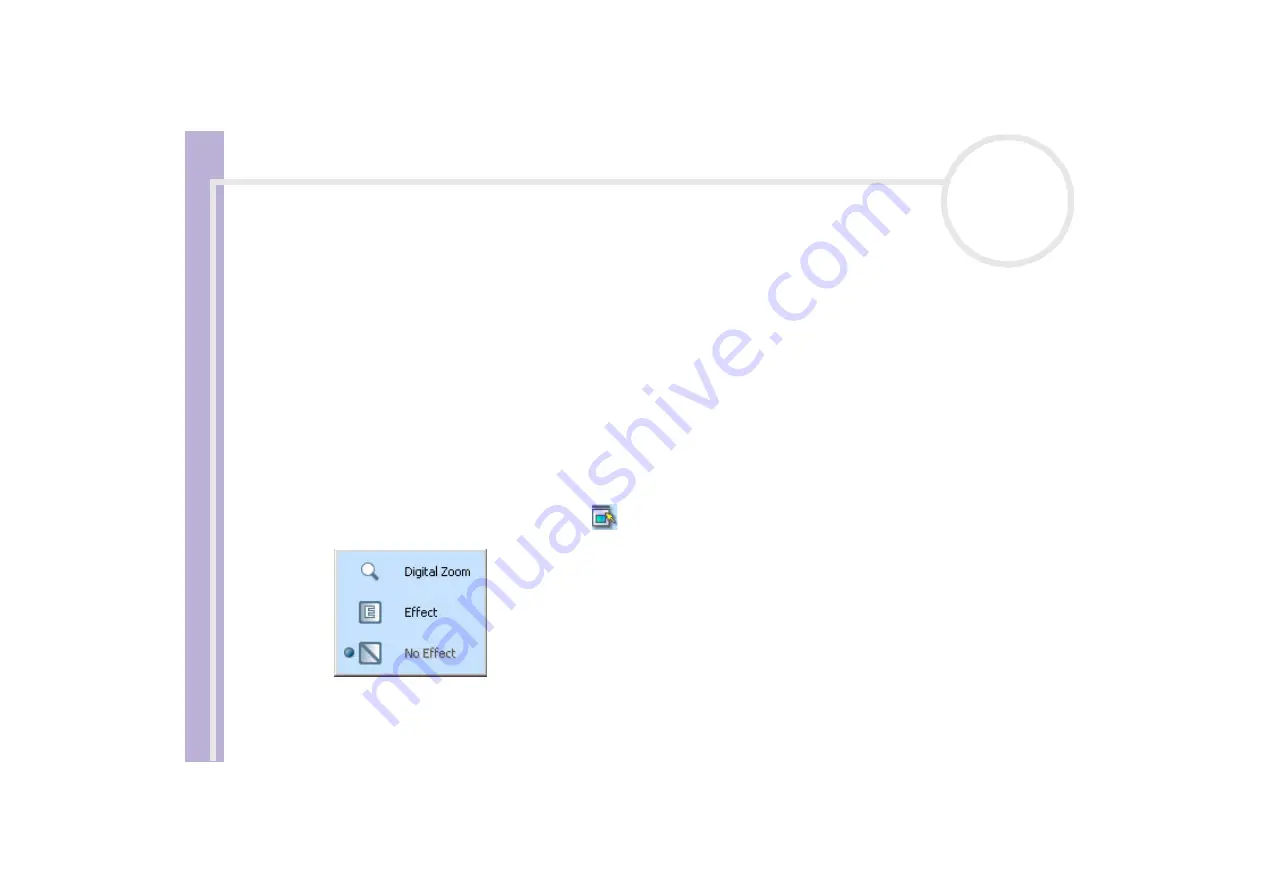
Click the
Select Capture Menu
icon
near the bottom of the screen to view setting options for your
image capture.
For more on the
Effect
option, see
Applying effects to your images and movies
.

