S
o
ft
wa
re
Guide
Using Click To DVD*
69
❑
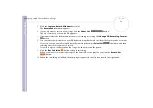
Delete a picture from the project by selecting the picture, and clicking
Delete
. When the
confirmation dialog box appears, click
OK
.
❑
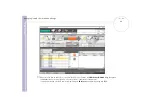
If you a made a slide-show, you can set the display time for each picture and the background music
played during the slideshow. Click the
Slide Show Settings
button to make these settings.
❑
Specify the display time for each picture in a slide show with the
Display Time
option. The time
specified includes the time it takes to transition from one photo to the next. If
Match slide show
length with the length of the Background Music
is selected, the playback time is set
automatically so that the display of all pictures ends when the background music ends.
❑
Add music to your photo album by selecting the
Attach Background Music
check box. Click
Browse
and then select the file to be used as the background music. You can use WAV and MP3
format audio files.
✍
If the background music does not allow the
Match slide show length with the length of the Background Music
setting to display the pictures
for more than 3 seconds, the background music is automatically repeated to allow a display time longer than 3 seconds per picture.
Creating menu screens
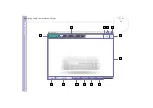
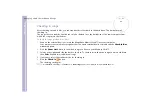
Before writing to the DVD, you can create or edit the DVD’s Menu screen. You can choose a theme and
background music, change the text on menu screens, and more. To change these settings, click
Create
Menu
in the step guide to open the
Menu
screen.
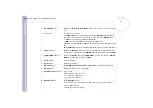
Some settings apply to all menus on all menu screens in a DVD project, while other settings can be set
differently for each menu screen. Click
Menu Screen Select
on the left side of the screen to change the
menu screen that you are configuring.
✍
The number of chapters that can be displayed in a single
Photo Menu
is around 90. If not all chapters fit in a single
Photo Menu
,
Photo Menu
2 and
Photo Menu
3 are automatically created. You can display a maximum of around 270 chapters.

