Adjusting the
Convergence
The projection tube image appears on the screen in three colors (red,
green and blue). If the three colors do not project properly, the color is
poor and the picture blurs. Before you use your TV, be sure to run the
Flash Focus feature. Flash Focus adjusts the color projection settings
automatically.
1
Tune to a TV or cable TV program.
2
Press the
FLASH FOCUS
button on the front panel of the TV.
The cross pattern appears and Flash Focus begins to work.
The adjustment is completed when the TV picture returns.
To Perform Additional Fine Manual Adjustments
❑
Use the manual Convergence feature, as described in the
Operating Instructions.
Notes on Flash Focus
❑
You cannot perform any other functions until Flash Focus has
completed its cycle. If you perform any other operation while
Flash Focus is in progress, the Flash Focus operation is canceled.
Allow the TV to warm up for about 30 minutes before you adjust the
convergence with Flash Focus.
5
,
Connecting
Your Projection TV
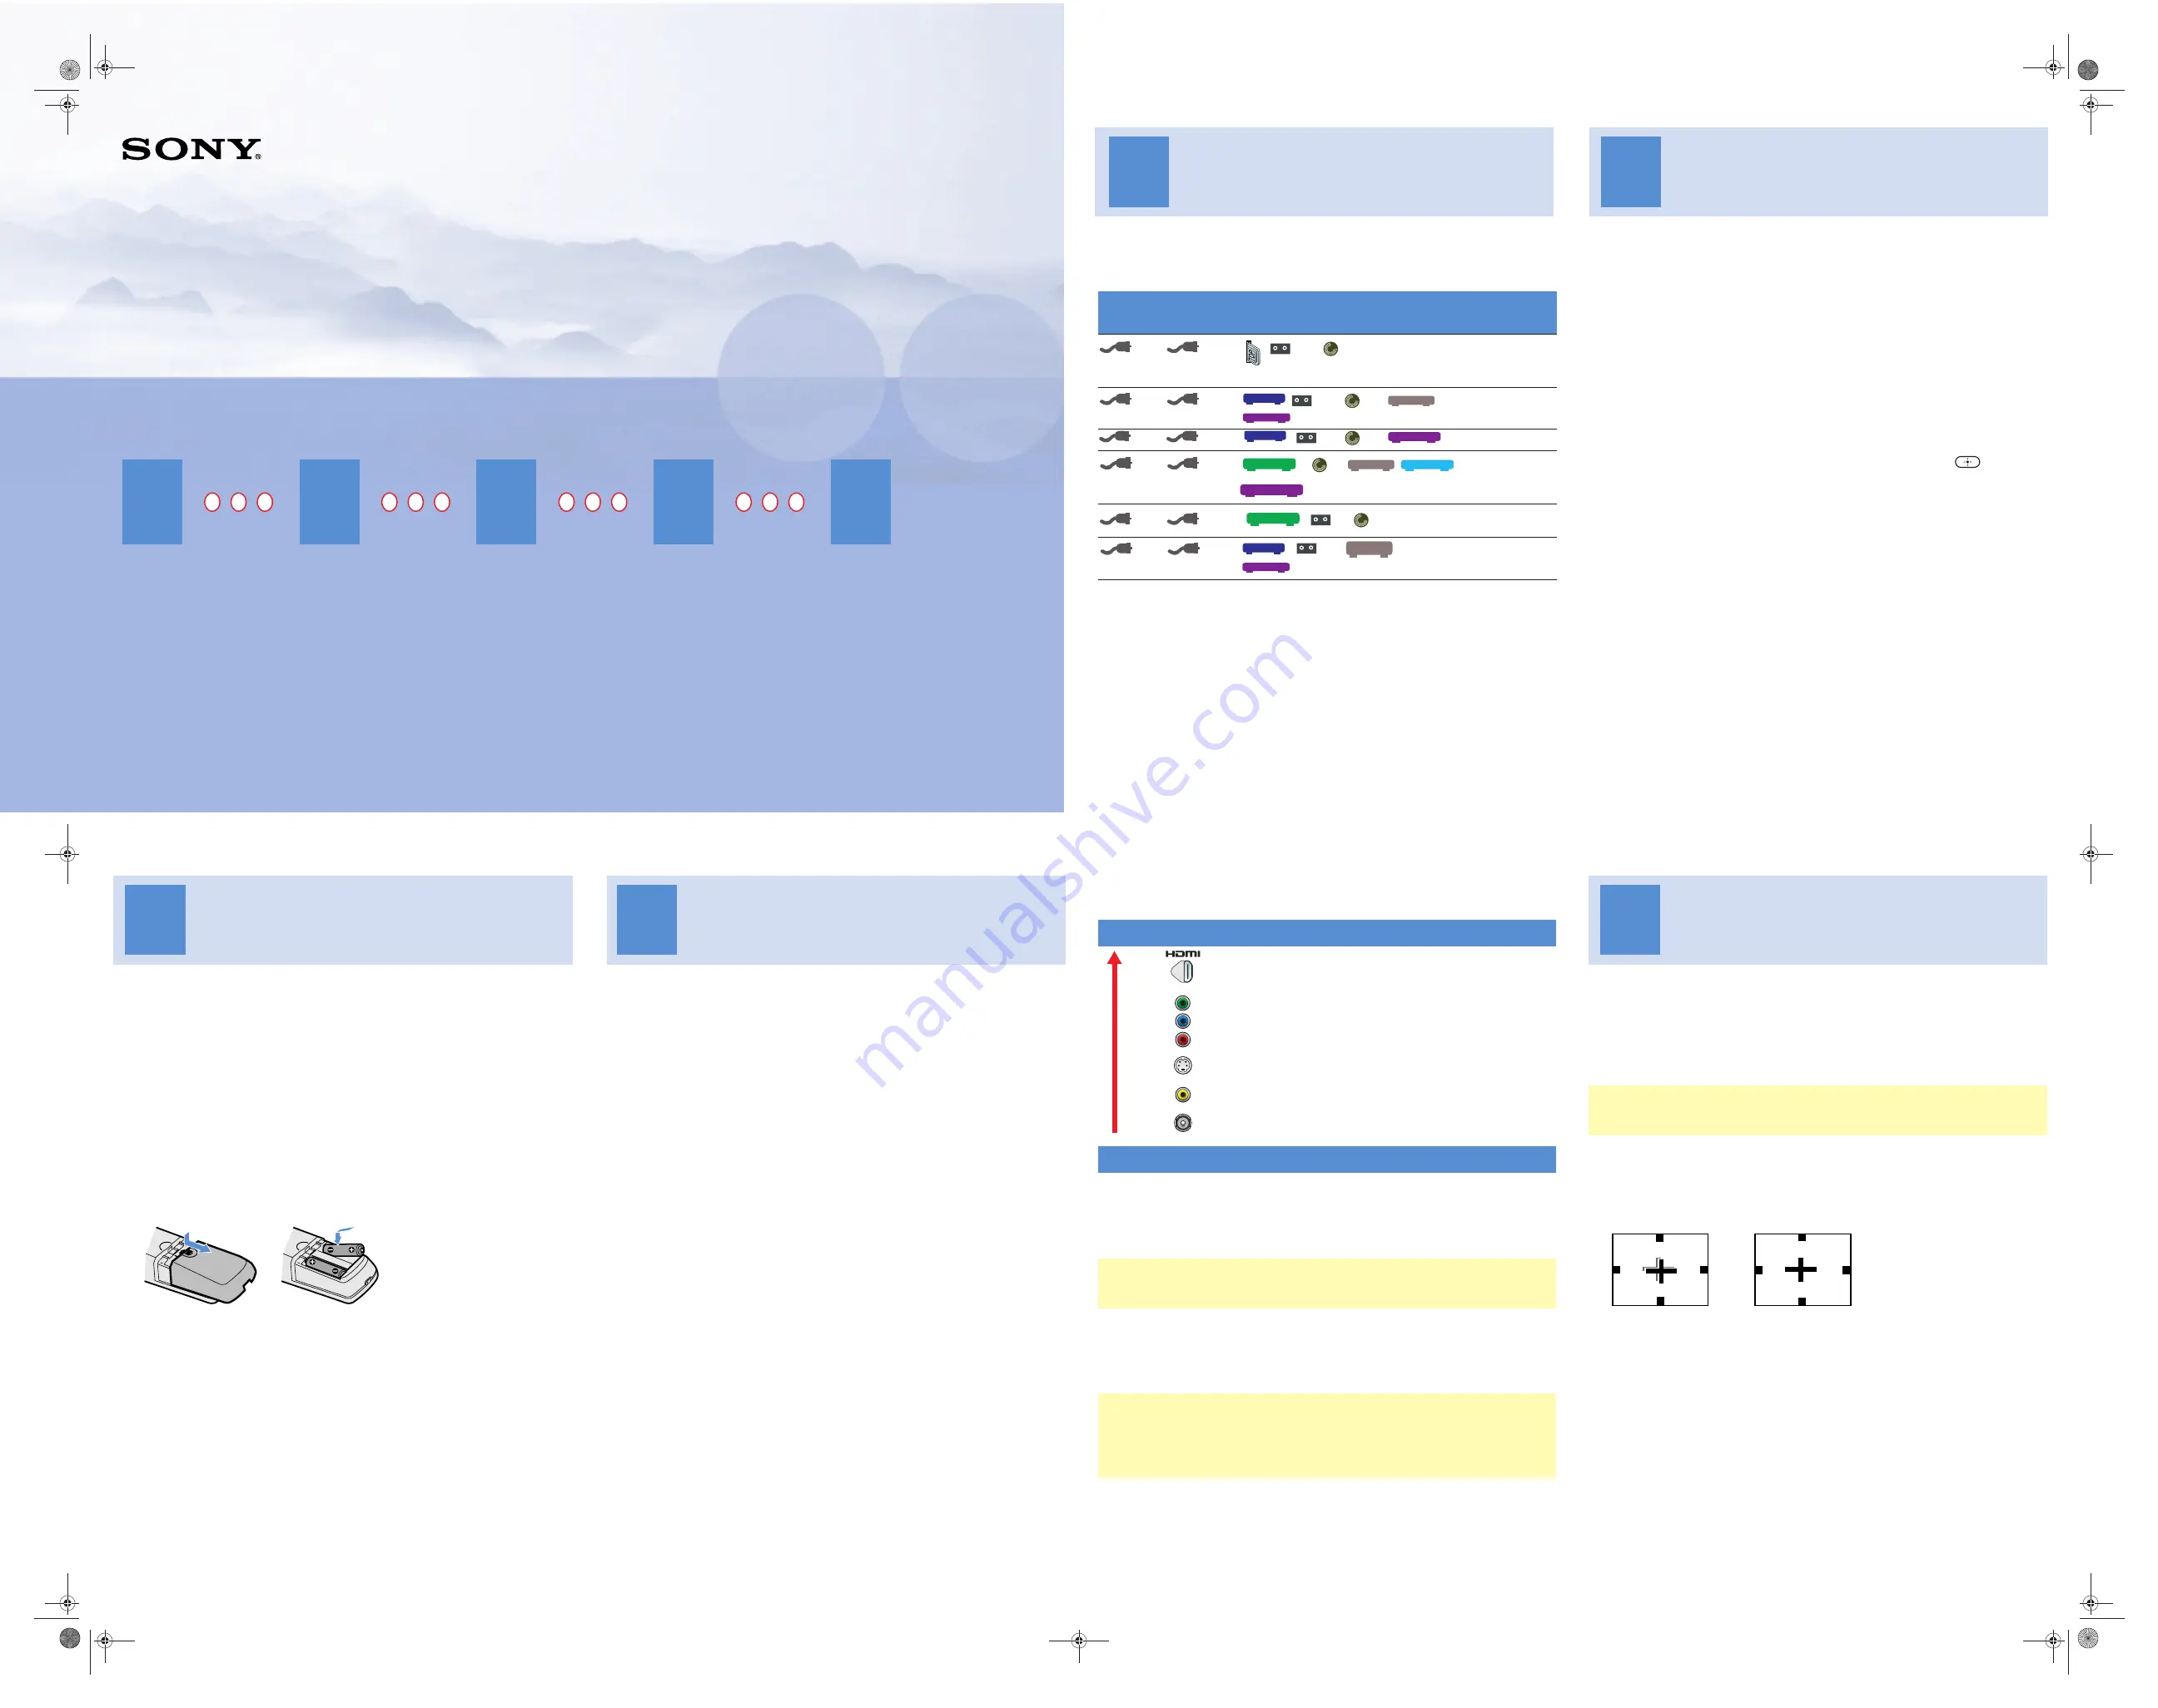
Review the following chart to determine which diagram to use to
connect the components in your system:
❑
See the “Cables Required” chart that appears with the diagram to
determine which cables you’ll need. You may need to purchase
extra accessories, such as cables and splitters, depending on the
components you plan to connect.
❑
Turn off and unplug all components before making connections.
❑
If you have a component such as a DVD player that includes a
DVI video output, you can connect it to the TV’s HDMI input
using a DVI-to-HDMI cable (and analog audio cables).
❑
If you are connecting a digital cable box, you’ll need a special bi-
directional splitter that’s compatible with your cable box. Contact
your cable provider for details.
Making Video Connections
Your TV includes several types of video inputs. Use the inputs that
are available on your components that provide the best video
performance, as described below.
Additional Connections
For best audio performance, connect your digital audio components
using either digital optical or digital coaxial audio connections.
Depending on which components are in your system, you may need
to complete additional connections. For example, if you have a
satellite receiver, you’ll need to connect the satellite antenna. If you
have an A/V receiver, you’ll need to connect speakers.
For these components
See
Reverse
A
B
C
D
E
F
Best Video Performance
HDMI (High-Definition Multimedia Interface)
Component video
S VIDEO
Composite video
RF/Coaxial
Good Video Performance
If you are using a CableCARD or the digital audio (optical) output connector,
see the Operating Instructions for details.
The connection diagrams shown on the reverse side are recommendations
only; other possible solutions may exist. Connections that include an A/V
receiver can often be very complex, so check your A/V receiver’s instruction
manual for additional details.
3
CableCARD
(optional)
VCR
Player
DVD
Antenna
Cable
VCR
Player
DVD
AV Receiver
Cable Box
Satellite Receiver
or
Antenna
Cable
VCR
Player
DVD
Satellite Receiver
Cable Box
Antenna
Cable
Player
DVD
AV Receiver
Digital Recorder
HD Sat Receiver
or
Antenna
Cable
HD Cable Box
HD Cable Box
Antenna
Cable
Player
DVD
VCR
VCR
Sony
Dream System
Cable Box
Satellite Receiver
or
Antenna
Cable
Running
Initial Setup
After you finish connecting the TV, you need to run Initial Setup,
which automatically creates a list of available analog and digital
channels. The Initial Setup screens appear when you turn on your TV
for the first time after hooking it up.
1
Press
POWER
to turn on the TV.
The Initial Setup screen appears.
2
Using the remote control, move the highlight to the desired
language, then press to select that language.
The next screen instructs you to connect your cable/antenna.
Check that you’ve connected your signal source correctly.
3
To start Auto Program, highlight
Yes
and then press
.
Auto Program automatically creates a list of receivable analog and
digital channels. Auto Program may take 50 minutes or more to
complete. A progress bar is displayed while the channel list is
being created.
The lowest numbered channel is displayed.
4
Checking the
Supplied Accessories
Along with your new projection TV, the package contains a remote
control and two AA batteries. No additional cables are included.
These items are all you need to set up and operate the projection TV
in its basic configuration.
Inserting Batteries
1
Remove the battery cover from the remote control.
2
Insert two size AA (R6) batteries (supplied) by matching the
e
and
E
terminals on the batteries to the diagram inside the battery
compartment.
3
Replace the battery cover.
❑
Remove the batteries to avoid damage from possible battery
leakage whenever you anticipate that the remote control will not
be used for an extended period.
❑
Handle the remote control with care.
❑
Avoid dropping it, getting it wet, placing it in direct sunlight, near
a heater, or where the humidity is high.
1
1
2
Carrying the
Projection TV
❑
Be careful when moving the TV.
❑
When you place the TV in position, be careful not to drop it on
your foot or fingers.
❑
Watch your footing while installing the TV.
❑
If you carry the TV in a manner other than the specified manner
and without the specified number of persons, it may drop and a
serious injury may be caused. Be sure to follow the instructions
mentioned below.
❑
Carrying the TV requires four or more people.
❑
Do not carry the TV holding the speaker grill.
❑
Hold the TV tightly when carrying it.
❑
The TV includes casters. Be sure to move your projection TV
using these casters.
2
KDP-51WS655, KDP-57WS655
Quick Setup Guide
To set up your projection TV, follow these steps:
2-148-833-01(1)
©
2004 Sony Corporation
http://www.sony.net
Printed in U.S.A.
If, after reading the Operating Instructions and this Quick
Setup Guide, you have additional questions related to the
use of your Sony television, please call our Customer
Information Services Center at:
1-800-222-SONY (7669) (US residents only) or
(416) 499-SONY (7669) (Canadian residents only).
1
2
3
Checking the
Supplied Accessories
Carrying the
Projection TV
Connecting Your
Projection TV
(see reverse side)
5
Adjusting the
Convergence
4
Running Initial Setup
QSG.fm Page 1 Thursday, August 12, 2004 3:00 PM


