O
p
er
at
in
g t
h
e
C
a
mer
a
Configuration of Main Viewer
18
Main menu
Setting
Click to display the Administrator menu. (page 29)
You can operate this function only when logging in as
the administrator.
Home
Displays the welcome page.
Camera control section
Frame rate
(Displayed only when the camera image is in
JPEG
.)
Selects the frame rate to transmit images. (page 20)
View size
Selects the view size to be displayed. (page 20)
Digital zoom
Click to change the size of the digital zoom. (page 20)
Capture
(Displayed in the main menu when the Java applet
viewer is used.)
Click to capture a still image shot by the camera and to
store it in the computer. (page 21)
Control
Click to operate the camera using the pan, tilt and zoom
functions.
When you click this icon,
appears and enables you
to control pan, tilt and zoom functions from the main
viewer. (page 22)
Preset position
(Displayed only when one or more preset positions are
stored in memory.)
Select the
Preset position
name from the drop-down
list. The camera will move to the preset position that
you have stored in memory using the Preset position
menu.
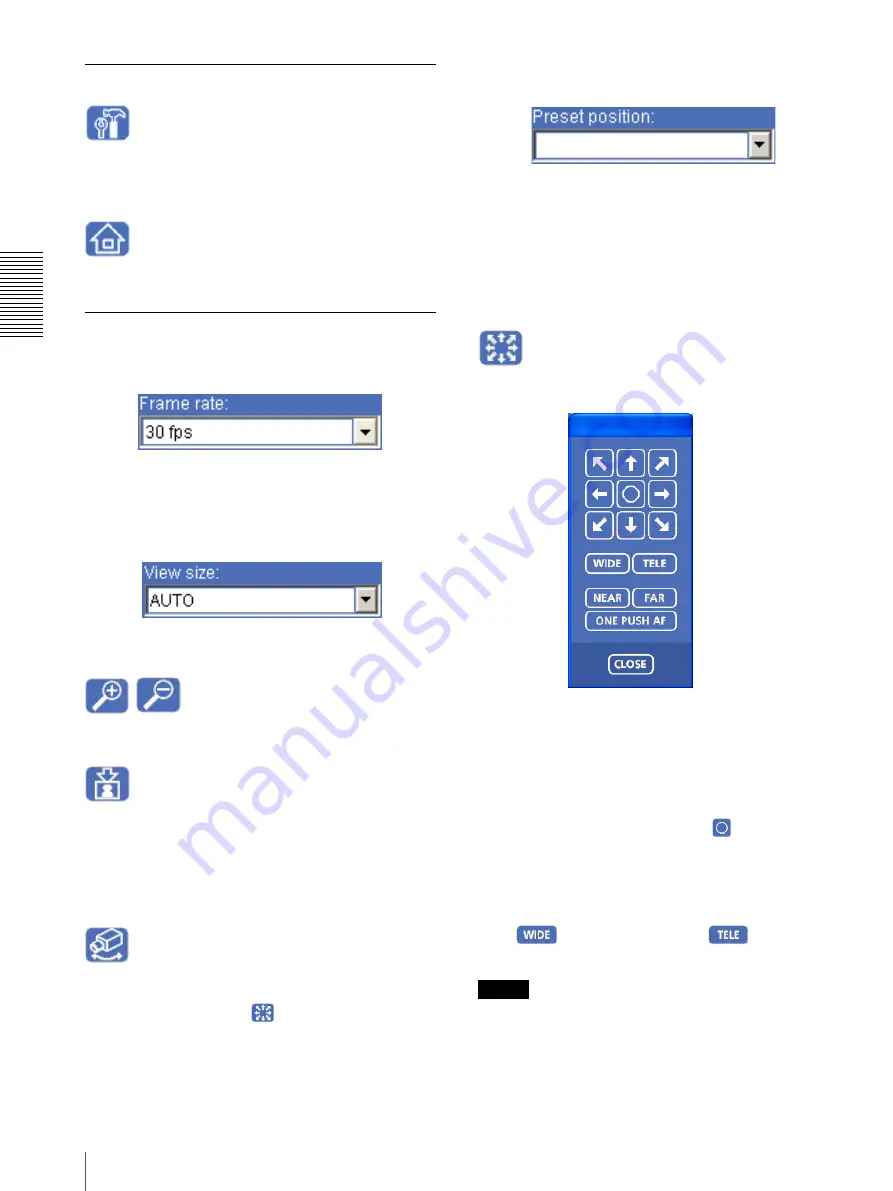
Control panel
Click to display the following control panel.
You can control pan, tilt, zoom, and focus of the camera.
(page 22)
Pan/Tilt control
Click the arrow button of the direction in which you
want to move the camera. Keep it pressed to move the
camera continuously.
To return to the home position, click
.
You can select the operation mode of the 8-direction
arrow buttons for panning and tilting in
PTZ mode
of
the System menu.
Zoom control
Press
to zoom out, and press
to zoom in.
Zooming continues while the button remains pressed.
Note
The four edges of the image may be dark depending on
the zoom position. This is a phenomenon related to the
structure of the camera, and does not cause a problem.


