40
Capturing Still Images
C
h
ap
te
r 4
R
e
c
o
rd
in
g
an
d
P
lay
ba
c
k
Capturing Still Images
You can capture a particular shot during a live
transmission, and store it as a still image file.
Still images can be captured manually or via contact
switch. This section describes how to capture still images
manually.
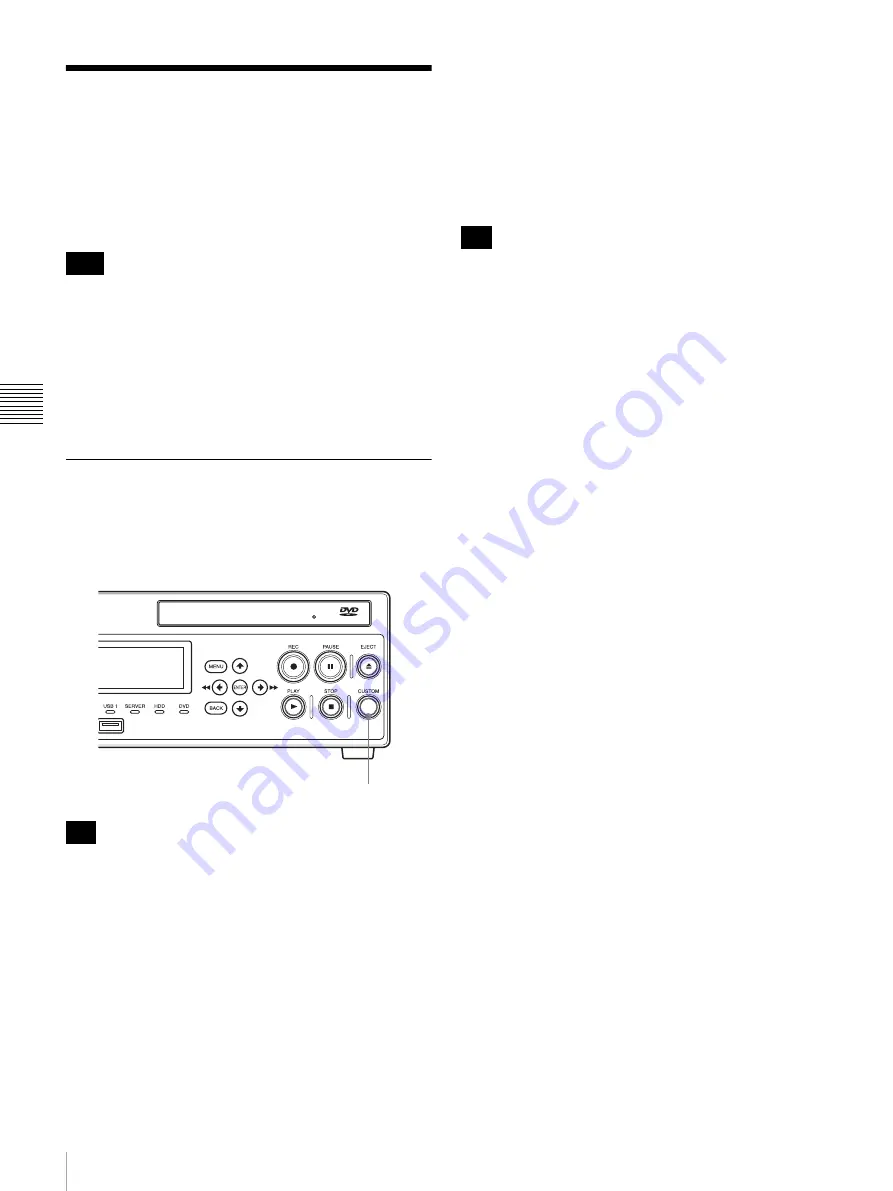
• To capture still images manually, the capture function
must be assigned to the CUSTOM button. (The default
setting for the CUSTOM button is [Capture].)
• For details on contact switch controls, contact your local
Sony representative.
For details on assigning functions, see “[CUSTOM Button
Control]” under “[General 2] Tab” (page 69).
Manual Still Image Capture
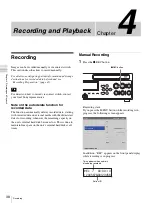
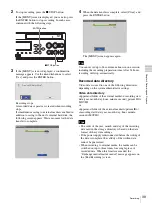
To capture a still image, press the CUSTOM button at the
moment you want to capture the still image.
A chapter separator is also created at the position in which
the still image was captured.
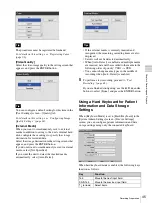
You can configure format setting for still images files in
the [User Settings] screen – [Quality] tab.
For details on this setting, see “Configuring Image
Quality Settings” (page 24).
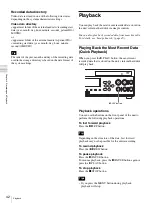
Still image data directory
Still image data is stored in one of the following
directories, depending on the system administrator
settings.
Still image directory
<uppermost folder of the external media>/<recording start
date (year, month, day, hour, minute, second)_patient ID>/
STILL/
or
<uppermost folder of the external media>/<patient ID>/
<recording start date (year, month, day, hour, minute,
second)>/STILL/
The order of the year, month, and day of the recording date
used in the storage directory is based on the date format of
the system settings.
Tips
Tip
CUSTOM button
Tip


