10
Setting Up the System
• Before accessing the VTR, make sure Javascript and
cookies are enabled in the web browser.
• When the web application of the VTR is used, the
[Return] and [Update] buttons in the browser menu do
not operate. If the display of the browser cannot be
updated or abnormality has occurred in the display
contents, do not click the [Update] button. In this case,
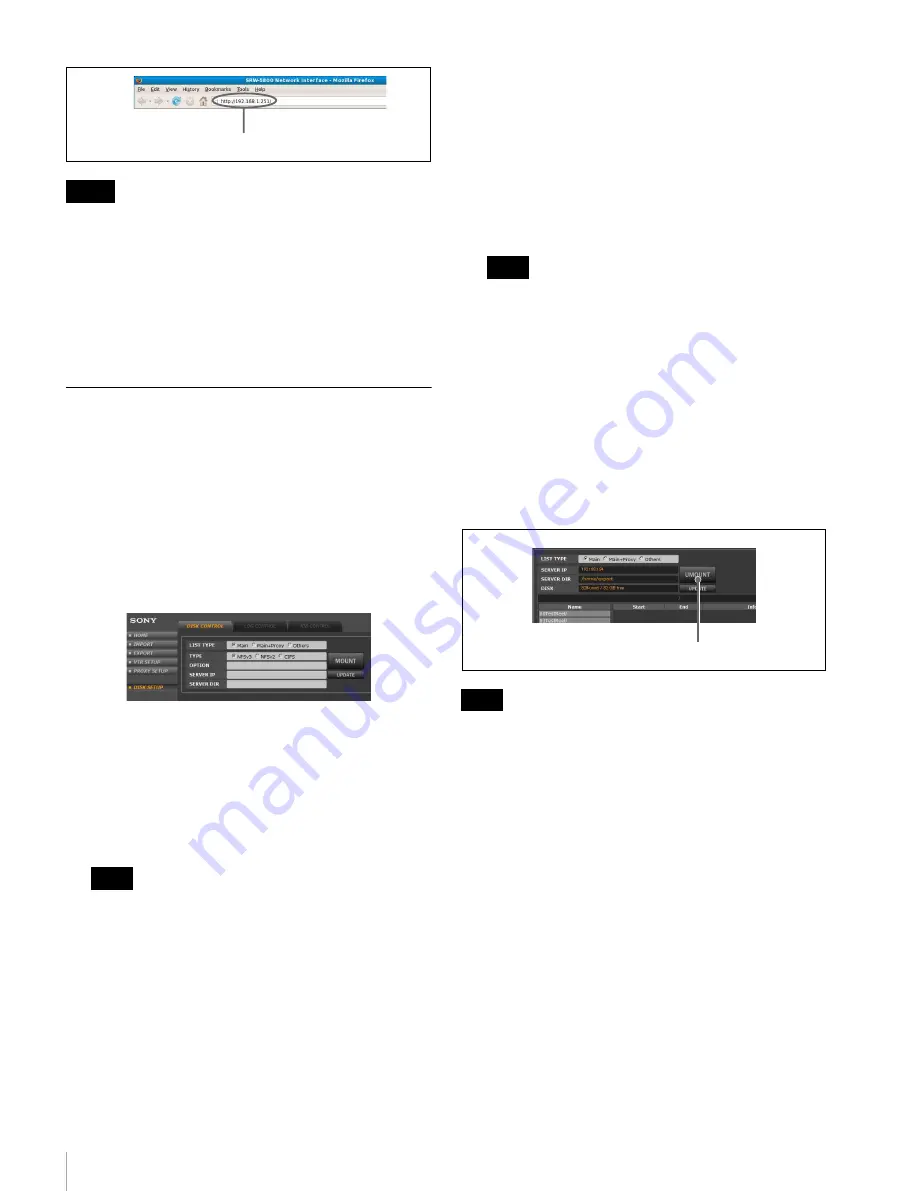
re-enter the IP address of the VTR.
Mounting the NFS Server From the
Web Application Through the Web
Browser
Perform the procedure below to mount the NFS server.
1
From the web client, access the VTR and display the
web application. Click the DISK SETUP menu select
button, and then click the DISK CONTROL tab.
The DISK CONTROL tag display appears.
2
Set the following items.
TYPE:
disk sharing protocol of the NFS server
OPTION:
NFS mount option
SERVER ID:
IP address of the NFS server
SERVER DIR:
path to the shared directory provided
by the NFS server
The OPTION column should be left blank during
normal use. If, however, you want to specify the block
size for files at the time of disk mounting so as to
optimize transfer speeds, then enter the data as shown
in the following example.
Example) wsize=32768,rsize=32768
Consult your NFS server administrator if it is
necessary to set the mount option.
3
Press the MOUNT button to mount the NFS server.
When the server is mounted, the MOUNT button
changes to the UMOUNT button.
4
Set the LIST TYPE column to select how picture clips
on the shared directory are displayed.
Main Only:
Only main picture clips are displayed.
Main+Proxy:
Both main picture clips and proxies are
displayed.
Others:
Shows the files other than pictures.
Even when “Main+Proxy” is selected, only the main
picture clips are always displayed on the DISK
CONTROL tag display in the EXPORT menu.
When “CIFS” is selected for TYPE in step
2
above
To access the shared directory specified in SERVER
DIR, additionally set USER NAME, DOMAIN, and
PASSWORD.
To unmount the NFS server
Click the UMOUNT button on the DISK CONTROL tag
display.
Unmount the NFS server before turning off the VTR or
before the VTR restarts after changing the VTR format
settings.
About automatic changes in the VTR SETUP
menu settings that occur during VTR operations
conducted through the web application
Note that the settings of following items in the VTR
SETUP menu of the SRW-5800 are changed automatically
as indicated below when the respective VTR operations
are conducted through the web application.
• Import or export of files
- Menu item “606: TCG MODE select” changes to
“regene”.
- Menu item “607: TCG REGENE SOURCE select”
changes to “int-LTC”.
• First Rec (first recording operation)
Menu item “601: DF/NDF MODE select” changes to
“drop frame” or “non-drop frame” according to the
setting on the web application.
• Any VTR operation (including import and export)
Notes
Note
Enter the IP address of the VTR here.
Note
Note
UMOUNT button


