121
5-1 Preparing for Recording
Chap
ter
5
Rec
o
rd
ing/
Pla
y
b
a
c
k
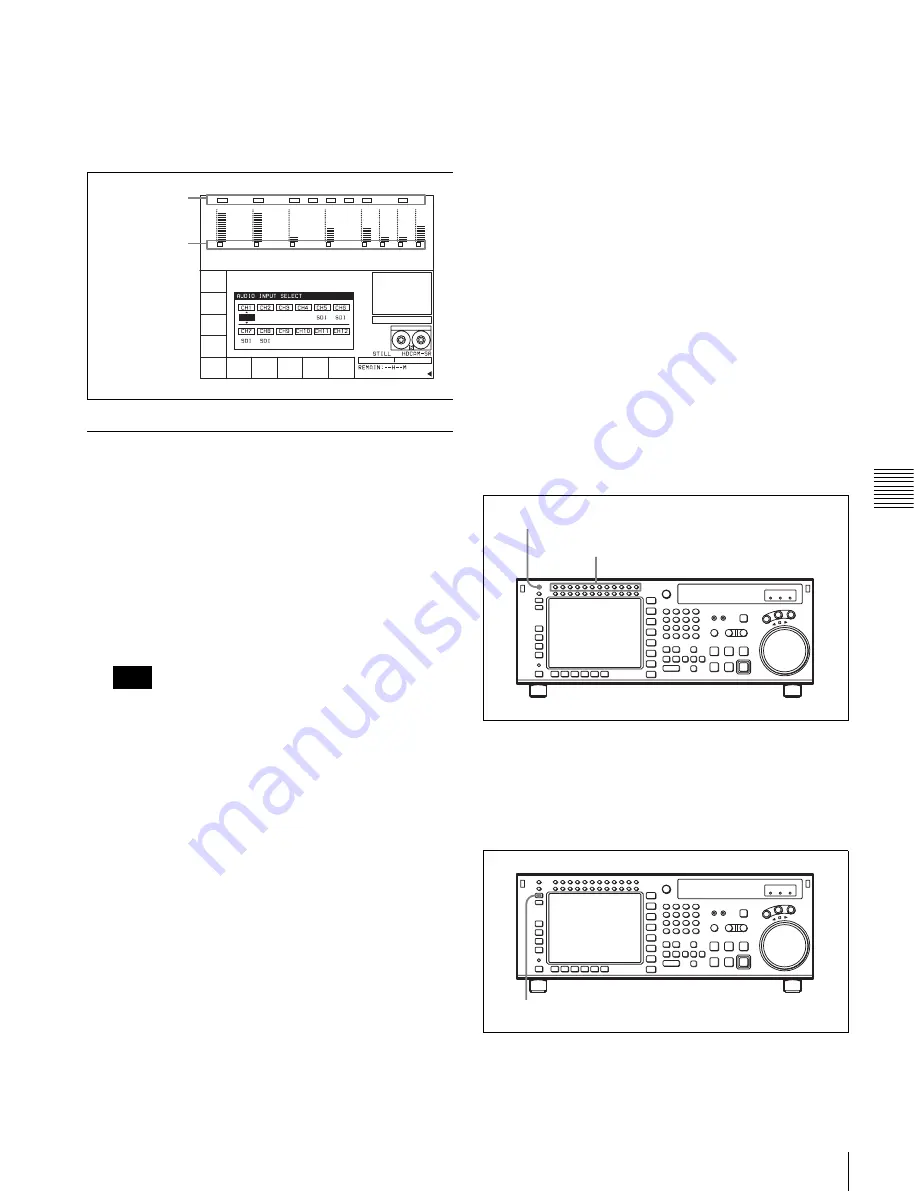
About indications on the audio level meter
Above the audio level meter, the types of selected input
signals are displayed. Sampling frequency settings of the
output signals are displayed below the audio level meter,
as follows.
5-1-4 Adjusting the Recording Level
Adjusting the recording level
1
Press the REC LEVEL button at the upper left of the
control panel to enter the REC LEVEL adjustment
mode.
A vertical red line appears at the left of the audio level
meter for each channel, indicating the REC LEVEL
adjustment mode.
The adjustment cannot be made with the VIDEO menu
and the VTR SETUP menu.
2
Press the button for the channel for which you want to
carry out the adjustment (common with MONITOR
L), to make the channel active.
An orange border appears around the audio level
meter, indicating that it is active.
3
Use the MULTI CONTROL knob or the cursor
buttons to make the adjustment.
To escape from the REC LEVEL adjustment mode
Press the REC LEVEL mode button at the upper left of the
control panel once more. The vertical red line at the left of
the audio level meter for each channel disappears or turns
white.
To record at the reference level
Press the REC LEVEL button to enter REC LEVEL
adjustment mode. Then, make active of the channel that
you want to record at the reference level, and then press the
MULTI CONTROL knob. The setting becomes the
reference value. Press once more to return to the
immediately previous value. You can also return to the
reference value with the cursor center button. When you
press the MULTI CONTROL knob again to exit the REC
LEVEL adjustment mode, a vertical white line on the left
of the audio level meter is not displayed.
To record with manual adjustment
Press the REC LEVEL button to enter REC LEVEL
adjustment mode. Then, make active of the channel that
you want to adjust the recording level manually, and then
at the mean volume make the adjustment with the MULTI
CONTROL knob or cursor
R
and
r
buttons so that the
audio level meter is close to the reference
–
20 dB level.
When you press the REC LEVEL button again to exit the
REC LEVEL adjustment mode, the vertical white line on
the left of the audio level meter and a horizontal red line
indicating the setting are displayed, indicating that the
recording level is subject to manual adjustment.
You can also carry out the recording level adjustment
using the VTR SETUP menu item 832 “AUDIO REC
LEVEL”.
Selecting the display range of the audio
level meters
You can switch the range of audio level meter display by
pressing the FULL/FINE button on the lower control
panel.
FULL mode:
The meter range is –60 to 0 dB or –40 to
+20 dB.
Note
A U D I O I N P U T
0
-10
-20
-30
-60
SDI96
dB
0
-10
-20
-30
-60
SDI96
dB
0
-10
-20
-30
-60
SDI48
dB
SDI48
0
-10
-20
-30
-60
SDI48
dB
SDI48
0
-10
-20
-30
-60
A/E96
dB
0
-10
-20
-30
-60
dB
0
-10
-20
-30
-60
A/E96
dB
0
-10
-20
-30
-60
dB
96
96
96
96
48
48
48
48
A - I N
C H 1
S D I 9 6
A - I N
C H 2
S D I 9 6
A - I N
C H 3
S D I 9 6
A - I N
C H 4
S D I 9 6
A - I N
C H 5
S D I
A - I N
C H 6
S D I
A - I N
C H 7
S D I
A - I N
C H 8
S D I
A - I N
A L L
. . . . .
E X I T
SDI96 SDI96 SDI96
A/E96 A/E96 A/E96 A/E96
SDI96
Types of
selected input
signals
Sampling
frequency
settings of the
output signals
Select the channel for REC LEVEL adjustment.
REC LEVEL button
FULL/FINE button
Содержание HKSR-5803HQ
Страница 211: ...Sony Corporation SRW 5800 SY 3 286 523 06 1 2007 ...


