31
GB
GB
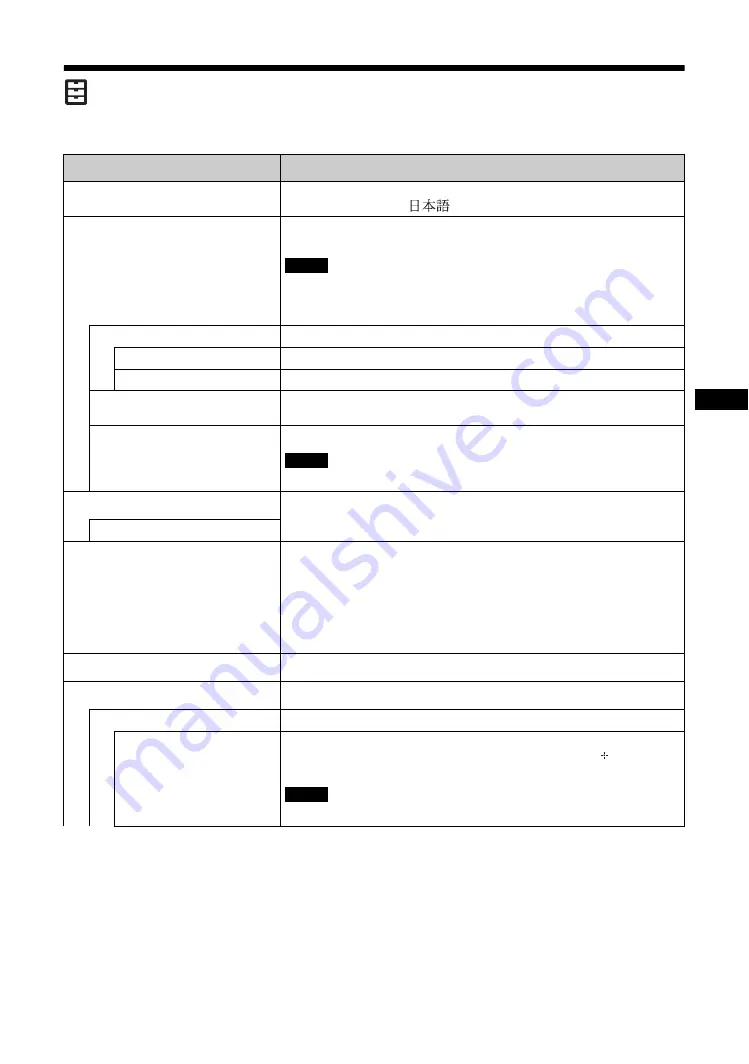
Setup Settings
For the setting method, see the section of “Overview of the Menus” (page 24).
Menu
Function and operation
Language
Select from the language settings shown. Select “English”, “Deutsch”, “Français”,
“Español”, “Italiano” or “
”.
Timer Setting
You can adjust time, display the built-in clock, or set the timer to make the display
power on/off at a predetermined time.
If the main power switch is left turned off or the AC power cord removed for a long
time, the built-in clock may lose or gain time significantly.
In this case, reset the clock to the right time.
Clock Set
Sets the date and the hour of the day.
Date Set
Sets the date (year, month, date). The day of the week is automatically set.
Time Set
Sets the time.
Clock Display
Select “On” or “Off”. If you select “On”, when the remote control’s DISPLAY
button is pressed, it shows the current time which was set.
On/Off Timer
Sets the day of the week and the hour of the day.
This cannot be used unless the “Timer Setting” has been set.
ECO Mode
Reduces power consumption by changing the brightness of the backlight. Selecting
“High” reduces power consumption more than “Low”.
Off/Low/High
Status Display
Select “On” or “Off”. If you select “On”, the input signal and “Aspect” setting
information show on the screen for about 5 seconds when the display is turned on.
When you switch the input signal, the input signal information shows for about 5
seconds.
Tip
You can display the input signal and “Aspect” setting information by pressing
DISPLAY button on the remote control.
Speaker Out
Select “On” or “Off”. If you select “On”, sound is output from the speakers.
Advanced Setup
Enter more detailed settings.
Control Setting
This menu is used for settings of operation of the display and the remote control.
Index Number
You can change the index number of the display if necessary. Select to set the index
number of the display with
F
/
f
buttons on the display, and press button to
confirm the setting.
The “Index Number” cannot be set with the remote control.
Note
Note
Note
Содержание FWDS42H2
Страница 13: ...13JP JP 後面 ...
Страница 25: ...25JP JP ケーブルを処理する ケーブルホルダーを使う 付属のケーブルホルダー 6 個 を使って ケーブル類をすっきりとまとめることができます ケーブ ルホルダーは 以下のように取り付けます 2 1 本機後面 ...
Страница 55: ...7GB GB ...
Страница 59: ...11GB GB Rear ...
Страница 95: ......
Страница 103: ...9FR FR Arrière ...
Страница 139: ......
Страница 147: ...9 DE DE Rückseite ...
Страница 183: ...45DE DE W Weitere Einstell 22 29 Wide Zoom 16 28 Z Zoom 16 28 Zurücksetzen 25 28 ...
Страница 191: ...9ES ES Parte posterior ...
Страница 227: ...45ES ES V Ventana 27 Vívido 23 ...
Страница 235: ...9 IT FWD S46H2 S42H2 4 443 082 01 1 IT Parte posteriore ...
Страница 271: ...45 IT FWD S46H2 S42H2 4 443 082 01 1 IT V Vivido 23 Z Zoom 16 28 Zoom largo 16 28 ...
Страница 275: ...5 CS CS ...
Страница 277: ...7 CS CS 水平安装显示器 垂直安装显示器 前视图 侧视图 25 10 10 25 5 单位 cm 前视图 侧视图 必须使 1 电源 开关位于 左下方 20 25 25 10 单位 cm 5 ...
Страница 279: ...9 CS CS 后视图 ...
Страница 291: ...21CS CS 电缆布置 使用电缆夹 可用附送的电缆夹 6 整齐地捆扎电缆 请按下图所示的方法安装电缆夹 2 1 后视图 ...
Страница 315: ...45CS CS 邮件帐户 36 Z 执行按钮 10 主电源开关 11 Zoom 16 28 ...


