13
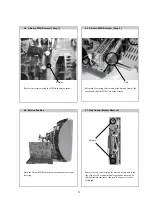
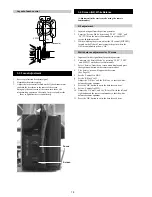
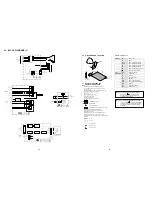
Screw.
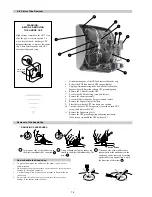
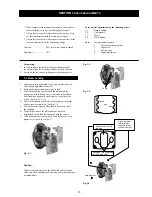
Release the 5 securing clips located at the side and front of the
chassis and slide the PWB clear of the bracket.
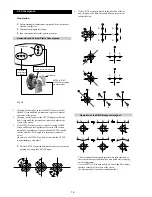
Place the A Board PWB in the position indicated to carry out
servicing.
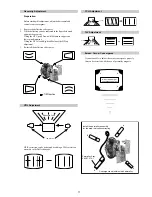
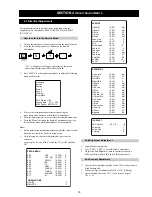
Remove the two screws fixing the user control module to the
side of the set. The control module can then be removed by
sliding it towards the rear of the set allowing access to the
H2 Board.
Screws
Remove the screw securing the PWB to the main bracket.
Clip.
2-5. A Board PWB Removal [ Step 2 ]
2-4. A Board PWB Removal [ Step 1 ]
2-7. Side Control Module Removal
2-6. Service Position
Содержание FD Trinitron KV-29LS30K
Страница 22: ...22 Memo ...
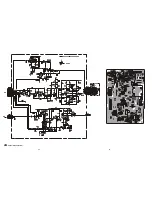
Страница 26: ...29 30 VM VELOCITY MODULATION ...
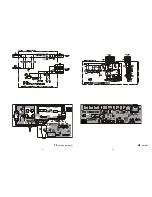
Страница 27: ...31 32 F2 AC FILTER FUSE SIRCS H2 AV3 INPUT ...
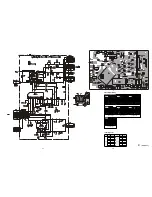
Страница 29: ...35 36 37 KV 29LS30 35 9 927 403 01 A POWER SUPPLY DEFLECTION AUDIO AMPLIFIER Page 1 2 ...


