O
per
at
ing
t
he
Came
ra
Using the Trigger Button
26
Using the Trigger Button
You can operate various functions of the camera simply
by clicking
(trigger) in the main viewer.
Sending a monitor image via e-mail
You can send a captured still image by attaching it to an
e-mail.
To use this function, you need to make
e-Mail (SMTP)
active and set the address in the Trigger menu of the
Administrator menu properly (page 71).
1
Display the image on the monitor window.
2
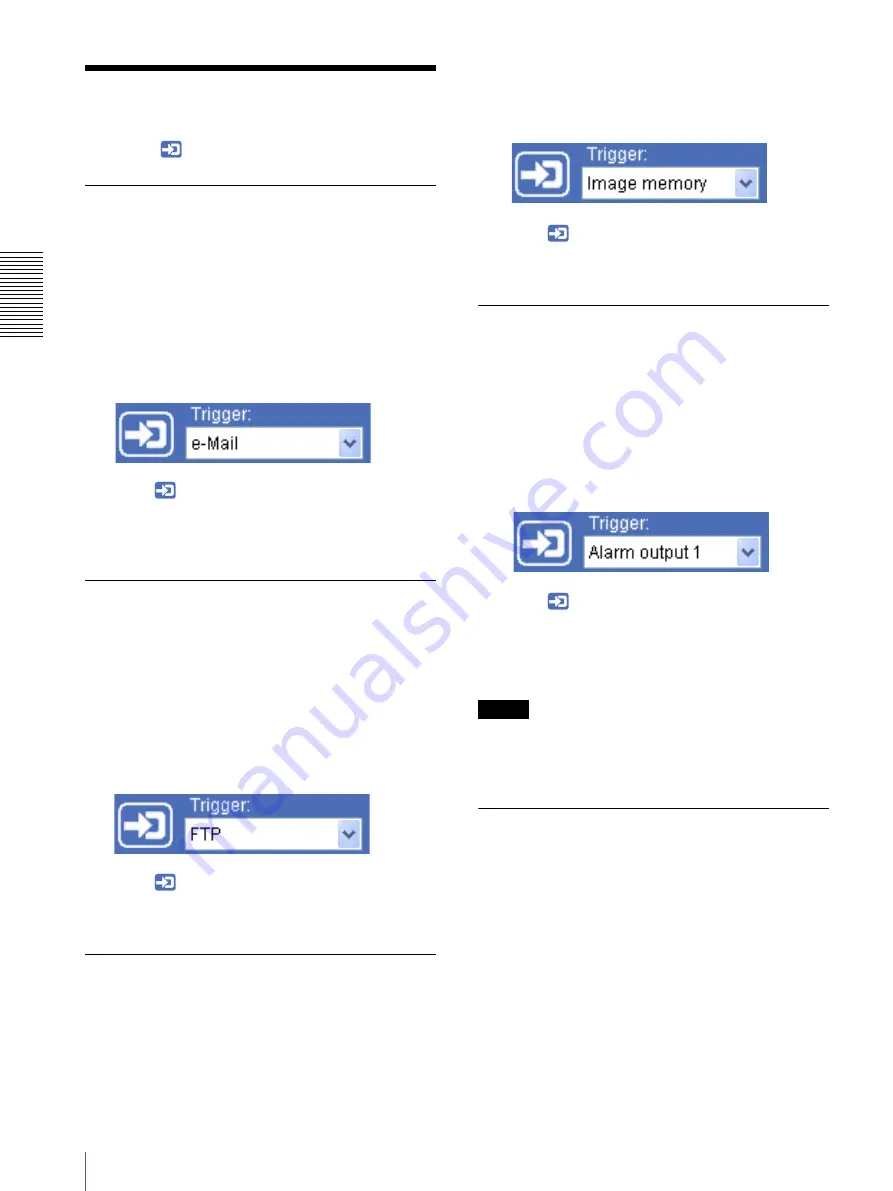
Select
from the trigger drop-down list.
3
Click .
The still image of the moment you click is captured,
and your e-mail with the image file attached is sent
to the specified mail address.
Sending a monitor image to an FTP
server
You can send a captured still image to the FTP server.
To use this function, you need to make
FTP client
active
and set the address in the Trigger menu of the
Administrator menu properly (page 71).
1
Display the image on the monitor window.
2
Select
FTP
from the trigger drop-down list.
3
Click .
The still image of the moment you click is captured,
and the image file is sent to the FTP server.
Recording a camera image as a still
image
You can capture a camera image as a still picture and
record it in the built-in memory.
To use this function, you need to make
Image memory
active and set the details in the Trigger menu of the
Administrator menu (page 71).
1
Display the image on the monitor window.
2
Select
Image memory
from the trigger drop-down
list.
3
Click .
The still image of the moment you click is captured,
and the image file is recorded.
Controlling alarm output 1, 2
You can control Alarm output 1, 2.
To use this function, you need to make
Alarm output 1
or
Alarm output 2
active in the Trigger menu of the
Administrator menu (page 72).
1
Display the image on the monitor window.
2
Select
Alarm output1
or
Alarm output2
from the
trigger drop-down list.
3
Click .
The alarm output is switched by clicking.
The alarm output mode can be selected from
Toggle
or
Timer
of
Alarm output 1, 2
in the
Trigger menu (page 72).
Tip
For the connection of peripheral devices to the alarm
output of the I/O port, see the supplied Installation
Manual.
Controlling Day/Night function
(SNC-DM160 / DS60 / CM120 / CS20
only)
You can control the Day/Night function On (night mode)
and Off (day mode).
To use this function, you need to make
Day/Night
active
in the Trigger menu of the Administrator menu
(page 72).
1
Display the image on the monitor window.
Содержание EXWAVEPRO SNC-CM120
Страница 100: ...Sony Corporation ...


