74
Using the “Picture Motion Browser” (supplied)
Preparing images stored on the
computer for viewing
To view them, register the folder that
contains the images as one of the “Viewed
folders”.
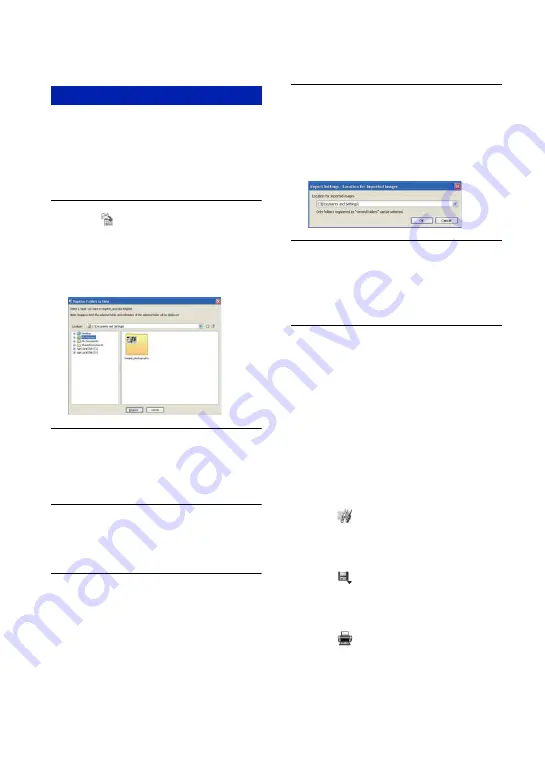
1
Click
on the main screen, or
choose [Register Folders to View]
from the [File] menu.
The settings screen for “Viewed folders”
registration is displayed.
2
Specify the folder with images for
importing to register the folder as
one of the “Viewed folders”.
3
Click [OK].
The image information is registered in the
database.
•
Images in any subfolders of “Viewed
folders” are also registered.
Changing the “Folder to be imported”
To change the “Folder to be imported”,
access the “Import Settings” screen.
1
Choose [Import Settings]
t
[Location for Imported Images]
from the [File] menu.
The “Location for Imported Images” screen is
displayed.
2
Choose the “Folder to be
imported”.
• You can specify the “Folder to be imported”
from folders registered as “Viewed folders.”
Updating image registration information
To update image information, choose
[Update Database] from the [Tools] menu.
•
Updating the database may take a while.
•
If you rename image files or folders in
“Viewed folders”, they cannot be
displayed with this software. In this case,
update the database.
Saving images with the date
1
Double-click an image to display it.
2
Click
and select [Insert Date] from the
drop-down list.
3
Select your desired color and position, and
then click [OK].
4
Click
to save.
Printing images with the date
1
Select the still image you want to print.
2
Click
on the toolbar.
3
Click the check box of [Print date taken] in
Print Options.
4
Click [Print].
Other functions


