


49
GB
Ot
h
e
rs
Learning more about the camera (“Cyber-
shot Handbook”)
“Cyber-shot Handbook”, which explains how to use the camera in detail, is included on
the CD-ROM (supplied). Refer to it for in-depth instructions on the many functions of
the camera.
• You need Adobe Reader to read “Cyber-shot Handbook”. If it is not installed on your
computer, you can download it from web page: http://www.adobe.com/
x
For Windows users
x
For Macintosh users
1
Turn on your computer, and insert the CD-ROM (supplied)
into the CD-ROM drive.
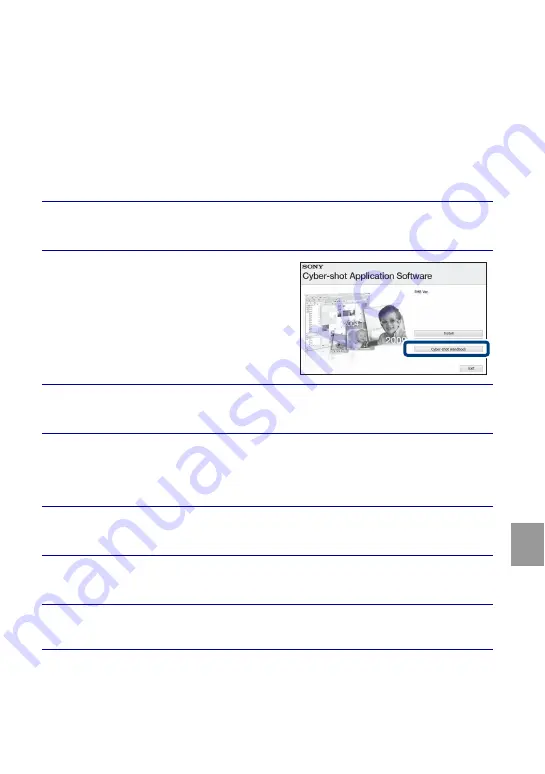
2
Click “Cyber-shot Handbook”.
“Cyber-shot Step-up Guide”, which contains
information on accessories for the camera, is
installed at the same time.
3
Start “Cyber-shot Handbook” from the shortcut on the
desktop.
1
Turn on your computer, and insert the CD-ROM (supplied)
into the CD-ROM drive.
2
Select the [Handbook] folder and copy “Handbook.pdf”
stored in the [GB] folder to your computer.
3
After copying is complete, double-click “Handbook.pdf”.
Содержание Cyber-shot DSC-W190
Страница 55: ...55GB Others ...
Страница 105: ...51ES Otros ...
Страница 106: ...52ES ...
Страница 107: ...53ES Otros ...
Страница 108: ...54ES ...
Страница 109: ...55ES Otros ...
Страница 110: ...56ES ...
Страница 111: ...57ES Otros ...