Ta
ble
of
Op
e
HO
In
143
GB
1
t
(Print)
t
desired item
t
Printing the currently displayed image
In single-image mode, select [This Image] as the desired item.
Selecting and printing multiple images
Select [Multiple Images] as the desired item.
In single-image mode
1
Touch
/
to display the image, then touch the image you want to print.
2
Repeat step
1
.
3
t
[OK].
In index mode
1
Touch
/ to turn the pages, then touch the image you want to print.
2
Repeat step
1
to print more images.
3
t
[OK].
Printing all images in the date range, event group, Favorites or folder
In index mode, select [All in Date Range], [All in Event], [All in Favorites] or [All in This
Folder] as the desired item, then touch [OK].
2
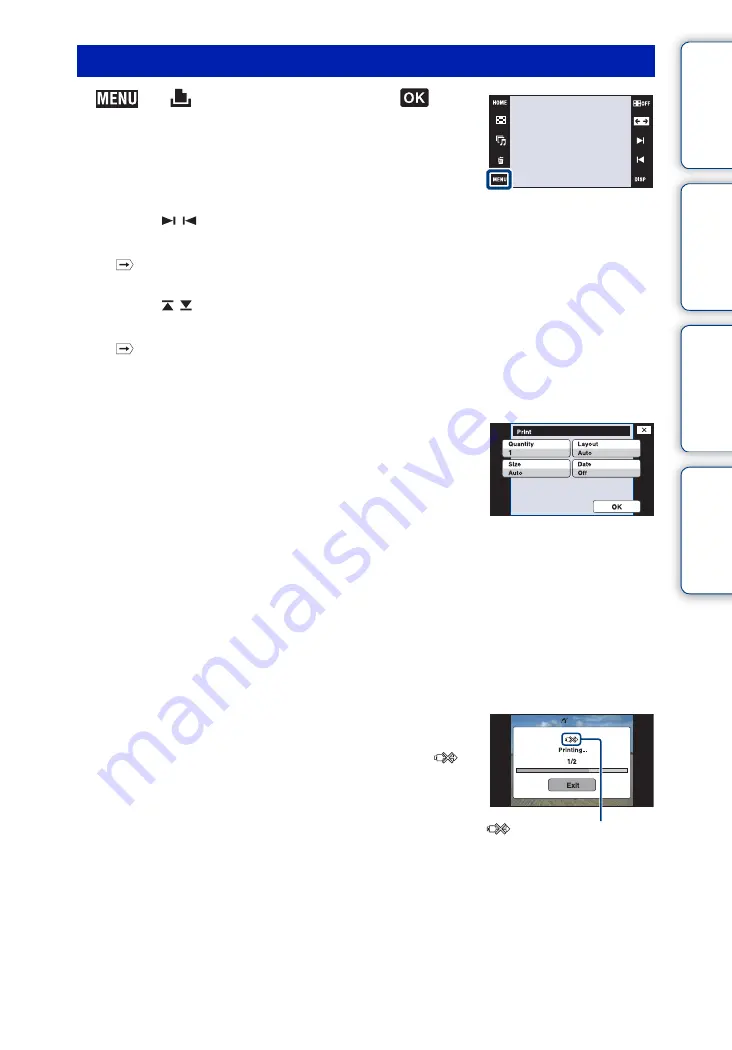
Touch the desired setting item to make the print
settings.
[Quantity]
Selects the number of copies of the specified image to be
printed.
• The designated number of images may not all fit onto a single sheet
depending on the quantity of images.
[Layout]
Selects the number of images you want to print side by side on a sheet.
[Size]
Selects the size of the printing sheet.
[Date]
Selects [Day&Time] or [Date] to insert the date and time on images.
• When you choose [Date], the date will be inserted in the order you select (page 75). This function may
not be provided depending on the printer.
3
Touch [OK].
The image is printed.
• Do not disconnect the cable for multi-use terminal while the
(PictBridge Connecting) indicator appears on the screen.
Make sure the screen has returned to stage 2, and disconnect the
cable for multi-use terminal from the camera.
Stage 3: Printing
(PictBridge Connecting)
indicator


