42
After the security code setup is
completed
Should you re-install the unit in another car or
change the battery, the Check Code display
appears after turning on the unit.
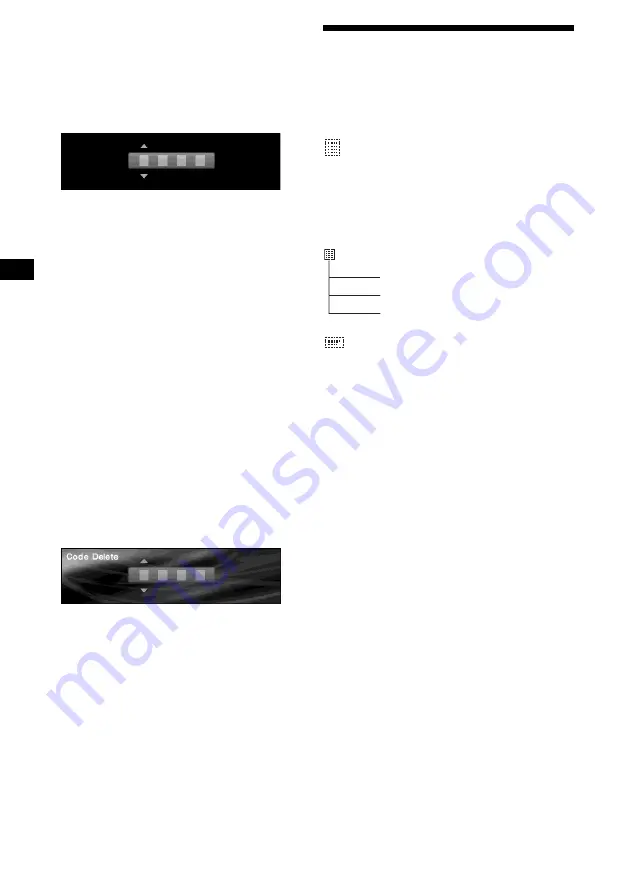
The code Input display
Operation by the main unit:
1
Rotate the R dial to select the 1st digit,
then press
(ENTER)
.
2
Repeat step 1 to enter the 2nd, 3rd,
and 4th digit, then press
(ENTER)
.
When the security code is verified,
“Complete” appears and the display returns to
the clock/calender display.
If the code is invalid, enter the correct code.
Note
You cannot move the cursor backwards after entering
the numbers. When you entered wrong numbers,
press
(ENTER)
repeatedly to display “Code Error,”
then enter the correct code.
Cancelling the security code
1
Press
(MENU)
.
2
Press
<
or
,
repeatedly to select
“Setup,” then press
(ENTER)
.
3
Press
<
or
,
to select “Security,”
then press
(ENTER)
.
The Code Delete display appears.
4
Enter your 4-digit code, then press
(ENTER)
.
When the security code is verified, the
confirmation display appears.
5
Press
<
or
,
repeatedly to select
“YES,” then press
(ENTER)
.
“Complete” appears and the display returns to
the previous display.
If the code is invalid, enter the correct code.
6
Press
(MENU)
.
The display returns to the normal display.
Note
You cannot change the security code unless you
delete your stored code.
Tip
If the security code is not stored, the Code Delete
display does not appear.
Menus and items
Items in the menus differ depending on the
source and display pattern in the display mode
selected.
The following items can be set:
List menu
• Disc List - displays the disc name list
(page 20).
• Preset List - displays the station name list
(page 23).
• PTY List - displays the programme type list
(page 26).
Display menu
• Skin - changes the face pattern (page 28).
• Char Color - changes the colour of display
characters (page 28).
• Auto Image - changes the duration for
displaying images (page 29).
• Effect - changes the moving patterns as visual
effects (page 30).
• Wallpaper - selects the image as the wallpaper
(page 30).
• Panorama - selects the panorama images as the
wallpaper (page 31).
• Aspect - changes the image ratio (page 31).
• Auto Clear - turns off the display characters on
the display (page 33).
• Auto Scroll - scrolls long text information
(page 18).
List
Disc List
Preset List
PTY List


