32
Menu Settings
The device and system status can be monitored and settings
can be modified using the menu displayed in the video output
configured for the monitor output (M).
Changing Settings using the Menu
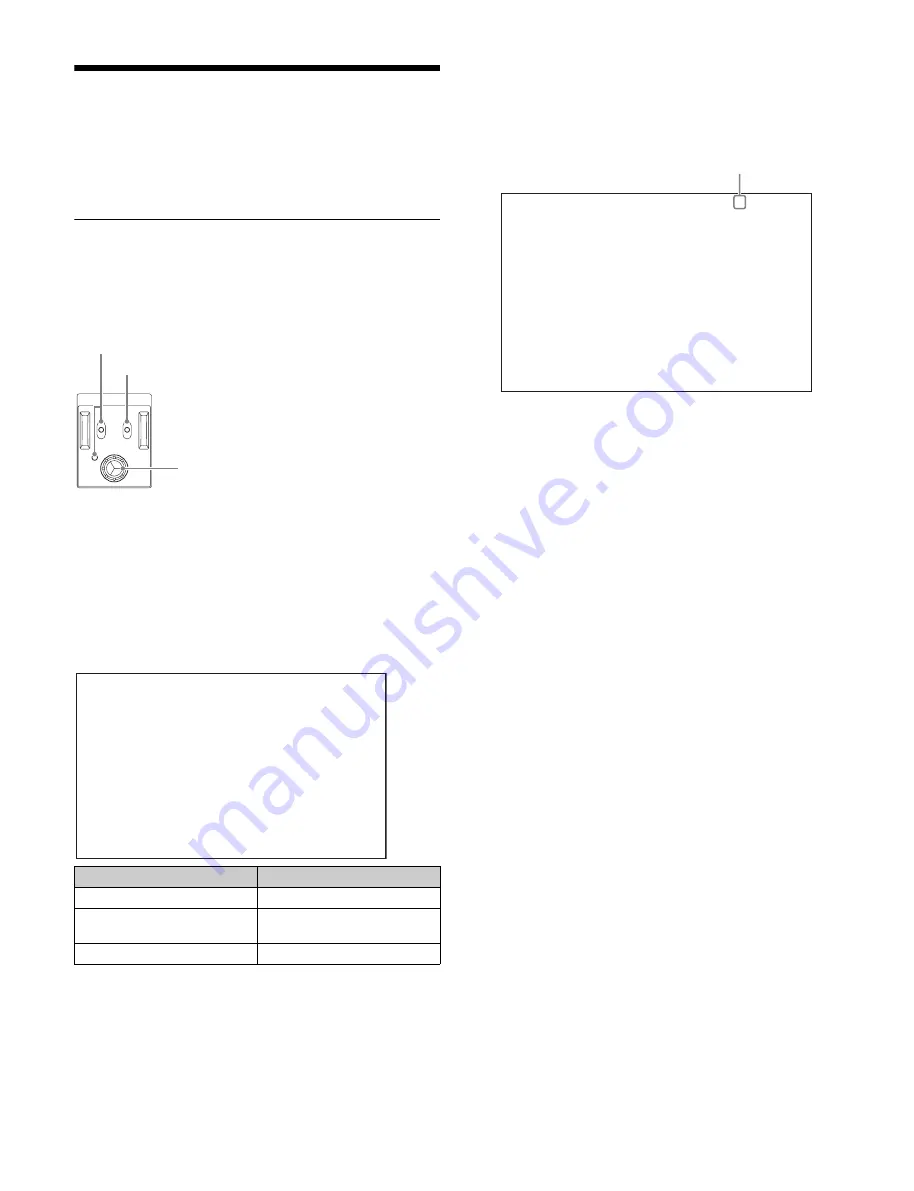
The menu screen is controlled using the knob and levers in the
MENU control block on the front panel.
Pushing the control knob and setting the CANCEL/ENTER
lever to ENTER have the same function.
To display a menu page
Set the DISP/MENU lever to the MENU position.
When first powered on, the TOP MENU page is displayed.
To display the TOP MENU screen
In menu display mode, turn the control knob to move the
,
cursor to TOP in the upper right corner of the menu page, then
press the control knob.
The TOP menu showing the menu configuration is displayed.
To select a menu from the TOP MENU
Turn the control knob to move the
,
cursor to the desired
menu and push the knob.
The last accessed page in the selected menu will be
displayed.
To change page
1
Check that the
,
cursor is pointing to the page
number then push the control knob.
The
,
cursor changes to a flashing
?
(question mark).
2
Turn the control knob to flip through the pages, and
push the knob when the desired page is displayed.
The
?
(question mark) changes back to
,
. Items on the
page can now be selected.
To set a menu item
If
?
(question mark) is displayed to the left of the page number,
push the control knob to change to the
,
cursor. Settings on
the displayed page can now be modified.
1
Turn the control knob to move the
,
cursor to the
desired item and push the knob.
The
,
cursor changes to a flashing
?
(question mark).
2
Turn the control knob to change the setting.
To cancel a changed setting
Set the CANCEL/ENTER lever to CANCEL before
pushing the control knob to restore the original setting.
To cancel menu changes
Set the DISP/MENU switch to MENU to turn off the menu
screen display.
The menu setting operation can be restarted by setting
the DISP/MENU switch to MENU again.
3
Push the control knob.
The
?
(question mark) changes back to
,
, and the item
setting is registered.
4
To change other settings on the same menu page,
repeat steps 1 to 3.
To set a menu item with multiple input fields
Some menus have items with multiple input fields.
If you press the control knob when the
,
cursor is pointing to
an item with multiple input fields, the input fields are displayed
for setting each input field.
The cursor is moved by turning the control knob.
Menu
Description
CONFIGURATION
BPU configuration settings.
NETWORK
Network-related configuration
settings.
DIAGNOSIS
Displays the device status.
MENU
ENTER
DISP
CANCEL
MENU
DISP/MENU lever and indicator
CANCEL/ENTER lever
Control knob
<TOP MENU>
c
CONFIGURATION
NETWORK
DIAGNOSIS
<OUTPUT FORMAT> ?C03 TOP
SLOT1: C 3840x2160 3G(Lv-A) 2SI
OETF: S-Log3 LOOK: ---
COLOR: BT2020
SLOT2: C 3840x2160 3G(Lv-A) 2SI
OETF: S-Log3 LOOK: ---
COLOR: BT2020
SLOT3: C 19200x1080 3G(Lv-A) EC
OETF: SDR COLOR: BT.709
SLOT4: M 19200x1080 HD-SDI EC
OETF: SDR COLOR: BT.709
HD CUTOUT: OFF
Flashing


