13
5.
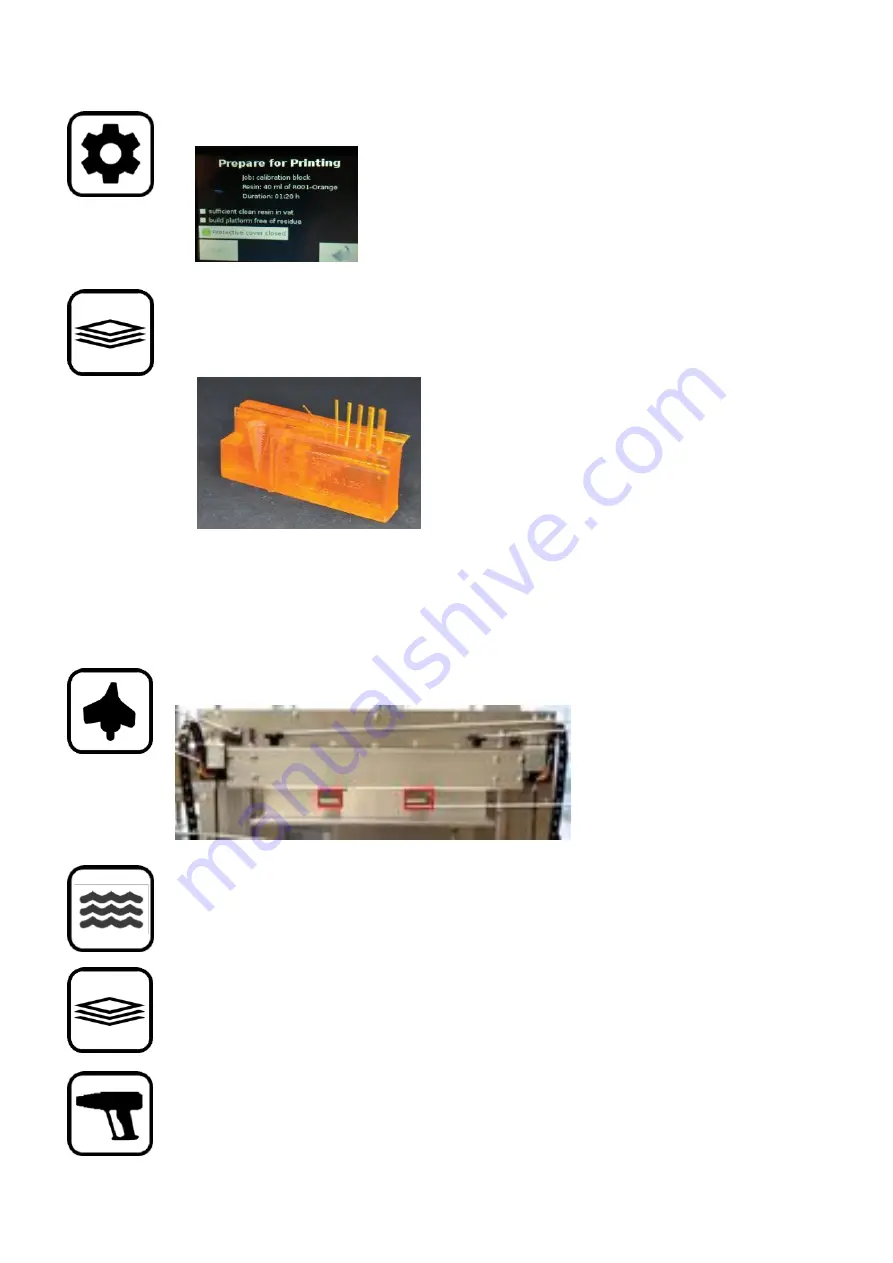
Now start the print again via touch screen → print → select the “calibration object” and
confirm the check boxes and hit Start.
6.
At the end of the print, you should have this object at the print platform.
Please verify that the object has at least 5 pins this indicates correct
sharpness of the projection. If not please try recalibrate the machine
and print again.
Removing and Cleaning
1.
Open the screws that fix the printing plate with both hands so the printing plate is settling
down onto the holders evenly. The printing plate can sit in the holders safely.
2.
Now you can tilt the platform to the rear and to the front to let resin drip off the platform.
After this you clean the top and bottom of the printing platform using a soft paper towel after
most resin has dripped off. Do not remove the printed object at this stage
!
3.
The object has been printed without break-off support. That results in clean flat surfaces but
makes it hard to remove. You will need two tools to remove the object from the plate: A
scraper max (1.5mm-thick blade) and a heat gun or hairdryer.
4.
First, use the heat gun to heat up the object / printing plate. (We use about 120° C / 248 °F to
do this.) Then, the object becomes softer, and you can remove it from the print plate with the
scraper much easier.
Содержание 2.0
Страница 1: ...SOLIDATOR 2 DLP 3D PRINTER USER MANUAL ...
Страница 18: ...18 ...


