4-11
4
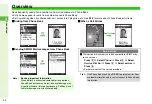
Phone Book
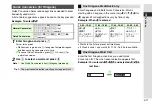
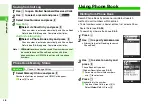
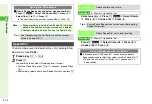
1
Press
D
, then select an entry
2
Press
N
x
3
Select
Delete
and press
b
4
Choose
Yes
and press
b
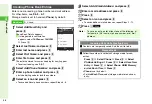
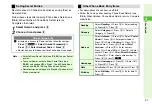
1
Select
Phone Entries
,
USIM Entries
or
Both
Entries
and press
b
2
Choose
Yes
and press
b
3
Enter Handset Code and press
b
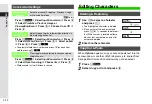
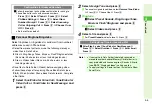
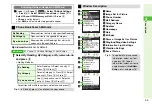
Customise Category options; create new Category names.
1
Use
F
to select handset or USIM
2
Select a Category and press
N
x
^
No Category
(on handset) cannot be renamed.
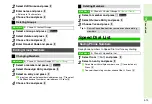
3
Select
Edit Name
and press
b
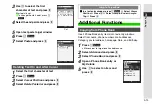
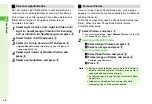
C
To change icons, select
Change Icon
A
Press
b
A
Select
an icon
A
Press
b
(Omit the next steps.)
4
Enter name
^
Enter up to 16 characters on handset; USIM Card character
entry limit varies according to card specifications.
5
Press
b
^
Repeat Steps 1 - 5 for other Categories.
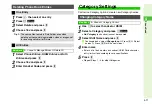
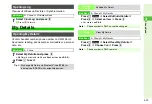
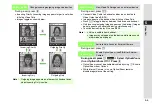
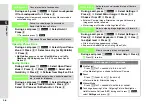
Deleting Phone Book Entries
One Entry
Tip
H
The source files remain in Data Folder, even when
deleting entries containing melodies, video or images set
for incoming calls/mail or Picture.
All Entries
Main Menu
H
Phone
A
Manage Entries
A
Delete All
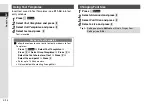
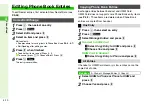
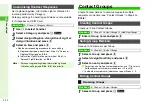
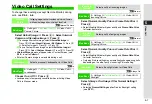
Category Settings
Changing Category Name
Main Menu
H
Phone
A
Category Control
Содержание 910SH
Страница 30: ...1 1 Getting Started...
Страница 59: ...2 1 Basic Handset Operations...
Страница 79: ...3 1 Text Entry...
Страница 93: ...4 1 Phone Book...
Страница 112: ...5 1 Video Call...
Страница 120: ...6 1 Camera...
Страница 144: ...7 1 Media Player...
Страница 164: ...8 1 Managing Files Data Folder...
Страница 189: ...9 1 Additional Settings...
Страница 218: ...10 1 Connectivity...
Страница 233: ...11 1 Tools...
Страница 259: ...12 1 Optional Services...
Страница 269: ...13 1 Messaging...
Страница 307: ...14 1 Yahoo Keitai...
Страница 329: ...15 1 S Applications...
Страница 339: ...16 1 S FeliCa Japanese Only...
Страница 347: ...17 1 Entertainment...
Страница 355: ...18 1 Communication...
Страница 375: ...19 1 Appendix...

