15-6
15
Messaging
●
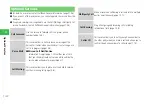
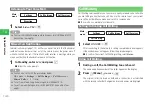
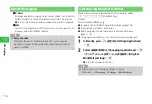
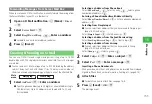
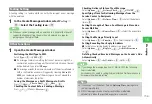
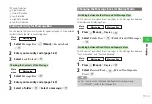
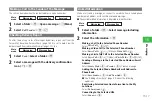
If you select
Notify Only Once
, a confirmation window won't be
displayed from the next time.
7
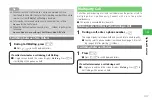
You cannot create a message if there is insufficient memory. Delete
unnecessary messages in
Message Box
(page 15-19) or change the
Auto-delete setting (page 15-15) to its setting at time of purchase of
Set
.
7
If the other party's handset doesn't support S! Mail, it might be
displayed differently.
Note
7
By pressing and holding
a
D
/
a
C
in Standby, you can view Sent log/
Received log. You can also create S! Mail by selecting a log and
pressing
j
J
(Mail).
Tip
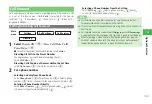
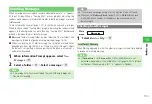
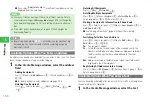
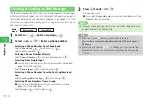
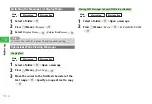
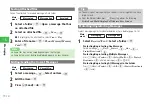
Available Options When You Enter an Address
An address can be added or deleted after you enter it. Also save it to Phone
Book, change the address type, or set the category.
1
In the Create Message window, select the address
field
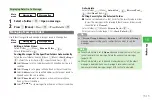
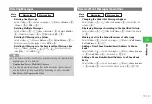
Adding Recipients
Press
k
K
(Menu)
→
Add Address
→
@
→
Select an address
→
@
→
J
(OK)
●
For details on how to enter addresses, see page 15-5.
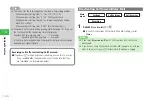
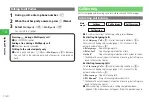
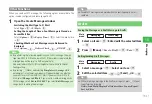
Deleting One Recipient
Press
@
→
Select a recipient
→
K
(Menu)
→
Delete
→
@
→
One
→
@
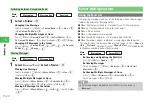
Deleting All Recipients
Press
k
K
(Menu)
→
Delete All
→
@
Deleting Multiple Recipients
Press
@
→
K
(Menu)
→
Delete
→
@
→
Select Multi
→
@
→
Select recipients
→
@
→
J
(Delete)
→
J
(OK)
Storing a Recipient's Information in Phone Book
Press
@
→
Select a recipient
→
K
(Menu)
→
Save Sender
→
@
→
Add New
/
Add
→
@
●
See "Adding a New Entry" (page 4-3) about the following
operations.
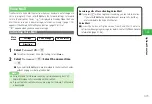
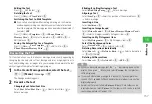
Switching To/Cc/Bcc for an Address
Press
@
→
Select a recipient
→
K
(Menu)
→
To/Cc/Bcc
→
@
→
To
/
Cc
/
Bcc
→
@
→
J
(OK)
To
: The recipient’s address.
Cc
: Select this option to send copies of the message sent to the
address in the
To
field to other addresses. Addresses entered in
the
Cc
(carbon copy) field are also displayed to the other
recipients.
Bcc
: Addresses entered in the
Bcc
(blind carbon copy) field are not
displayed to the other recipients.
Registering All Addresses into a Group
Press
k
K
(Menu)
→
To Group
→
@
(twice)
→
Select a group
→
@
→
Enter a group name
→
@
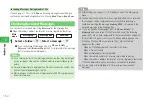
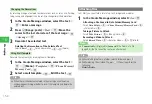
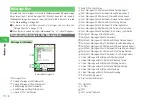
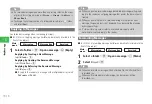
Available Options When You Enter a Text
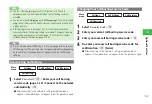
Text can be edited or deleted after you enter it. Also insert a mail template or
save entered text as a template.
1
In the Create Message window, select the text
Содержание 814T
Страница 3: ...iii...
Страница 32: ...1 2 1 Getting Started...
Страница 66: ...2 14 2 Basic Operations...
Страница 130: ...6 26 6 Camera...
Страница 186: ...11 18 11 Settings...
Страница 196: ...12 10 12 Security Settings...
Страница 254: ...14 10 14 Optional Services...
Страница 320: ...18 18 18 Communications...
Страница 338: ...20 10 20 S FeliCa...
Страница 356: ...21 18 21 Appendix AC Charger Input Voltage 100 to 240 V AC 50 60 Hz Charging Temperature Range 5 to 35 C...

