Camera Control
21
"
Change the size of the area by keeping the mouse depressed and
moving the mouse. The ROI used for the black balance cannot be
made to any large size possible.
5)
Rightclick to confirm position and size of the ROI.
"
The values are calculated for the black balance on the area defined
in such a way.
6)
Click the
Black Balance On/Off
button to activate the black balance.
"
The correction values calculated for the black balance are deduct-
ed from all the pixels in the entire image.
The
black balance
function is available for live acquisitions as well as for the
acquired snapshots. A ROI for black balance has to be set before perform-
ing the black balance on single images. The
Black Balance
button for ac-
quired images is part of the
Black
button bar.
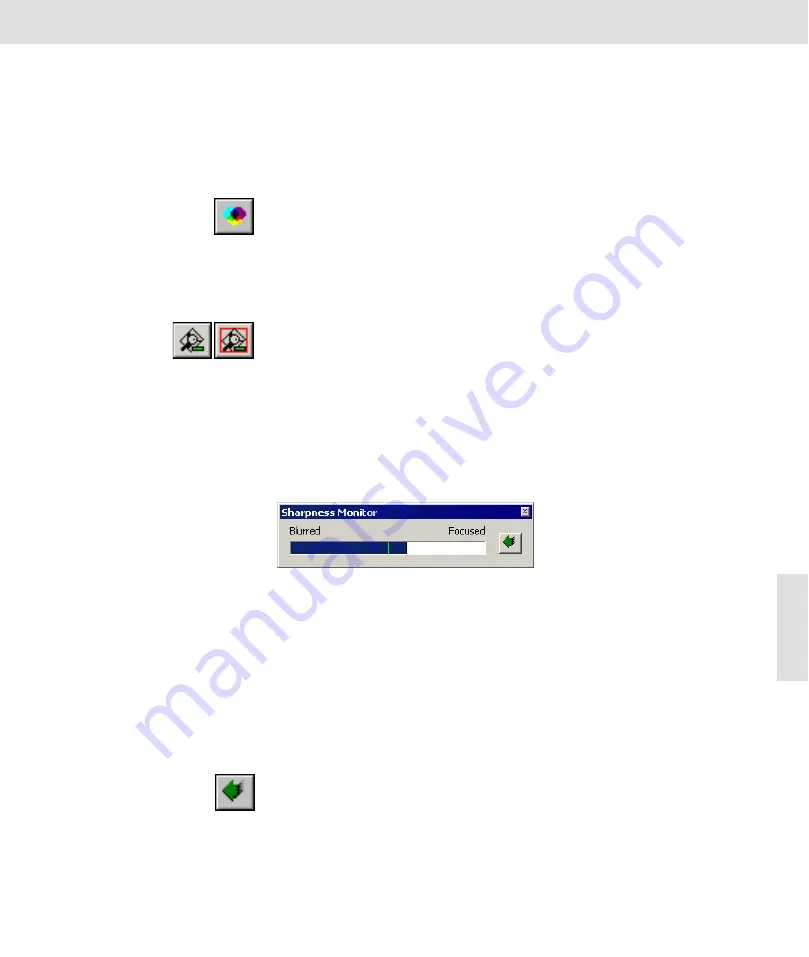
Sharpness Monitor
The
Sharpness Monitor
allows you to control the focus settings during a live
acquisition. You are also able to define a rectangular area of the image
which is to be analyzed for the sharpness monitor in the same way as for the
white balance and black balance. The maximum contrast serves as a mon-
itor for the sharpness in this area. Therefore this area should be limited to
an image segment in which the contrast is a good monitor for the sharpness.
Meaning of the Sharp-
ness Monitor
The Sharpness Monitor consists of a dialog box in which a relative measure-
ment of the sharpness is displayed by a changing bar which can be varied
between
Blurred
and
Focused
.
If you start a live acquisition with an activated Sharpness Monitor or activate
it during a live acquisition, it will show middle sharpness (50%) in each case.
This is because there is no absolute measurement for the sharpness in an
image and because the sharpness monitor only gives relative values which
are related to the initial situation which was present when starting the live
acquisition.
Focussing and Sharp-
ness Monitor
The length of the bar changes if you alter the focus settings during a live ac-
quisition in progress with an active sharpness monitor. In doing so, the
green markation bar shows the maximum sharpness reached since the live
acquisition was started. The bar shifts accordingly to the right should the
sharpness increase due to your changes. If the focus settings are already
optimal when starting acquisition, the bar can only shift in direction
Blurred
.
Reset to 90%
Click the
Reset to 90%
button to set the sharpness monitor's relative value
to 90%. Utilize this function if you start working with a very blurry image and
if the sharpness monitor's bar reaches the limit to the right while focusing.
By resetting to 90%, the display gets more room for additional focussing.
The
Reset to 90%
function is also available if the sharpness drops very dras-
tically due to changes made to the microscope settings (i.e. changing objec-
tives) during an acquisition in progress.
Содержание ColorView III
Страница 1: ...analySIS Manual ColorView III ...
Страница 6: ...ColorView III 4 ...
Страница 50: ...ColorView III Objective Total Magnification and Useful Magnification 48 ...
Страница 76: ...ColorView III When encountering problems with the camera 74 ...
Страница 78: ...76 ...


