


18 - INSTALLATION
91477A688/A
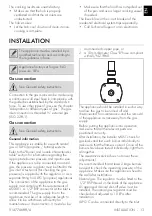
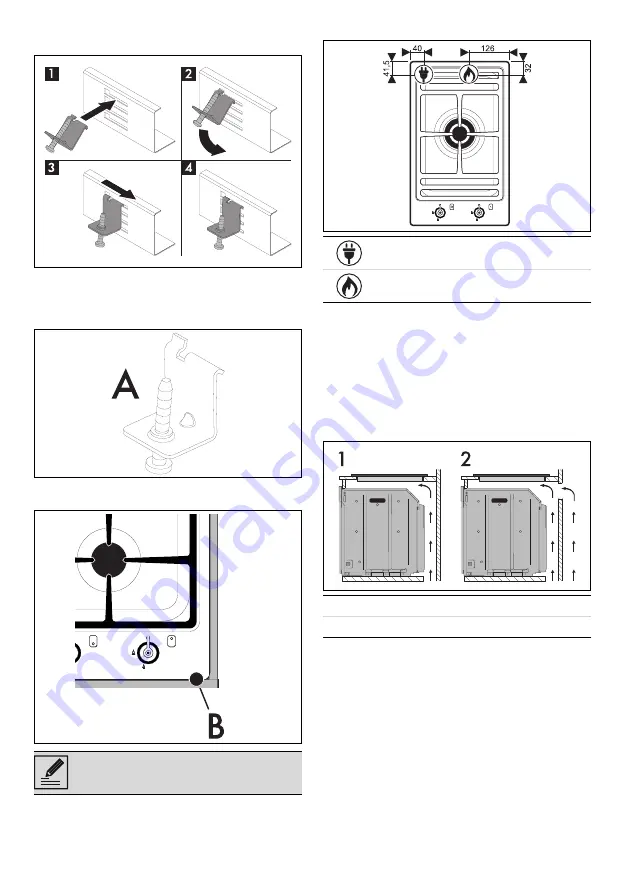
front and rear sides of the seal must be flush
with the hole.
3. Place the hob on the insulating seal and fix it
to the supporting structure using the screws
and fastening brackets supplied (A) so that
the hob is perfectly level.
4. Carefully trim the excess away from the
edge of the seal (B).
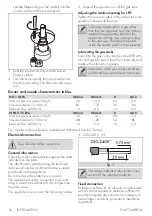
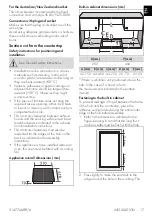
Connection positions (mm)
Mounting
Over built-in oven unit
The clearance between the hob and the kitchen
units or other built-in appliances must be enough
to ensure sufficient ventilation and air discharge.
If installed above an oven, a space must be left
between the bottom of the hob and the top of
the appliance installed below.
On an empty kitchen
If there are other pieces of furniture under the
hob, a double-layer wooden base must be
installed at least 20 mm from the bottom of the
hob to avoid any accidental contact. It must
only be possible to remove the double-layer
The brackets should be positioned only
after having placed the hob on the seal.
Electrical connection
Gas connection
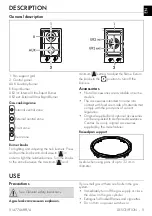
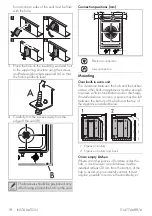
1 Opens on bottom
2 Opens on bottom and back


