Quick Reference
The SMART Board
™
interactive display frame
This
Quick Reference
provides an overview of the information that you need to begin using the SMART Board
™
interactive
display frame. Before you begin working, make sure that the appropriate SMART Board software is installed and running
on your computer. For more information about the software, please visit
http://www2.smarttech.com/st/en-us/support
Starting the SMART Board interactive display frame
The SMART Board interactive display frame is always turned on unless it is disconnected. To start your experience with
the SMART Board interactive display frame, turn on your plasma screen and start your computer as you normally would.
Using your finger as the mouse
1
Press your finger twice on the application icon that you want to start. The double-press to start an application is
equivalent to the double-click of a mouse to start an application.
N
OTE
: Each single-press on the board with your finger is equivalent to a single left mouse click.
Writing and erasing notes with the pencil
You can write over the desktop image or an application, such as Internet Explorer
®
Internet browser or
Microsoft
®
Word
software.
1
Pick up the pencil from the pencil ledge
2
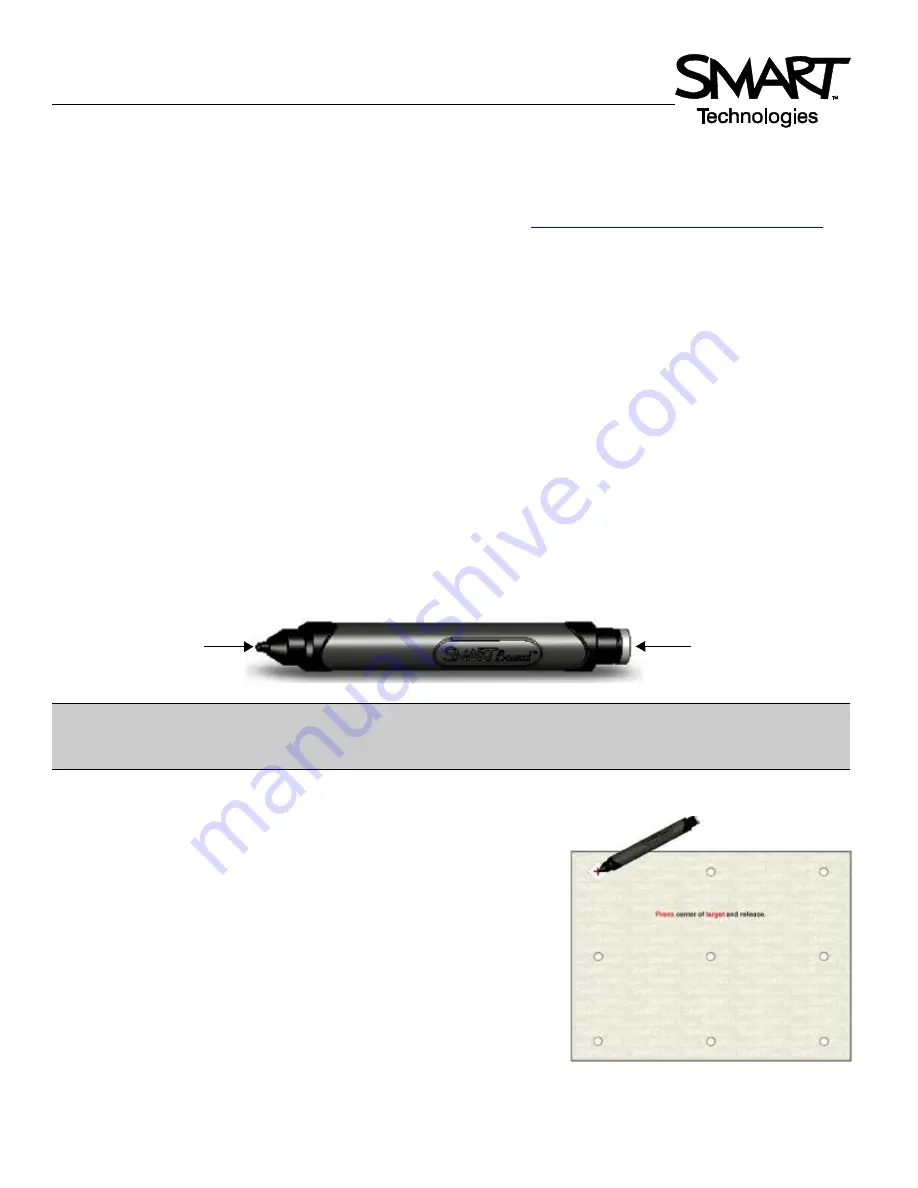
Write on the screen using the nib of the pencil
3
If you want to erase your notes, turn the pencil around and use the eraser to erase the digital ink
Orienting the SMART Board interactive display frame
If your finger or pencil doesn’t align accurately with the mouse pointer or digital
ink when you touch the screen, perform an orientation procedure.
1
To orient the interactive display frame, click the
SMART Board
icon in
the notification area, and select
Orient
. The orientation screen appears
2
Press the nib of the pencil on the center of the upper-left cross. When
you release your press, the diamond-shaped graphic advances to the
next cross. Continue this process in the order of the advancement of the
points.
3
After you release the last point, the Orientation screen closes and the
screen that you started on prior to the orientation process appears
T
IP
: Use light and constant pressure on the interactive display when your write and erase notes. If you do not apply
constant pressure, you may not get the desired result. Don’t press too firmly or to allow other objects, such as jewellery
or pens, to touch the surface of the plasma display, as you may damage its surface.
Pencil eraser
Pencil nib
The Orientation Screen


