Configuring the SMART Hub SE240
17
3.
Using a pen from your SMART product’s pen tray, press, hold and release the center of the
first target.
4.
Repeat step 3 for each target.
The orientation data saves to Notebook software.
You’ve oriented your SMART product.
NOTE:
For more information on orienting your SMART product using Notebook software, see
Configuring Multiple SMART Hub SE240 Units
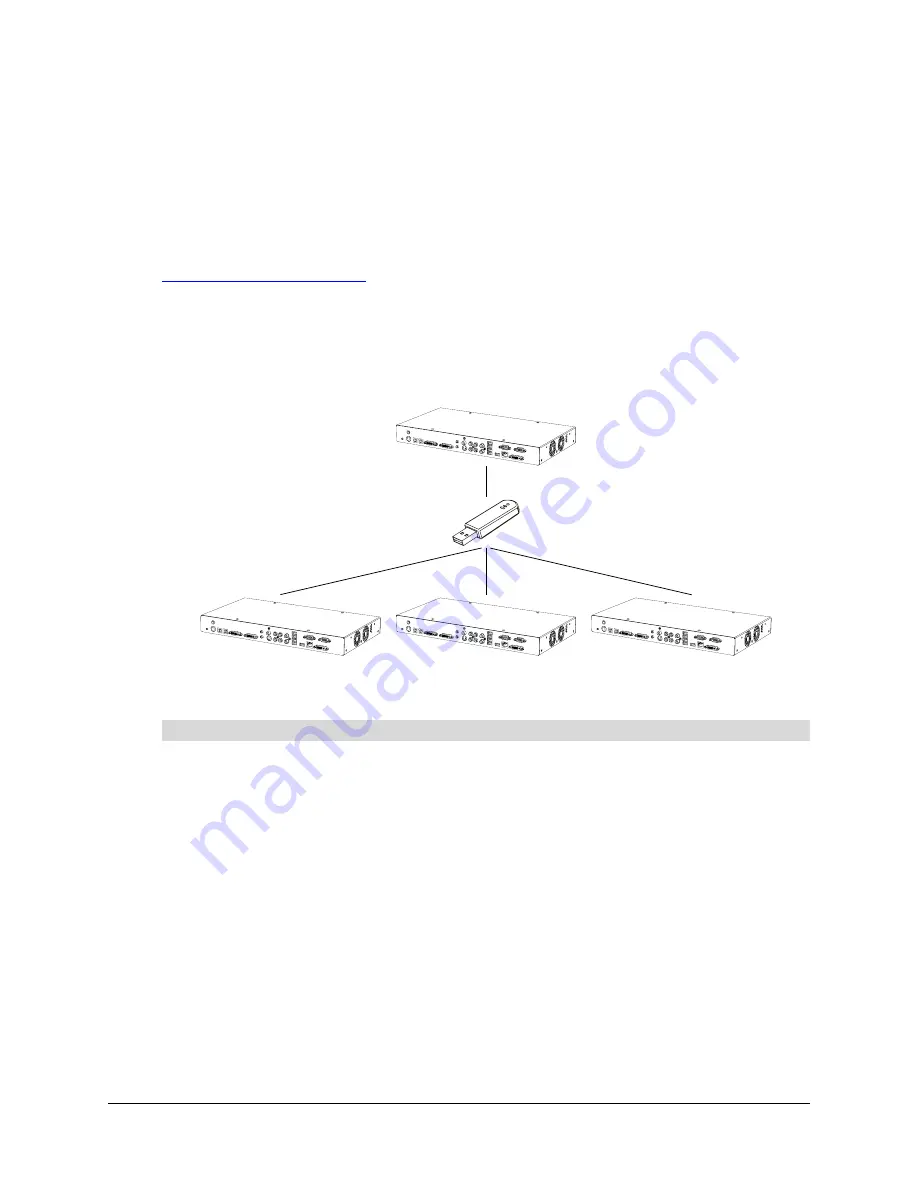
If you have more than one SMART Hub SE240, you don’t have to configure each unit separately.
Instead, configure one unit, export the configuration setting to a USB storage device, and then
import the configuration settings to the other units.
NOTE:
The export process doesn’t include orientation data on the USB storage device.
1.
Connect a USB storage device to the SMART Hub SE240.
2.
Press
Menu
.
The Welcome Center appears.
3.
Press
Settings
.
The
Settings
dialog box appears.
4.
If a password is required to change the configuration settings, type the password in the box at
the bottom of the menu, and then press
OK
.
NOTE:
For information on the configuration settings password, see page 20.
To export configuration settings to a USB storage device
Содержание SE240
Страница 1: ...Installation and User s Guide SMART Hub SE240 ...
Страница 4: ...ii Important Information ...
Страница 10: ...4 About the SMART Hub SE240 ...
Страница 20: ...14 Installing the SMART Hub SE240 ...
Страница 50: ...44 Configuring the SMART Hub SE240 ...
Страница 90: ...84 Troubleshooting the SMART Hub SE240 ...
Страница 92: ...86 Regulatory Compliance ...
Страница 99: ......


