Chapter 6
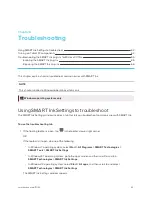
Troubleshooting
66
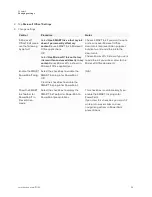
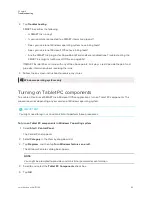
To enable the plug-ins
1. If the floating toolbar is open, tap
in the toolbar’s lower-right corner.
OR
If the toolbar isn’t open, do one of the following:
o
In Windows 7 operating system, select
Start > All Programs > SMART Technologies >
SMART Tools > SMART Ink Settings
.
o
In Windows 8.1 operating system, go to the
Apps
screen and then scroll to and tap
SMART Technologies > SMART Ink Settings
.
o
In Windows 10 operating system, select
Start > All apps
, and then scroll to and select
SMART Technologies > SMART Ink Settings
.
The
SMART Ink Settings
window appears.
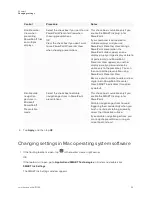
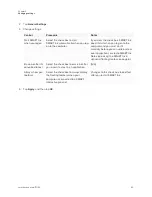
2. Tap
Troubleshooting
.
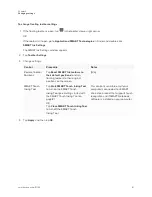
3. For each plug-in that the
SMART Ink Settings
window identifies as disabled, tap
Enable plug-in
.
Repairing the SMART Ink plug-ins
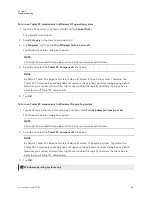
To repair the plug-ins in Windows 7 operating system
1. Select
Start > Control Panel
.
The Control Panel appears.
2. Select
Category
in the
View by
drop-down list.
3. Tap
Uninstall a program
.
4. Select
SMART Ink
in the list, and then tap
Repair
.
The SMART Ink plug-in installation wizard appears.
5. Follow the on-screen instructions.
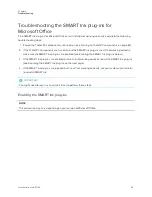
To repair the plug-ins in Windows 8.1 operating system
1. Go to the
Apps
screen, and then scroll to and tap
Control Panel
.
The Control Panel appears.
2. Select
Category
in the
View by
drop-down list.
3. Tap
Uninstall a program
.


