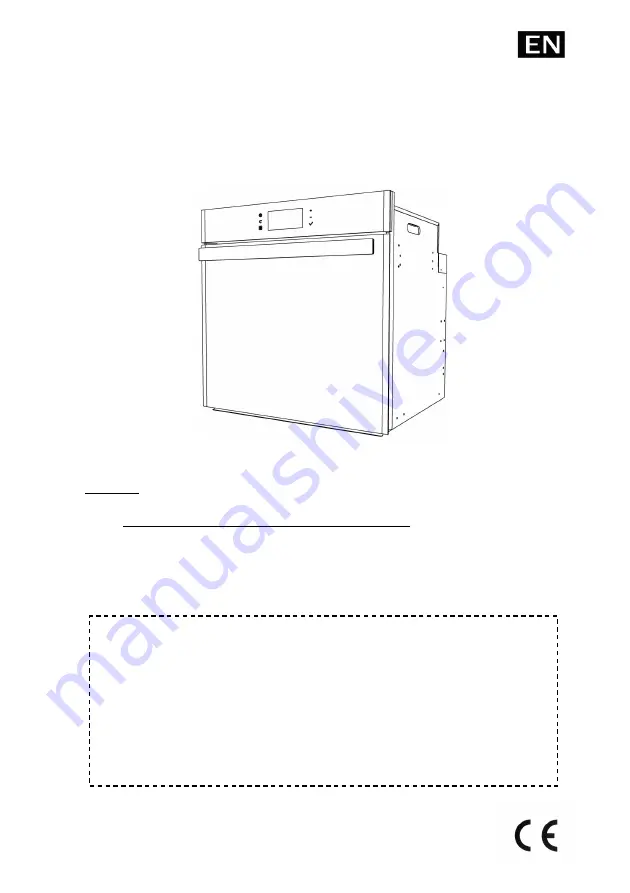
BUILT-IN ELECTRIC OVEN SERIES S60 USE, INSTALLATION AND MAINTENANCE INSTRUCTIONS
MODEL
-
SERIES 60 MULTI-FUNCTION (MT 60 OFT)
(MT) MULTIFUNZIONE ELETTRICO (OFT) FULL TOUCH CONTROL
PRODUCT LABEL
Страница 1: ...BUILT IN ELECTRIC OVEN SERIES S60 USE INSTALLATION AND MAINTENANCE INSTRUCTIONS MODEL SERIES 60 MULTI FUNCTION MT 60 OFT MT MULTIFUNZIONE ELETTRICO OFT FULL TOUCH CONTROL PRODUCT LABEL...
Страница 2: ...RE DISPLAY 14 Displays 15 Residual heat HOT 15 Temperature settings modifications 16 Pre heating 16 SPECIAL FUNCTIONS 17 Start Pause 17 Oven light 18 Key function child safety 18 Funzione Scaldavivand...
Страница 3: ...ALLATION INSTRUCTIONS 39 Technical Data 39 Dimensions of the single oven 39 Dimensions of the oven with food warmer 40 Measurements of the single built in oven cabinet 40 Measurements of the built in...
Страница 4: ...disperse the different packaging components but dispose of them in compliance with the local regulations on waste disposal Carefully read this instruction manual prior to installing or using this devi...
Страница 5: ...rebbero danneggiare il prodotto Non utilizzare il forno come portaoggetti quando non in uso nel caso vengano dimenticati all interno dopo la sua accensione possono essere causa di danni al forno e agl...
Страница 6: ...ionamento e con il proseguimento della cottura essa tender a scomparire First use of the oven what to do Disconnect the device from the electric mains Remove all internal packaging and accessories of...
Страница 7: ...kening KEY 4 temperature KEY 2 menu selection KEY 5 KEY 3 start pause KEY 6 confirm reset oven light system time Every time you press a button a beep sounds DISPLAY AREA DETAIL Display setting area of...
Страница 8: ...area position on display central AUTO AUTOMATIC programming MAN MANUAL programming Chamber centre temperature display setting area and temperature diagram position on display top right KEY LOCK speci...
Страница 9: ...t FOOD WARMER mode indicator position on display bottom right FOOD PROBE mode indicator in models where available position on display centre left COOKING FUNCTIONS THAT CAN BE SELECTED POSSIBLE TEMPER...
Страница 10: ...9880027800 EN 180314 doc 10 1 Control panel 2 Fully removable guides where available 3 Supporting grid 4 Drip tray 5 Ventilated cooking fan guard 6 Grill cooking resistance...
Страница 11: ...m time blink as shown in the figure You need to set the time see paragraph of reference to proceed In the event the cooking mode has been interrupted due to a power failure the oven keeps all the cook...
Страница 12: ...n for at least 2 seconds and is switched off by touching the same key The oven deactivates automatically after 1 minute accidental activation control if no key is pressed after activation Oven ON sing...
Страница 13: ...oven temperature 3 cooking time mode 4 timer 5 alarm clock ATTENTION the icons blink as you scroll through the functions If you do not confirm or change the function within 7 seconds your selection is...
Страница 14: ...ically auto confirmation if you do not touch any of the controls with 7 seconds At this point start cooking by pressing START key 3 to confirm see paragraph of reference The oven starts the pre heatin...
Страница 15: ...ture diagram icons the cooking pan icon lights up NOTE The control has continuous operation mode time limits with the following safety limits 250 C max 3h 120 195 C max 8h 200 245 C max 5h up to 120 C...
Страница 16: ...efore within 7 seconds confirm the value by pressing and holding key 6 for a minimum of 3 seconds In this way the new default temperature is saved when the oven is next activated OVEN PRE HEATING Once...
Страница 17: ...ixed and the loads are turned off but the other settings are not reset Once the cooking parameters have been confirmed and or the cooking status has been displayed you need to deactivate pause mode Pr...
Страница 18: ...the oven is in cooking mode opening the door deactivates the Radial Fan and the Circular Resistance when applicable to prevent the steam from being blown directly at the user and to prevent excessive...
Страница 19: ...the timer and automatic programming functions can be activated FOOD PROBE IN MODELS WHERE AVAILABLE Some models allow the use of the food probe Trattasi di uno strumento che comunica con l elettronica...
Страница 20: ...nction does not allow the cooking and time programming to be enabled But it allows setting the timer NOTE always use the probe supplied with the oven HOW TO USE THE FOOD PROBE IN THE MODELS WHERE AVAI...
Страница 21: ...o place or remove the probe or wait until the oven cools down Place the needle on the bottom until reaching the centre of the product to be cooked the sensor should detect the temperature reached by t...
Страница 22: ...on Press keys 4 and 5 to set the required value the max configurable time is 12 hours Press key 6 to confirm or wait 7 seconds for auto confirmation the countdown starts An intermittent acoustic signa...
Страница 23: ...arm clock icon Press keys 4 and 5 to set the required value the max configurable time is 12 hours Press key 6 to confirm or wait 7 seconds for auto confirmation the countdown starts An intermittent ac...
Страница 24: ...CLOCK or vice versa For example with the oven off The two icons are activated together The timer that will complete the countdown first is shown on the display The corresponding acoustic signals will...
Страница 25: ...d are enabled when the oven is operating Use the Menu key 2 with the oven in waiting for controls mode in order to scroll through the icons in this case too the icons blink to indicate your position R...
Страница 26: ...auto confirmation The display shows the passage from message to message After selecting the cooking function press the START key 3 to start the countdown This way you set a defined and limited time fo...
Страница 27: ...ait 7 seconds for auto confirmation Now you have confirmed the automatic cooking programming see paragraph of reference AUTOMATIC COOKING This is a delayed cooking mode It is used in the event you nee...
Страница 28: ...ng starts icon indicates the active programming An acoustic signal indicates that the cooking phase has started The oven switches on the cooking mode icon is activated and the time setting behaves lik...
Страница 29: ...hold key 6 for at least 3 seconds If the oven is off only for the timer functions the display switches off If the oven is on and the cooking time mode is enabled from the mode you will return to the m...
Страница 30: ...k Position 2 from bottom Cakes Sandwich Bread Toasted Sandwiches Casserole Whole wheat bread Meat Position 2 and 3 from bottom Biscuits Fine cut meat Position 3 from bottom For Browning with Grill Thi...
Страница 31: ...cooking not even to turn it The sauce would drip and the grilled food would be dry The meat can be arranged in the appropriate containers or cooked directly on the grill In this event always pour some...
Страница 32: ...lls Clean the oven with caution Pay attention to prevent burnings due to steam in the event a sponge or a humid cloth used to clean residues comes into contact with a hot surface Moreover certain dete...
Страница 33: ...milar soaked in hot water and vinegar It can become very difficult to remove food residues or stains of oils sugars fats etc if they are not immediately removed after having used the oven It will be e...
Страница 34: ...d inserting the hinges in the openings of the front frame of the oven pay attention to the positioning of the foot With the oven door fully open remove the 2 metal rods from the hinge Slowly close the...
Страница 35: ...remounting the door make sure that the glass surface is secured firmly in position ATTENTION REMOVAL AND INSTALLATION MUST BE DONE CORRECTLY AND WITH ABSOLUTE CARE TO AVOID LA BREAKING THE GLASS SURFA...
Страница 36: ...g guides on the left and right that are therefore not interchangeable on both sides of the oven Follow these instructions on how to remove the sliding element from the lateral guide remove the la late...
Страница 37: ...ooks on the special rods of the lateral guide Always make sure that the sliding element can slide towards outwards from the oven Now press the sliding element down towards the base of the elements fig...
Страница 38: ...th a damp cloth the bulb may break Replace the bulb with another appropriate of 25 W for 220 230 V with connection type E14 suitable for high temperatures In case the protection cap is damaged or brok...
Страница 39: ...is is open The purchaser is responsible for installation and any interventions requested to the manufacturing company due to an incorrect installation will not be included in the warranty TECHNICAL DA...
Страница 40: ...ing of the oven are indicated in the figures Make sure that the oven cabinet can withstand 45 kg An opening must be created in the base of the cabinet or in the support top of the oven in the rear are...
Страница 41: ...e cabinet and its components must resist to a temperature of 90 C without showing surface deformations and or defects the cabinet must enable the free passage of the oven connections all household kit...
Страница 42: ...an efficient earth connection according to the current legal regulations In case of permanent connection to the electric mains apply a bipolar switch dimensioned to the corresponding load with 3 mm op...
Страница 43: ...LOW GREEN EARTH EARTH CONNECTION Installation connection and earthing of the electric system must comply with the European standard requisites and however fall within the parameters of the local Stand...
Страница 44: ...en in OFF mode You can use key 6 to edit these settings Message Description Range Default bEEp Buzzer Volume 01 03 3 dLou Display luminosity 01 15 3 dHiG High display luminosity 15 30 30 tbEE Buzzer t...
Страница 45: ...manual 2 Description and number of the spare part technical information available only to the authorised after sales assistance service 3 Indicate the details of the distributor that sold the oven an...
Страница 46: ...FI 60MT Total power W 3400 Top resistance W 800 Grill resistance W 1800 Base resistance W 1200 Circular resistance W 2200 Oven light W 25 Oven fan W 20 Tangential fan W 20 EXTERNAL DIMENSIONS Width c...