


35
3.1.5 Perform Test Cuts!
•
You have two options:
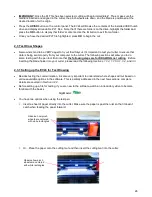
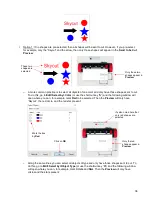
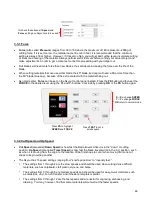
(1) Perform the built-in test cut on the Skycut itself using the
TEST
button on the control panel.
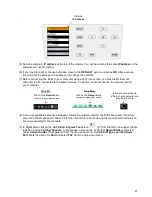
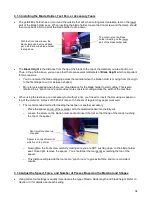
(2) Select any basic shape and size it to be around 0.3
” – 0.5” (~ 8 mm – 13 mm):
o
I personally like using a design with an internal shape, such as a ring. You can then easily see if the
blade is cutting into the mat (or into the backing sheet on rolled materials) when you lift out the cut
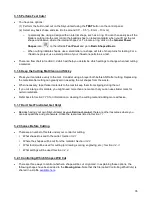
shape and observe where the internal shape cut. To locate a ring, click on the
General Power
Shapes
icon
on the left side
Tool Panel
and go to
Basic Shapes>Basic
.
o
When cutting intricate shapes, use a small letter or a shape will lots of sharp turns for testing. For a
rhinestone project, use a small portion of your rhinestone pattern as a test.
•
There is a flow chart in
Section 3.9
which will help you determine which settings to change when test cutting
a material.
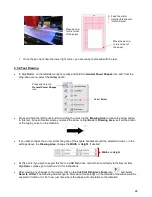
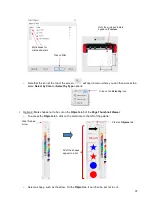
3.1.6 Keep the Cutting Mat Clean and Sticky
•
Press your materials evenly to the mat. Consider using a brayer both before AND after cutting. Repressing
the material after cutting can greatly aid in weeding the cut shapes from the waste.
•
When necessary, tape thicker materials to the mat to keep them from slipping during the cut.
•
If you cut a range of materials, you might need more than one mat so that you can use stickier mats for
certain materials.
•
Refer back to
Section 1.7.5
for information on cleaning the cutting mat and adding more adhesive,
3.1.7
Don’t Get Frustrated, Get Help!
•
Besides having your own Skycut dealer as your first line of contact, there are other resources where you
can ask questions and get answers. Utilize the resources listed in
Section 1.1.
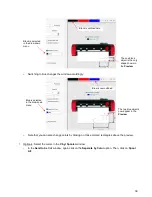
3.2 Choices Before Cutting
•
There are a number of factors under your control for cutting:
What shapes to send to the cutter:
Section 3.2.1
Where the shapes will be cut from the material:
Section 3.2.2
What tool(s) will be used for cutting (or drawing, scoring, engraving, etc.):
Section 3.2.3
What settings will be used:
Section 3.2.4
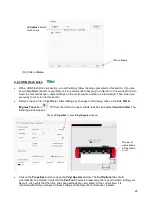
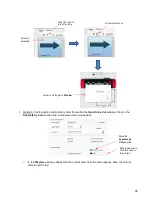
3.2.1 Controlling Which Shapes Will Cut
•
There are three ways to control whether a shape will be cut or ignored. In explaining these options, the
following shapes have been added to the
Drawing Area.
Note that this file (called
Controlling What Cuts
) is
Содержание EV24 with SignMaster Pro
Страница 63: ...63 3 9 Test Cutting Flow Chart for the Skycut...


