båÖäáëÜ
59 38 399 D3352
D3352.076.01.13.02
07.2008
5 – 65
Tab 5
5.10 Service routine S012
5.10
S012.4: Display of CAN bus cycles on the LEDs of the modules
5.10.3
S012: Test step 4
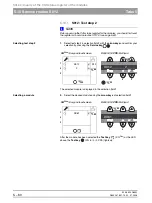
Selecting test step 4
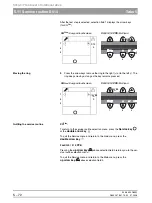
1.
Select test step 4 in selection field 2 with the
arrow keys
and confirm your
selection by pressing the
Service key
.
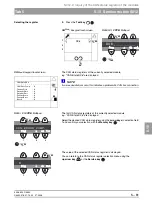
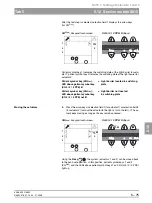
After the test step is selected, the code for the current setting of the display
appears in selection field 1:
00 = LED display on the modules switched OFF
01 = LED display on the modules switched ON
Switching LED display on/off
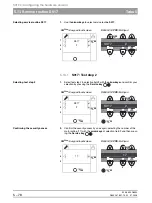
2.
Select the desired code using the
arrow keys
of selection field 1 and con-
firm your selection by pressing the
Test key
.
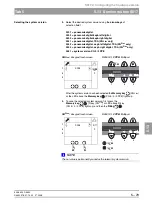
NOTE
i
The LEDs on the modules normally flash slowly (1 Hz) (for code 00). When
code 01 has been selected and confirmed, the CAN bus clock pulse of the
TTP protocol, which is output by the master module as a broadcast with a fre-
quency of 20 Hz, is output on the LEDs (the green life LED flashes on DX7).
Thus, by "wiggling through" all of the connectors, you can directly detect the
contact loss of the module on the CAN bus. The activation or deactivation of
this function simultaneously acts on all modules.
1
2
3
+
-
S012
4
n
(
1
2
3
S012_______4____
XG
Plus
:
Easypad touchscreen
XG 5 / 3 / 3 PPE:
Multipad
+
-
(
n
(
n
(
o
(
o
S12
T
T
1
2
3
+
-
01
n
(
1
2
3
01______________
XG
Plus
:
Easypad touchscreen
XG 5 / 3 / 3 PPE:
Multipad
(
n
(
n
(
o
(
o
T
T
Содержание ORTHOPHOS XG 3 DS
Страница 4: ......
Страница 9: ...ORTHOPHOS XG 1General information...
Страница 12: ...59 38 399 D3352 1 4 D3352 076 01 13 02 07 2008 Tab1...
Страница 59: ...ORTHOPHOS XG 2 Messages...
Страница 124: ...59 38 399 D3352 2 66 D3352 076 01 13 02 07 2008 2 6 List of available service routines Tab 2...
Страница 125: ...ORTHOPHOS XG 3 Troubleshooting...
Страница 152: ...59 38 399 D3352 3 28 D3352 076 01 13 02 07 2008 3 10 Check data paths Generate test images Tab 3...
Страница 153: ...ORTHOPHOS XG 4 Adjustment...
Страница 268: ...59 38 399 D3352 4 116 D3352 076 01 13 02 07 2008 4 6 Resetting the adjustment XGPlus 5 3 3 PPE Tabs 4...
Страница 269: ...ORTHOPHOS XG 5 Service routines...
Страница 433: ...ORTHOPHOS XG 6 Repair...
Страница 436: ...59 38 399 D3352 6 4 D3352 076 01 13 02 07 2008 Tab6...
Страница 530: ...59 38 399 D3352 6 98 D3352 076 01 13 02 07 2008 6 21 Replacing cables Tabs 6...
Страница 531: ...ORTHOPHOS XG 7 Maintenance...
Страница 575: ...b 59 38 399 D3352 D3352 076 01 13 02 07 2008 7 45 Tab 7 7 14 Checking the device leakage current 7 14...
Страница 577: ...b 59 38 399 D3352 D3352 076 01 13 02 07 2008...


