5.2
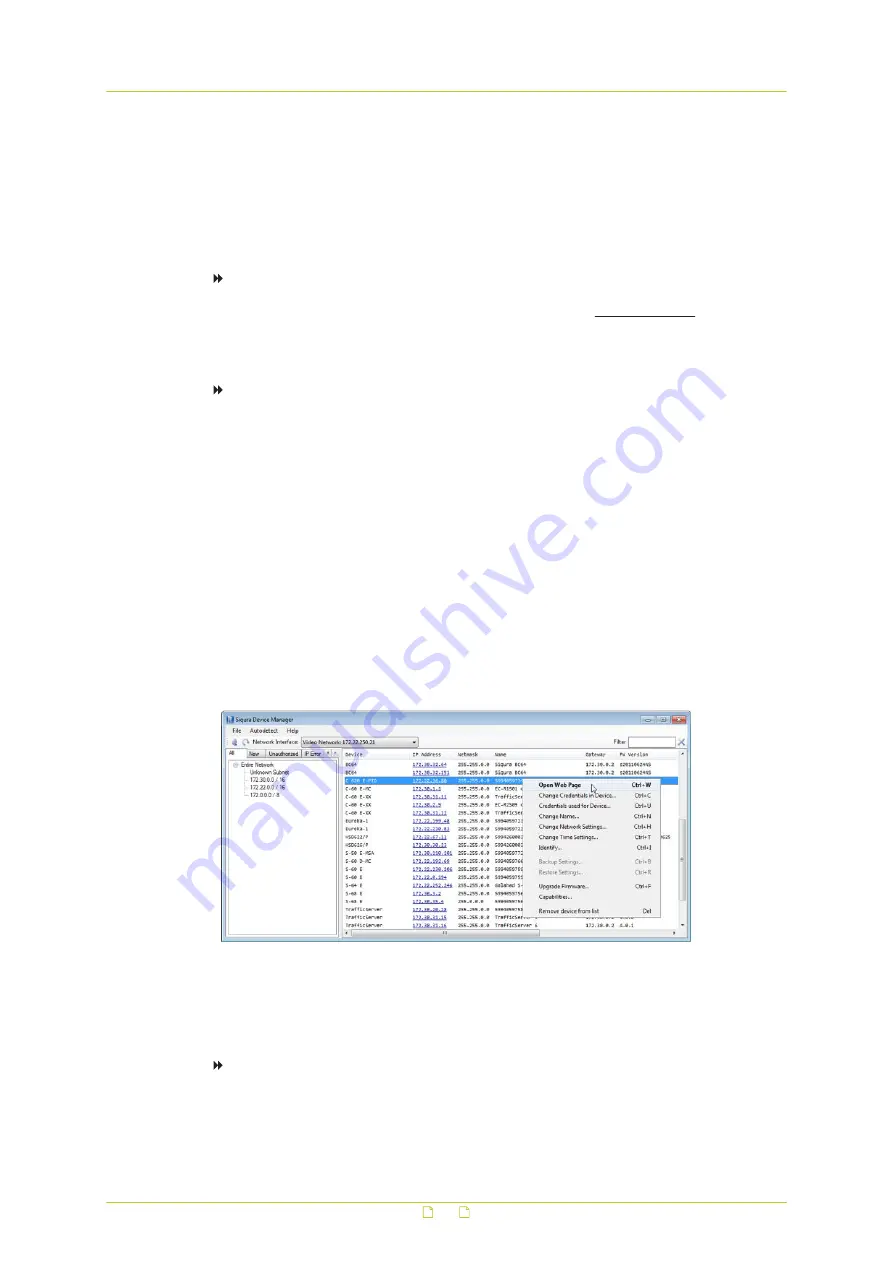
Get access via Siqura Device Manager
Siqura Device Manager is a Windows-based software tool that you can use to manage and
configure Siqura IP cameras and video encoders. The tool automatically locates Siqura devices
on the network and offers you an intuitive interface to set and manage network settings,
configure devices, show device status, and perform firmware upgrade.
To install Siqura Device Manager
1
Download the latest version of Siqura Device Manager at www.siqura.com.
2
Double-click the setup file.
3
Follow the installation steps to install the software.
To connect to the camera via Siqura Device Manager
1
Start Siqura Device Manager
The network is scanned.
Detected devices appear in the List View pane.
2
If multiple network adapters exist, select the appropriate adapter to scan the network
that you wish to connect to.
3
To perform a manual search, click the Rescan button.
4
Use the tabs in the Tree View pane to define the scope of your search.
5
Click the column headings in the List View pane to sort devices by type, IP address, or
name.
6
To connect to the webpages of the camera, double-click its entry in the device list,
The Live View page is opened
- or -
If user accounts exist on the camera, you are directed to the login page. (see Log on to
the camera).
Change the network settings with Siqura Device Manager
With Siqura Device Manager, you can directly change the network settings of the camera.
To assign a static IP address
1
Go to the list of detected devices, and then right-click the entry for the camera.
2
Click Change Network Settings.
3
In Change Network Settings, click Static IP.
Get access to the camera
18


