


Important: To prevent conflicts, be sure to choose a unique IP address. No two
devices on a network can have the same IP address.
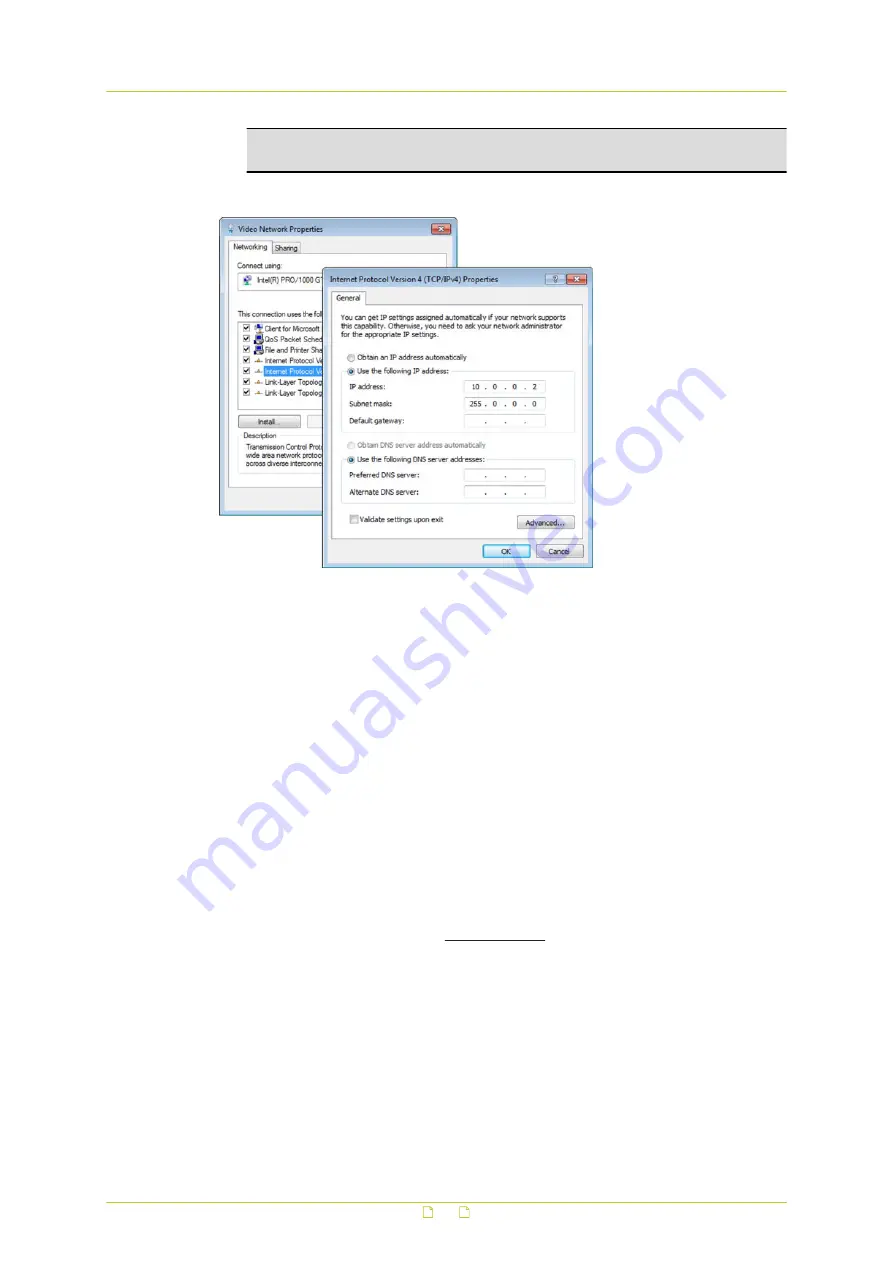
7
To apply the new settings, click OK.
Setting the IP settings of the PC to the factory-set IP settings of the unit
At this point, connect your PC to the HSD820H3PRH. You can connect them directly using a
crossover cable, or connect both to a switch.
Step 2: Access the unit
Using a standard web browser you can now log on to the web server of the HSD820H3PRH.
Step 3: Change the network settings of the unit
The Network page enables you to make the network addressing of the unit compatible with
the network it will be added to. You can set a fixed IP address or have the IP address assigned
by a DHCP server. In the latter case, open the Advanced Settings and enable DHCP. Do not
forget to save and reboot the unit after changing the settings.
4.5
System compatibility
To ensure system compatibility, go to www.siqura.com and download the latest firmware for
the HSD820H3PRH camera.
Connect the camera
11


