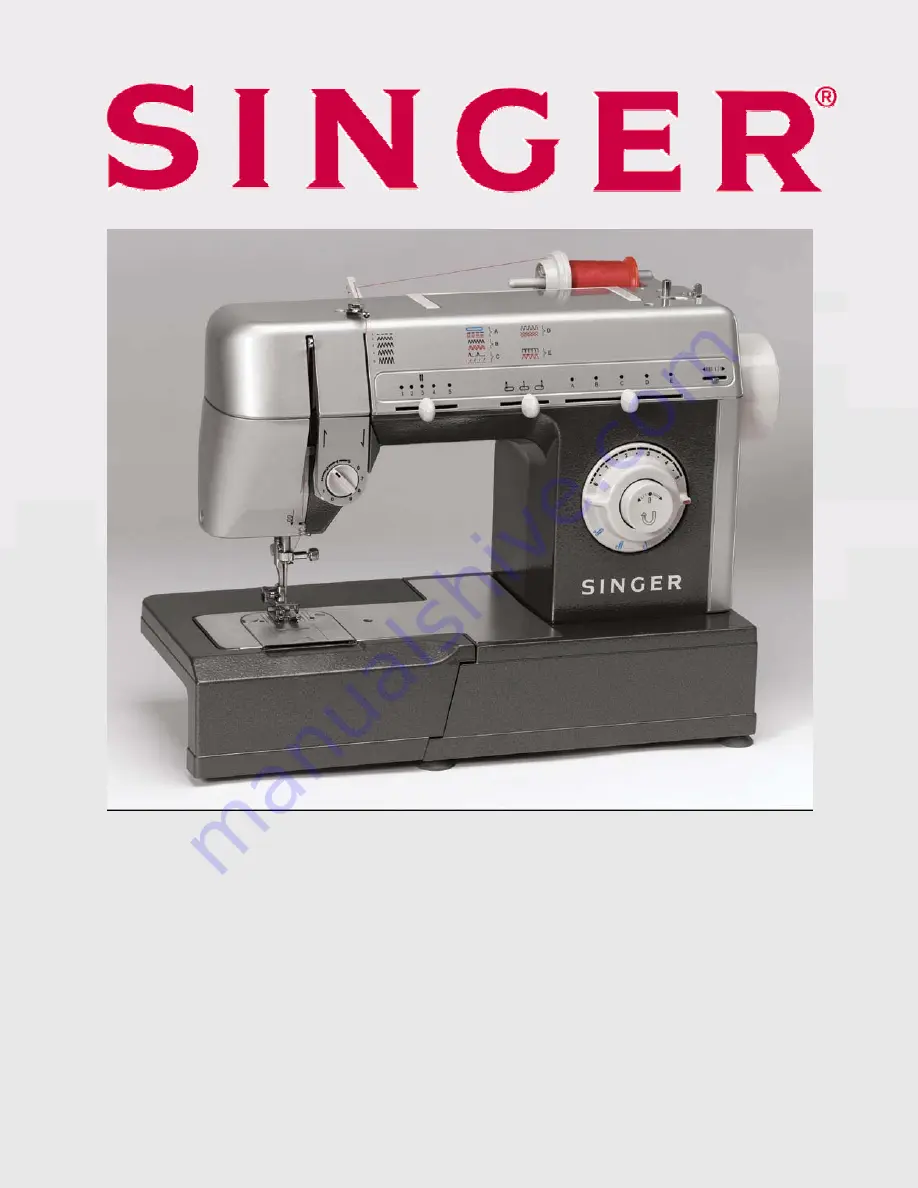
M O D E L C G - 5 5 0
C O M M E R C I A L G R A D E
S E W I N G M A C H I N E
W O R K B O O K
Страница 1: ...M O D E L C G 5 5 0 C O M M E R C I A L G R A D E S E W I N G M A C H I N E W O R K B O O K...
Страница 2: ...rformance and durability This workbook has been created as a tool for learning various sewing techniques which you can apply to your own projects We are certain that your creativity will be inspired a...
Страница 3: ...onholes 15 Free Motion Monogramming 17 Free Motion Embroidery 19 Blindstitch Hem 21 Stretch Blindstitch Hem 23 Attaching Beaded Trims 25 Mending with Multi Stitch Zigzag 26 Crazy Quilting 27 Straight...
Страница 4: ...with the Cording Foot 39 Applying Trims Cords Braids 40 Shirring with the Gathering Foot 41 Using the Even Feed Foot to Sew Multiple Fabric Layers 43 Using the Even Feed Foot to Sew Plaid Fabrics 44 U...
Страница 5: ...sults and easy access to cuffs collars pant hems and other difficult to reach areas Utility Stitches A variety of stitches for fashion sewing home dec and quilting Stretch Stitches Specially designed...
Страница 6: ...under the presser foot Thread Cutter Located for precise thread cutting eliminating the extra step of cutting thread with scissors Automatic Pressure System This feature automatically adjusts the pres...
Страница 7: ...ics lengthen the Stitch Length Machine Set Up Stitch Straight Stitch Pattern Selector A Stitch Width 1 no width Stitch Length 3 4 Presser Foot General Purpose Foot Needle Position Center Materials 2 4...
Страница 8: ...vides a decorative touch while holding the seam allowances flat It is also sturdy and durable Machine Set Up Stitch Straight Stitch Pattern Selector A Stitch Width 1 no width Stitch Length 3 4 Presser...
Страница 9: ...ot Needle Position Center Materials 2 5 x 5 pieces of cotton with batting between the two fabrics creating a quilt type sample Procedure Sew diagonally from the top left corner to the bottom right cor...
Страница 10: ...Pattern Selector A Stitch Width 1 no width Stitch Length 5 Presser Foot General Purpose Foot Tension Adjust the tension setting to a smaller number Needle Position Center Materials 2 4 x 4 pieces of c...
Страница 11: ...he Straight Stitch can be used when sewing with the Zipper Foot Machine Set Up Stitch Straight Stitch Pattern Selector A Stitch Width 1 no width Stitch Length 3 4 Presser Foot Zipper Foot Needle Posit...
Страница 12: ...e Position Center Materials 2 3 x 6 pieces of home d cor fabric 7 pre packaged piping Procedure Place fabric right sides together Place piping between the fabrics matching the piping s raw edge with t...
Страница 13: ...Presser Foot Zipper Foot Tension For basting loosen the tension For stitching 3 Needle Position Start with needle in left position The needle can be moved to the left or right This will allow stitchin...
Страница 14: ...de up and place wide transparent or perforated marking tape on top of the centered seam line The tape should be the length of the zipper 7 long for this exercise Replace the Standard Presser Foot with...
Страница 15: ...on fabric for appliqu 2 x 3 fusible stabilizer 6 x 6 cotton foundation fabric 6 x 6 tear away stabilizer Procedure Press the fusible stabilizer onto the appliqu Fuse the appliqu onto the cotton founda...
Страница 16: ...10 Sewing around the applique again covering the previous stitching Sewing over an applique twice is not always necessary however it does give a beautiful full covered effect...
Страница 17: ...itch Width 2 3 Stitch Length 1 Presser Foot Special Purpose Foot J Needle Position Center Materials 5 x 3 of batiste 6 strip of lace 60 80 weight fine cotton thread Procedure Spray starch and iron the...
Страница 18: ...er press Finish fabric s edges by sewing a small zigzag through all layers being careful not to catch too much lace Turn fabric over and trim excess fabric seam allowances away Note A nice touch can b...
Страница 19: ...between the holes is usually 3mm Stitch Length N A Feed Dogs Covered Feed Dogs Presser Foot Button Sewing Foot Needle Position Center Materials Home d cor fabric or shirting One 2 hole button Liquid...
Страница 20: ...swing of the needle into the opposite hole and then use the foot control to sew 5 6 stitches Before removing the button and fabric from the machine set machine to straight stitch Leave width at curren...
Страница 21: ...automatically See manual for complete machine set up for buttonholes Materials Home d cor fabric with interfacing or tear away stabilizer Disappearing fabric marking pen or tailor chalk for marking s...
Страница 22: ...to 6 stitches bartacking the bottom of the buttonhole Turn Pattern Selection knob to Step Three of the Four Step buttonhole Sew and the machine will stitch in reverse making the left side of the butt...
Страница 23: ...dth 2 Stitch Length N A Feet Dogs Covered Presser Foot Embroidery Darning Foot or remove the foot completely Needle Position Center Materials Embroidery hoop 8 x 8 cotton with an iron on interfacing F...
Страница 24: ...t controller and guide the hoop so that the needle stitches on the drawn letter Maintain a consistent sewing speed and move the fabric slowly Coordinate sewing speed and movement of hoop Note When the...
Страница 25: ...roidery Darning Foot or remove the foot completely Needle Position Center Materials Embroidery hoop 8 x 8 cotton with an iron on interfacing Fabric marking pen Procedure Using the fabric marking pen d...
Страница 26: ...on the drawn letter Maintain a consistent speed and move the fabric slowly Coordinate sewing speed and movement of hoop Note When the feed dogs are covered the fabric will not automatically feed Feed...
Страница 27: ...rn Selector B Stitch Length 1 0 Stitch Width 3 Presser Foot Blindstitch Hem Foot Needle Position Center Set up for Step 2 to baste the fold Stitch Straight Stitch Pattern Selector A Stitch Length 4 St...
Страница 28: ...the top edge of the hem The bulk of the fabric is to the left of the foot Fold under 1 and baste in place Begin stitching making sure the forward stitches fall near the fold and the needle swing just...
Страница 29: ...ttern Selector B Stitch Length 1 0 Stitch Width 3 Presser Foot Blindstitch Hem Foot Needle Position Center Set up for Step 2 to baste the fold Stitch Straight Stitch Pattern Selector A Stitch Length 4...
Страница 30: ...the top edge of the hem The bulk of the fabric is to the left of the foot Fold under 1 and baste in place Begin stitching making sure the forward stitches fall near the fold and the needle swing just...
Страница 31: ...pillows bedspreads or table runners can have a face lift by just adding a beaded trim Machine Set Up Stitch Multi Stitch Zigzag Pattern Selector D Stitch Width 4 5 Stitch Length 3 Presser Foot Specia...
Страница 32: ...eal when mending tears Machine Set Up Stitch Multi Stitch Zigzag Pattern Selector D Stitch Width 2 5 Stitch Length 0 5 1 Presser Foot Special Purpose Foot J Needle Position Center Materials 2 x 2 deni...
Страница 33: ...Set Up Stitch Zigzag Stitch Blindstitch Hem or Multi Stitch Zigzag Pattern Selector B C D E Stitch Width Adjust according to preference Stitch Length Adjust according to preference Presser Foot Speci...
Страница 34: ...or when an extra strong seam is needed such as in children s clothing Machine Set Up Stitch Straight Stretch Stitch Pattern Selector A Stitch Width 1 no width Stitch Length Stretch Setting Presser Fo...
Страница 35: ...and these stitches are called Stretch Stitches or Flexi stitches Today stretch fabrics are used to make exercise outfits dance customs swimsuits and much more As the fabrics of these garments stretch...
Страница 36: ...ing Presser Foot Special Purpose Foot J Needle Position Center Materials 6 x 6 Medium to heavy weight knit fabric or polar fleece 3 x 6 Ribbing Procedure Cut a curve in the knit fabric to resemble a n...
Страница 37: ...Pattern Selector E Stitch Width 5 Stitch Length Stretch Setting Presser Foot Special Purpose Foot J Needle Position Center Materials 2 pieces of woven fabric Procedure Right sides together place the...
Страница 38: ...ot Special Purpose Foot J Needle Position Center Materials 2 4 x 3 pieces of heavy woven fabric Procedure Place one piece of fabric under the foot aligning the fabric edge so that the stitch forms jus...
Страница 39: ...le sewing Machine Set Up Stitch Honeycomb Stitch Pattern Selector D Stitch Width 5 Stitch Length 2 3 Presser Foot General Purpose Foot Needle Position Center Materials Nylon Tricot 4 x 8 wide elastic...
Страница 40: ...Stitch Length 3 5 Presser Foot Special Purpose Foot J Needle Wing Needle Needle Position Center Materials Linen or other natural fiber fabric spray starched for added firmness 60 80 weight sewing thre...
Страница 41: ...tion Center Materials 5 x 5 piece of medium weight fabric with a stabilizer ironed on Procedure Insert the second spool pin Both spools of thread follow the same threading path until they reach the ey...
Страница 42: ...tweight woven fabric with a stabilizer ironed on 6 long piece of wide satin ribbon Procedure Insert the second spool pin Both spools of thread follow the same threading path until they reach the eye o...
Страница 43: ...h 3 Presser Foot Special Purpose Foot J or General Purpose Foot Needle Leather Needle SINGER PN 260 203286089S198 Wedge Point Needle Needle Position Center Materials Fashion leather Procedure Finger p...
Страница 44: ...titch Width 1 no width Stitch Length 3 Presser Foot Rolled or Narrow Hem Foot Needle Position Center Materials Medium to light weight fabric Procedure Press a hem to approximately 1 inch of the fabric...
Страница 45: ...t Needle Position Center Materials 10 long strand of fine cord Home d cor fabric Procedure Place a single cord in the center groove of the foot Secure the cord by tying a knot at the back of the foot...
Страница 46: ...s cords and stitches Machine Set Up Stitch Multi Zigzag Pattern Selector D Stitch Width 3 Stitch Length 3 Presser Foot Cording Foot Needle Position Center Materials Three strands of thin cording Home...
Страница 47: ...e needle The stitch then holds the fabric folds securely Machine Set Up Stitch Straight Stitch Pattern Selector A Stitch Width 1 no width Stitch Length 5 Fullness is regulated by stitch length Tension...
Страница 48: ...ot s needle opening Sew a row on top of the pulled line Use the foot s edge as a guide to sew the next row of stitching Rows will be apart if the foot is used as a guide Sew 3 or 4 more rows Do not cl...
Страница 49: ...top layer or layers of fabric through at the same speed as the machine s feed dogs are pulling the bottom layer or layers of fab ric making for more even feeding Machine Set Up Stitch Straight Stitch...
Страница 50: ...ch Length 3 Presser Foot Even Feed Foot Needle Position Center Materials 2 5 x 5 pieces of plaid or striped fabric Procedure Match plaids right sides together Sew the two pieces together using the bui...
Страница 51: ...ght Stitch Pattern Selector A Stitch Width 1 no width Stitch Length 3 Presser Foot Even Feed Foot Needle Position Center Materials 2 5 x 5 pieces of fake fur Procedure Sew the two pieces together usin...
Страница 52: ...x 1 notch in the fabric The cutter s blades cut before the needle stitches Be sure to position the fabric under the needle before beginning to sew Place the fabric OVER the first metal platform and UN...
Страница 53: ...guide the fabric Adjust the stitch length according to fabric Certain fabrics will cut better or more cleanly than others This is due to the nature of the fabric The cutter works best if not more than...
Страница 54: ...Stitch Straight Stitch Pattern Selector A Stitch Width 1 no width Stitch Length 7 Presser Foot Ruffler Needle Position Center Materials 3 x 10 piece of lightweight cotton 3 x 5 piece of lightweight c...
Страница 55: ...Lightly push the cloth feed plate towards the back of the machine Place the longer piece of fabric under the foot and beneath the shorter piece of fabric Place right sides together Slowly sew Watch t...