background image

REQUIRES 2 PEOPLE

FOR EASE OF ASSEMBLY

REQUIERT 2 PERSONNES

POUR FACILITER

L'ASSEMBLAGE

USER ASSEMBLY GUIDE

GUIDE D’ASSEMBLAGE

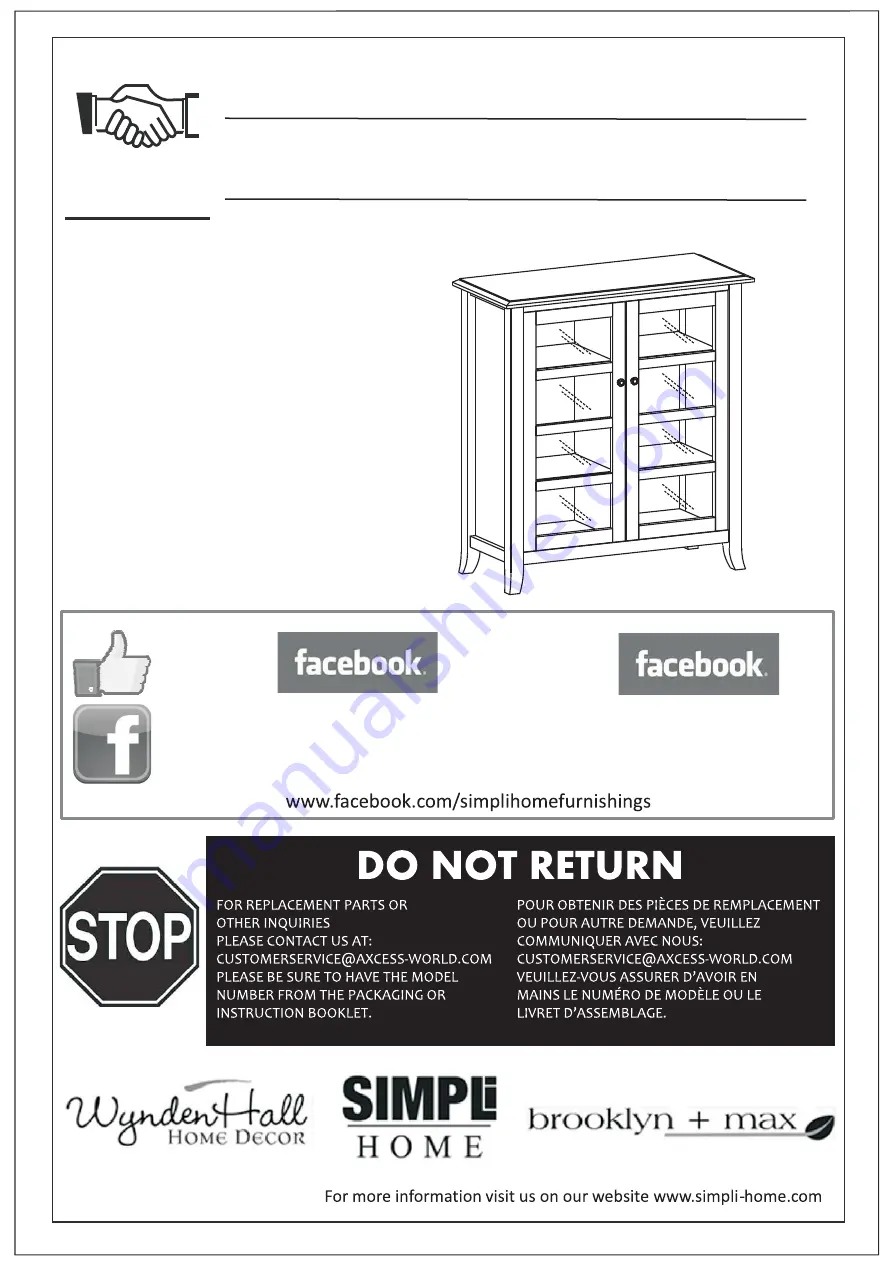
MEDIUM STORAGE CABINET

CABINET DE RANGEMENT MOYENNE

ITEM

/

NUMBER NUMÉRO D’ARTICLE

3AXCDEV-04

Like us on
& share your pictures and
comments to be eligible
for exclusive promotions.

Suivez-nous sur
partagez vos photos et vos
commentaires afin d’être admissibles
à des promotions exclusives.

1

/11

TM

TM

TM

DEVON / COLLINS / THORNTON

Содержание 3AXCDEV-04

Страница 1: ...LAGE MEDIUM STORAGE CABINET CABINET DE RANGEMENT MOYENNE ITEM NUMBER NUM RO D ARTICLE 3AXCDEV 04 Like us on share your pictures and comments to be eligible for exclusive promotions Suivez nous sur par...

Страница 2: ...i ces et la quincaillerie Ne jetez pas l emballage jusqu ce que vous ayez v rifi que vous avez toutes les pi ces et la quincaillerie n cessaires L emballage de la quincaillerie pourrait contenir des p...

Страница 3: ...CES 12 S PIECE 12 PI CES M3 x 12mm M3 x 15mm 1 PIECE 1 PI CE M4 x 15mm 4 PIECES 1 PIECE 1 PI CE E F Centre Support Support Central G A B Top Dessus Sides C t s C 4 PI CES Bottom Shelf Tablette inf ri...

Страница 4: ...4 11 Components Key Diagram Diagramme des principaux composants DEVON COLLINS THORNTON MEDIUM STORAGE CABINET CABINET DE RANGEMENT MOYENNE...

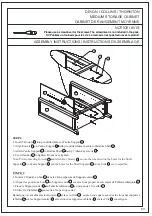
Страница 5: ...illed holes on Bottom Shelf B 5 Insert 6 Cam Locks 2 into pre drilled holes on Bottom Shelf B 1 Inse rer 4 goujons 3 dans les trous pre perce s de Tablette infe rieure B 2 chaque Co te goujons de serr...

Страница 6: ...t central E avec les 3 Fixez la Support central E au 4 into pre drilled holes of Centre Support E pre drilled holes in center of Bottom Shelf B 4 Use Allen key 4 to tighten Do not over tighten Centre...

Страница 7: ...om corners of Top A with Dowels 3 in Sides C 5 Insert 3 Cam Lock 2 into pre drilled holes on Centre support E 6 Use flathead screwdriver secure Cam Lock 7 Attach Top A to each Sides C using 3 Allen Ke...

Страница 8: ...ach Magnet Plates 10 bottom corner of Doors F using Phillips Screws 6 3 Attach 1 Fixez les Portes F et aux Co te s C au moyen de Vis cruciforme 5 2 3 Fixez I aimant 10 dans les 4 into guide holes on M...

Страница 9: ...un tournevis pour les vis Le tournevis n est pas fourni avec le produit STEP 5 E TAPE 5 1 Attach Back Panel G to back frame of cabinet using Phillips Screws Round Head 7 into pre drilled guide holes 2...

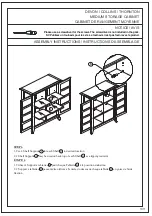
Страница 10: ...utilisez un tournevis pour les vis Le tournevis n est pas fourni avec le produit STEP 6 E TAPE 6 1 Use 4 Shelf Supports 8 for each Shelf D in desired location 2 2 Shelf Supports 8 may be used on back...

Страница 11: ...ase use a screwdriver for the screws The screwdriver is not included in the pack SVP utilisez un tournevis pour les vis Le tournevis n est pas fourni avec le produit STEPS 7 8 E TAPES 7 8 1 To attach...

Отзывы: