10
10
IDNAC
As with IDNet, the user should have a list of IDNAC addressable notification
appliances and addresses when checking out an IDNAC installation. The
IDNAC information can be saved, same as the IDNet information. Refer to
the section on PC Upload.
The TSIT is connected to the IDNAC channel the same way as connection to
the IDNet channel. Red to IDNAC +, Black to IDNAC-, Green to earth. If the
channel has multiple T-Taps, be sure that all wires are connected for the
scan. When dealing with multiple T-Taps, scan each one separately then
merge the results using the PC tool.
The IDNAC Test (Menu Selection Detailed Scan) performs a series of tests
on the IDNAC channel, very similar to the tests for IDNet. The TSIT will
communicate with IDNAC devices, determine candela setting, detect
duplicates, and determine if a device is set for Alert or Alarm operation. Any
device LED can be activated from the TSIT. The TSIT will not power the
appliances into alarm mode.
At the completion of the scan, review the
summary of devices detected and compare
to the list of devices that are supposed to be
installed.
Follow the on-screen options to navigate
through the menu. Press ENT to review the
results of the scan. Using the up/down
arrows, navigate to the desired option. The choices are to review Totals,
review Totals with Mode, review by Address, review Errors or activate the
Power Option. When reviewing by address, the address of the device is
shown in brackets.
Use the up/down arrows to scroll through
the list of detected addresses. Note that any
missing devices will be represented by gaps
in the devices detected. If the scrolling goes
from device address 3 to device address 5,
no device was detected at address 4.
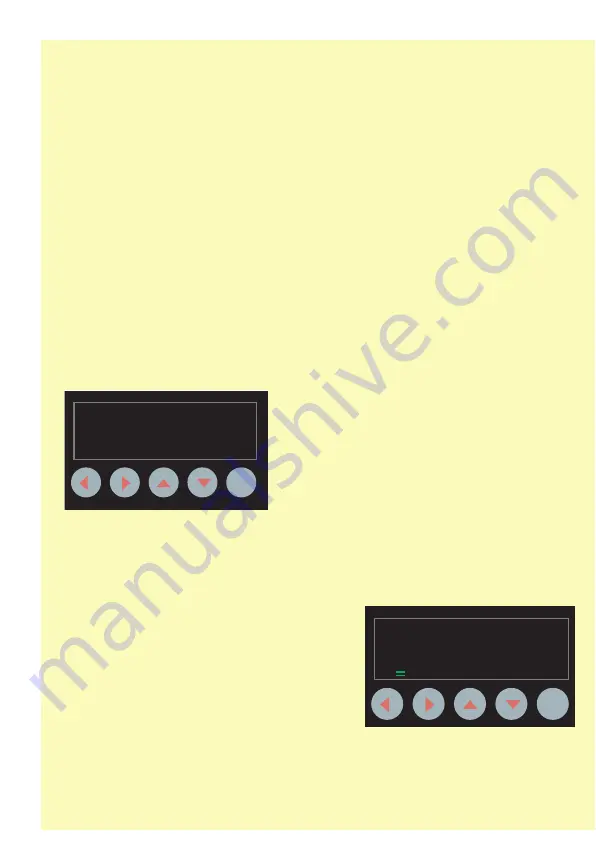
The image to the right shows information
that can be displayed after executing “IDNAC Test”. The device address is
displayed in brackets. Beneath, the device type info indicates this is a Wall
ENT
Total Devices:
HORN
**END**
A/V
63
31
32
ENT
[001]
A/V ALARM WALL
F1 LED > NXT CFIG PG
15Cd


