


Rev 2.8
SignalFire Telemetry
1
Interface Manual
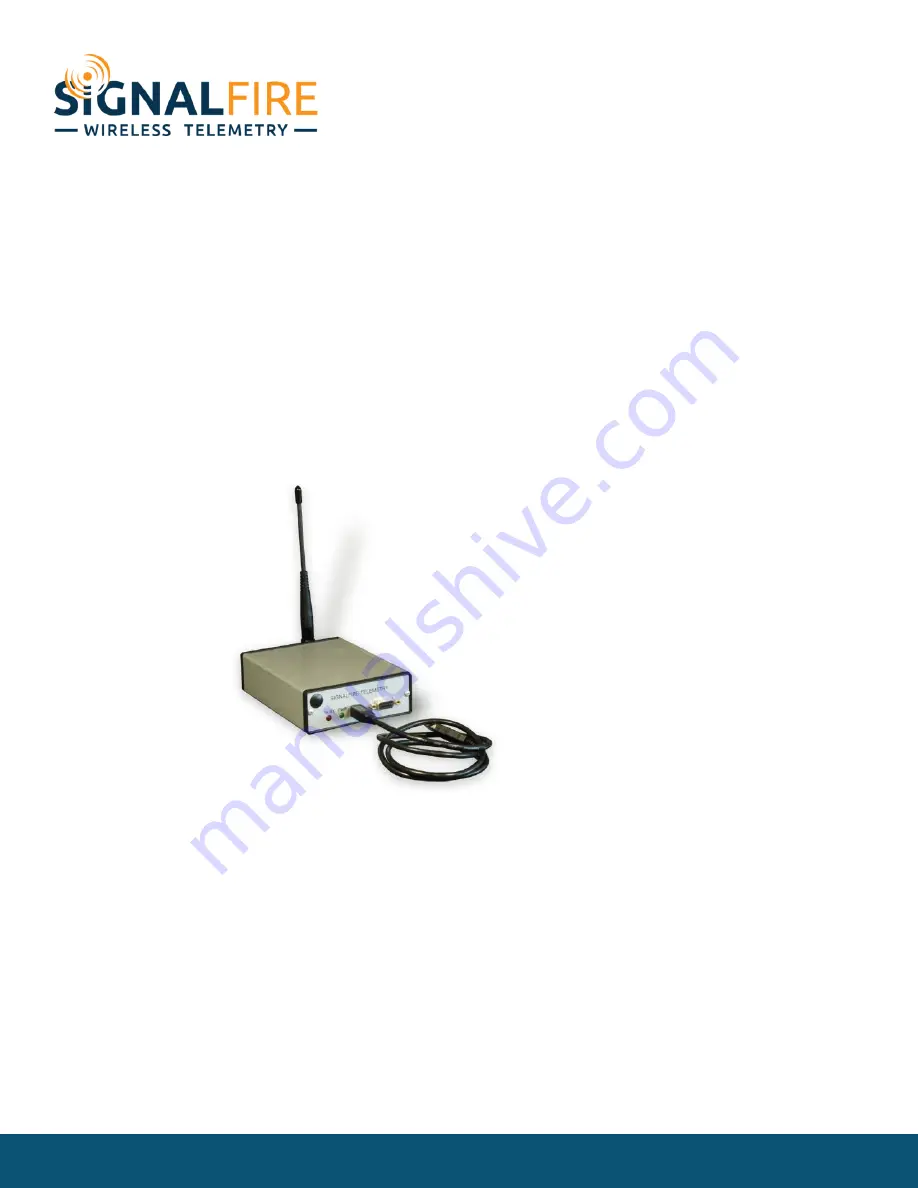
Node Checker
SignalFire Number: Nodechecker-X
The SignalFire Node Checker has the following features:
-
USB powered
-
Provides advanced system diagnostics for entire network
-
Can display register readings from any node within the network
-
Shows wireless signal strength and links for each node
-
Wireless configuration of SignalFire nodes
-
Optional wireless PACTware/Rosemount Radar Master connection to remote HART devices with
a Sentinel-HART node


