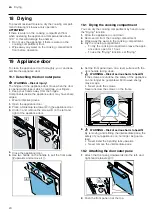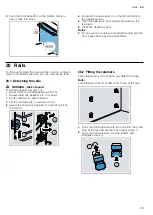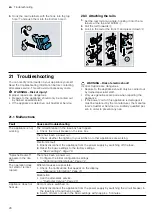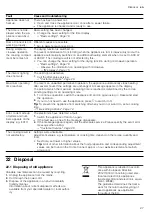
en
Troubleshooting
26
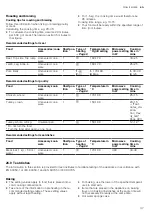
3.
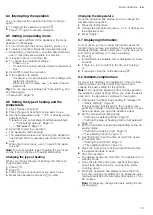
Hook the rear retainers with the hook into the top
hole and push them into the bottom hole .
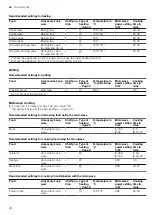
20.3 Attaching the rails
1.
Set the rear rail at an angle, hooking it into the re-
tainers at the top and bottom .
2.
Pull the rail forwards .
3.
Hook in the rail at the front and press it down .
21 Troubleshooting
You can rectify minor faults on your appliance yourself.
Read the troubleshooting information before contacting
after-sales service. This will avoid unnecessary costs.
WARNING ‒ Risk of injury!
Improper repairs are dangerous.
▶
Repairs to the appliance should only be carried out
by trained specialist staff.
▶
If the appliance is defective, call Customer Service.
WARNING ‒ Risk of electric shock!
Incorrect repairs are dangerous.
▶
Repairs to the appliance should only be carried out
by trained specialist staff.
▶
Only use genuine spare parts when repairing the
appliance.
▶
If the power cord of this appliance is damaged, it
must be replaced by the manufacturer, the manufac-
turer's Customer Service or a similarly qualified per-
son in order to prevent any risk.
21.1 Malfunctions
Fault
Cause and troubleshooting
The appliance is not
working.
The circuit breaker in the fuse box has tripped.
▶
Check the circuit breaker in the fuse box.
There has been a power cut.
▶
Check whether the lighting in your kitchen or other appliances are working.
Electronics fault
1.
Briefly disconnect the appliance from the power supply by switching off the fuse.
2.
Reset the basic settings to the factory settings.
→
"Sprache Deutsch"
appears in the dis-
play.
There has been a power cut.
▶
Configure the initial configuration settings.
→
"Performing initial start-up", Page 12
The operation does
not start or is inter-
rupted.
Different causes are possible.
▶
Check the notifications that appear on the display.
→
"Displaying information", Page 13
Malfunction
▶
Call the after-sales service.
→
Appliance does not
heat up.
Demo mode is switched on.
1.
Briefly disconnect the appliance from the power supply by switching the circuit breaker in
the fuse box off and then on again.
2.
Switch off demo mode in the basic settings within approx. 5 minutes.
Содержание CM924G1 1B Series
Страница 43: ......


