NOTE
The emulators are available via the SOPAS Device Drivers (SDD). An SDD is installed at
the first use of the TriSpector1000. If no SDD is installed, the Emulators tab in SOPAS
ET will be empty and the SDD must be installed manually, as described below.
Starting the emulator when connected to a TriSpector1000
1.
In the SOPAS ET device window, click
Switch to Simulated Device
on the
Device
menu.
Starting the emulator when starting SOPAS ET
1.
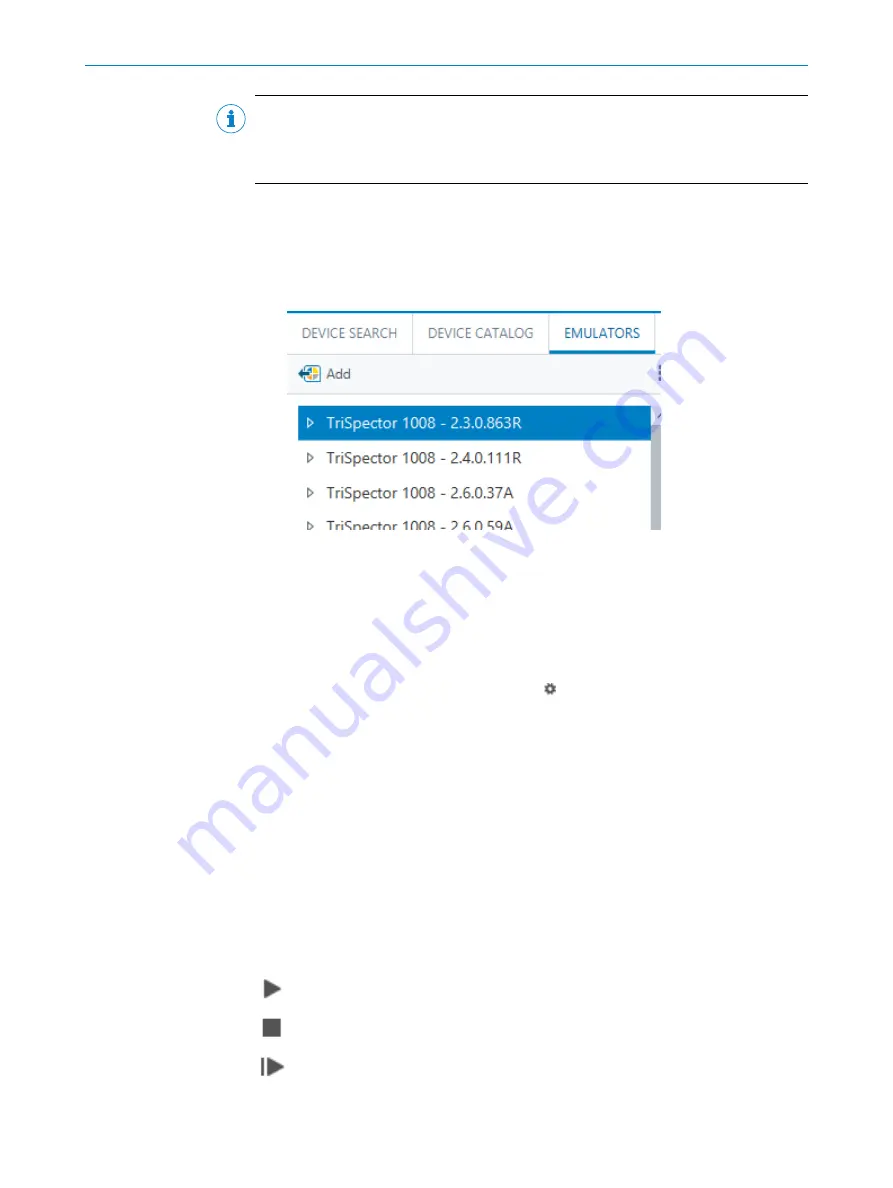
In the SOPAS ET main window, in the device pane, click the
Emulators
tab.
Figure 40: Emulators tab
2.
Select the emulator corresponding to the suitable TriSpector1000 variant and click
Add
.
3.
Double-click the emulator icon in the project pane to start the configuration.
Installing an SDD
1.
In the SOPAS ET main window, in the device pane, click the
Device catalog
tab.
2.
Click the
Device driver management
button ( ).
✓
The
Device driver management
window opens.
3.
Select the
Install
option and click
Next
.
4.
Select www.mysick.com as source and click
Next
.
5.
In the
Search device
field, type TriSpector.
✓
All available TriSpector1000 SDDs appear in the drivers list.
6.
Select the TriSpector1000 variant and the version to install (the latest version is
recommended) and click
Next
.
✓
The installation starts.
7.
When the installation is complete, click
Finish
.
✓
The emulators are now listed under the
Emulators
tab.
7.9.2
Controlling the emulator
The emulator buttons above the image area control the emulator. These buttons are
only visible when using the emulator.
Run
, loops through the images in the selected folder.
Pause
, pauses on the current image.
Next image
, steps to the next image and pauses.
OPERATION
7
8021808/12ID/2019-01 | SICK
O P E R A T I N G I N S T R U C T I O N S | TriSpector1000
55
Subject to change without notice


