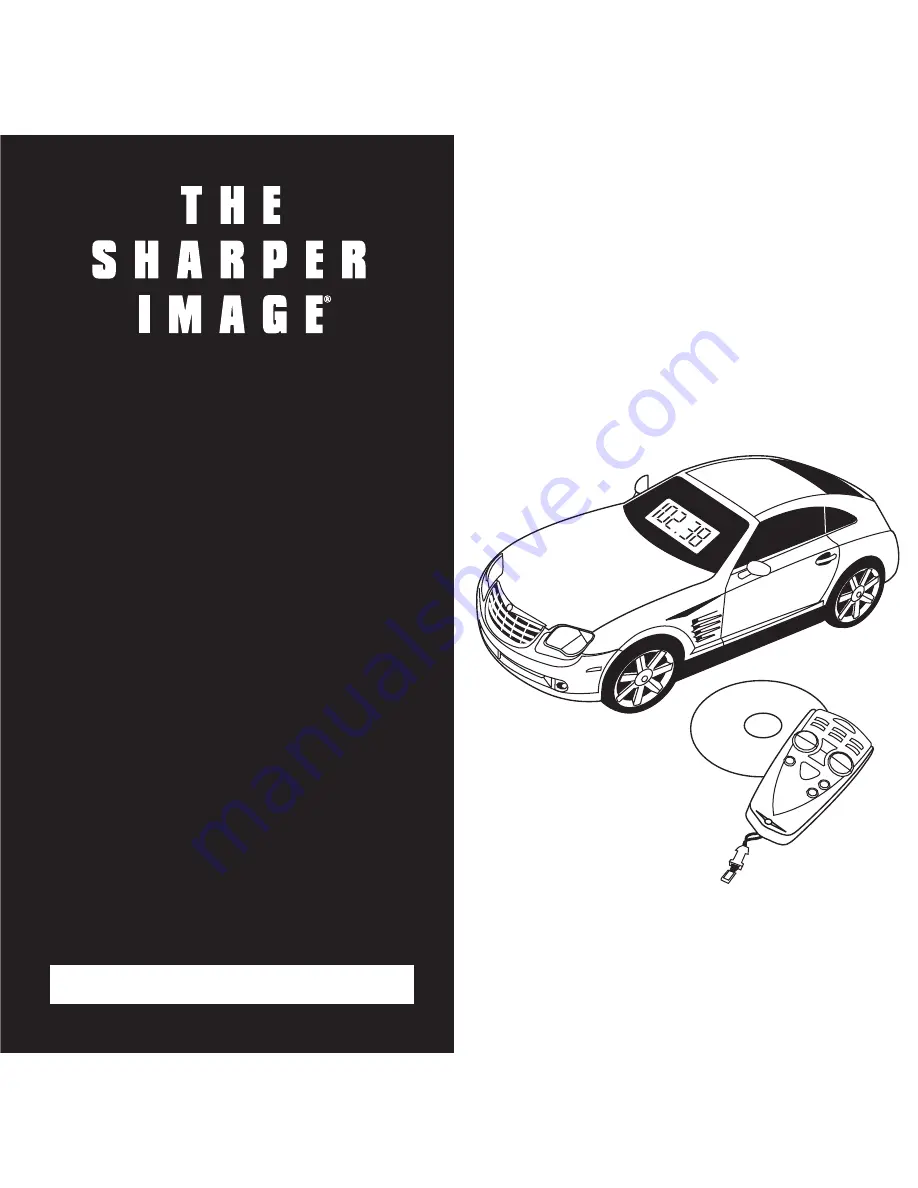
Chrysler
Crossfire
®
CD Stereo
AM/FM Tuner
& Alarm Clock
with Wireless
Remote Control
GT801 Instructions
Read and save these instructions.
Страница 1: ...Chrysler Crossfire CD Stereo AM FM Tuner Alarm Clock with Wireless Remote Control GT801 Instructions Read and save these instructions ...
Страница 2: ...2 ...
Страница 3: ...ducts For more than 25 years The Sharper Image has shared the fun of discovering innovative products that make life better and more enjoy able We ve been in business a long time because we are an exciting place to shop and just as importantly we strive to deliver great customer service that exceeds your expectations Enjoy your purchase Respectfully Richard Thalheimer Founder Chairman and Chief Exe...
Страница 4: ......
Страница 5: ...Radio Operation 9 CD Operation 10 Loading a CD 10 Playing a CD 11 Instructions 12 AC Adapter 12 Batteries for the Unit 12 Batteries for Remote Control 13 Radio Operation 13 Antenna 13 Programming Stations into Memory 14 Display Button 14 CD Operation 15 Loading a CD 15 Removing a CD 16 Table of Contents ...
Страница 6: ... All Tracks 17 Random Playback 18 Programming CD Tracks 18 Headphones 18 Setting Clock Sleep and Alarm 20 Clock 20 Sleep 21 Alarm 21 Troubleshooting 23 Statement of FCC DHHS Compliance 24 FCC Label Compliance Statement 25 Warranty 28 Table of Contents 6 ...
Страница 7: ...es or uses other than those specified here may result in exposure to hazardous radiation Unit has no user serviceable parts Do not remove cover Repairs should be made only by a qualified professional To prevent fire or electric shock do not expose unit to rain or moisture Remove power plug from socket when not in use Remove batteries if unit is not used for long periods of time to prevent potentia...
Страница 8: ...tery panel on underside of car by removing the screw securing panel and squeezing release tab 2 Insert 6 AA batteries matching poles with illustration inside of compartment 3 Replace battery panel Batteries for Remote Control 1 Remove battery panel located underneath the remote 2 Insert 2 AAA batteries matching poles with illustration inside of compartment 3 Replace battery panel Quick Start 8 ...
Страница 9: ...press the F SKIP or B SKIP button 4 Press the MEMORY SET CLOCK ADJUST button 5 The minutes blink To set the minutes press the F SKIP or B SKIP button 6 Press the MEMORY SET CLOCK ADJUST button Radio Operation 1 Open hood 2 To turn the unit on press the POWER ALARM OFF button The headlights and taillights illuminate To turn the headlights and taillights on or off slide the ON OFF switch to the desi...
Страница 10: ... button To scan for a station press hold and release button 6 To adjust the volume press the VOLUME UP or VOLUME DOWN button CD Operation Loading a CD 1 Open hood 2 To turn the unit on press the POWER ALARM OFF button 3 Press the CD MODE button Radio Operation 10 Left front headlight Right front headlight ...
Страница 11: ...To play the first 10 seconds of each track press the INTRO button To stop press the BAND STOP button 2 To begin playing a CD press the PLAY PAUSE button or right headlight when facing control panel under the hood Speakers are housed in the four wheels and the underside of stereo 3 To pause play press the PLAY PAUSE button again or press the right headlight The LCD blinks To resume play press the P...
Страница 12: ...AND STOP button Instructions Stereo is powered by 6 AA batteries or AC adapter AC Adapter Plug included 9 5V adapter into jack on rear of car marked DC IN 9 5V Plug adapter into AC outlet Batteries for the Unit 1 Remove battery panel on underside of car by removing screw securing panel and squeezing release tab 2 Insert 6 AA batteries matching poles with illustration inside of compartment 3 Replac...
Страница 13: ... illuminate To turn the headlights and taillights on or off slide the ON OFF switch to the desired position 3 Press the RADIO MODE button once 4 To select either AM or FM press the BAND STOP button 5 To tune in a station press the F SKIP or B SKIP button To scan for a station press hold and release button 6 To adjust the volume press the VOLUME UP or VOLUME DOWN button Antenna Turn the Crossfire t...
Страница 14: ...lect the desired memory location press the REPEAT MEMORY UP button 4 Press the MEMORY SET CLOCK ADJUST button 5 The Memory indicator appears on the LCD The station is in memory 6 Press the REPEAT MEMORY UP button to hear programmed stations Display Button When in the Radio mode press the DISPLAY button to see the clock and timer setting In the CD mode press the DISPLAY but ton to see time remainin...
Страница 15: ...oor OPEN CLOSE button or left headlight when facing control panel under the hood and gently place a disk with the label facing up into the tray 5 To close press the CD door OPEN CLOSE button The CD spins briefly The total time and number of tracks appear on the LCD CD Operation 15 Left front headlight Right front headlight ...
Страница 16: ... CD MODE button To play the first 10 seconds of each track press the INTRO button To stop press the BAND STOP button 2 To begin playing CD press the PLAY PAUSE button Speakers are housed in the four wheels and the underside of stereo 3 To pause play press the PLAY PAUSE button again The LCD blinks To resume play press the PLAY PAUSE button or right headlight again 4 To adjust the volume press the ...
Страница 17: ...D has been inserted Press the CD MODE button 1 Select desired track To hear the track repeatedly press the REPEAT button once REPEAT blinks on the LCD 2 Press the PLAY PAUSE button Adjust the volume as needed 3 The unit plays the same track repeatedly 4 Press the BAND STOP button to stop Repeat Play All Tracks Ensure the power is on and a CD has been inserted Press the CD MODE button 1 To hear all...
Страница 18: ...tton once RANDOM appears on the LCD and the unit automatically starts randomly playing the CD tracks Programming CD Tracks Notes To stop the disc before it has reached the end press the BAND STOP button As each program is played the track number appears on the LCD Tracks will be played in the order they were programmed To change a programmed track press the MEMORY SET CLOCK ADJUST button To select...
Страница 19: ...on the LCD To select the first track to be programmed press the F SKIP or B SKIP button within eight seconds 2 To set the track into memory press the MEMORY SET CLOCK ADJUST button 3 Repeat these steps to program additional tracks You can program up to 20 tracks 4 To begin programmed playback press the PLAY PAUSE button Adjust the volume as needed 5 To skip forward or backward through the programm...
Страница 20: ... SET CLOCK ADJUST button A 24H icon blinks on the LCD 2 To select 12 or 24 hour time press the F SKIP or B SKIP button Press the MEMORY SET CLOCK ADJUST button again 3 The hour blinks To set the hour press the F SKIP or B SKIP button 4 Press the MEMORY SET CLOCK ADJUST button 5 The minutes blink To set the minutes press the F SKIP or B SKIP button 6 Press the MEMORY SET CLOCK ADJUST button CD Oper...
Страница 21: ...LCD The unit will turn off after the selected amount of time has passed For example set to 10 and the unit automatically turns off after 10 minutes 6 To cancel the sleep time press the SLEEP button repeatedly until the radio station appears on the display Alarm Note The unit automatically turns on and plays the last selected function either radio or CD Be sure to select desired radio sta tion or i...
Страница 22: ... MEMORY SET CLOCK ADJUST button The minutes blink 5 To set the minutes press the F SKIP or B SKIP button 6 To confirm press the MEMORY SET CLOCK ADJUST button 7 After the minutes have been set the clock face steadily appears on the LCD The unit will automatically turn on at the set alarm time To activate the snooze alarm press the SNOOZE button To turn off the alarm press the POWER ALARM OFF butto...
Страница 23: ... radio Adjust orientation of the stereo to find a stronger signal Turn off nearby appliances that may be causing interference CD won t play Press PLAY PAUSE again Select CD function Make sure CD has been inserted with label side facing up CD play pauses or skips Use soft dry cloth to clean disc CD is improperly formatted for play in this stereo Troubleshooting 23 ...
Страница 24: ... FCC Rules These limits are designed to provide reasonable protection against harmful interference in a residential installation This equipment generates uses and can radiate radio frequency energy and if not installed and used in accordance with the instructions may cause harmful interference to radio communi cations However there is no guarantee that interference will not occur in a particular i...
Страница 25: ...ircuit different from that to which the receiver is connected Consult the dealer or an experienced radio TV technician for assistance FCC Label Compliance Statement This device complies with Part 15 of the FCC Rules Operation is subject to the following two conditions 1 This device may not cause harmful interference and 2 this device must accept any interference received including interference tha...
Страница 26: ... power cord on this product will expose you to lead a chemical known to the State of California to cause birth defects or other reproductive harm Wash hands after handling California Proposition 65 Required Statement ...
Страница 27: ......
Страница 28: ...lace this product with one of similar features and price or refund the full purchase price of the product whichever you prefer How to Obtain Service Return the product and receipt along with a brief explanation of the problem to T S I Returns Department 2901 A West 60th Street Little Rock AR 72209 If you have questions please feel free to contact our customer service representatives at 1 800 344 5...