


4-62
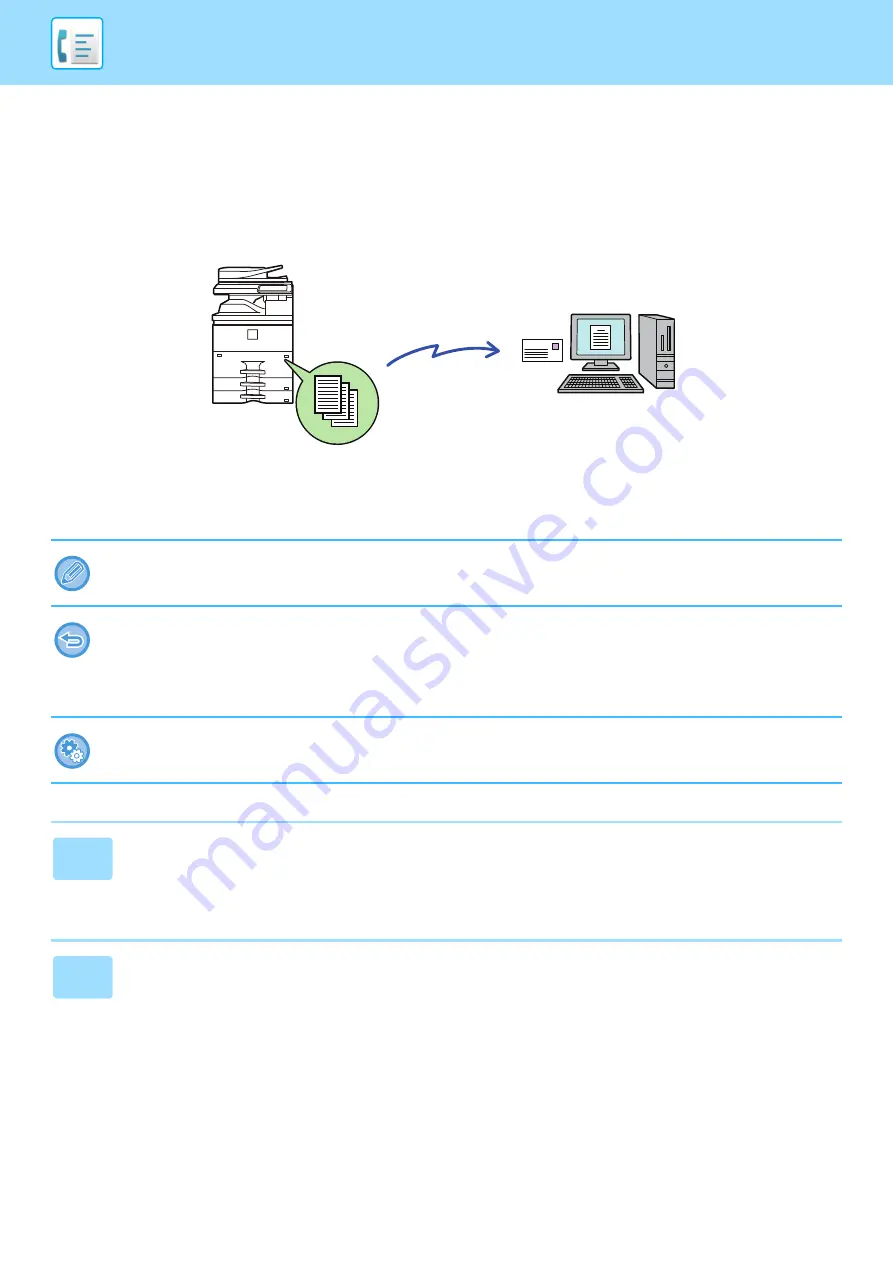
FORWARDING RECEIVED DATA TO PRESET
DESTINATIONS (INBOUND ROUTING SETTINGS)
You can have received faxes automatically forwarded to a fax address, Internet fax address, e-mail address, file server
address, desktop address, or network folder address. Received data can be forwarded to the specified destinations
without being printed.
Configure all forwarding settings for received faxes in setting mode (Web version). For the procedure for accessing the setting
mode (Web version), see Quick Start Guide.
The following explanation assumes that the setting mode (Web version) has been accessed with administrator rights.
Whether or not to forward data for each forwarding table can be quickly set.
In "Settings (administrator)" - [System Settings]
→
[Image Send Settings]
→
[Inbound Routing (Forwarding/Storing) Settings]
→
[Administration Settings]
→
[Inbound Routing], tap [Enable]/[Disable] for each forwarding table that appears.
• This function cannot be used for faxes received by confidential reception.
• When faxes forwarded using this function are printed at the forwarding destination, the date and time of reception cannot
be printed on the faxes. ("Receiving Date & Time Print" is disabled.)
• The received data is not forwarded to a hyperlink destination that is registered in the specified address.
• A direct SMTP address cannot be specified as a forwarding destination.
Prohibit network forwarding
In "Settings (administrator)", select [System Settings]
→
[Image Send Settings]
→
[Common Settings]
→
[Enable/Disable
Settings]
→
[Settings to Disable Transmission]
→
[Disabling of Forwarding via Network].
1
In "Settings (Web version)", click [System Settings]
→
[Image Send Settings]
→
[Inbound Routing (Forwarding/Storing) Settings]
→
[Administration Settings].
2
In "Inbound Routing", select [Enable] and click the [Submit] button.
The machine
Forward
Received Data
Содержание MX-M6570
Страница 179: ...1 176 BEFORE USING THE MACHINE PERIPHERAL DEVICES 4 Close the front cover ...
Страница 195: ...1 192 BEFORE USING THE MACHINE PERIPHERAL DEVICES 4 Close the front cover ...
Страница 199: ...1 196 BEFORE USING THE MACHINE PERIPHERAL DEVICES 4 Close the front cover ...
Страница 201: ...1 198 BEFORE USING THE MACHINE PERIPHERAL DEVICES 3 Gently push the box back in 4 Close the front cover ...
Страница 770: ...6 31 DOCUMENT FILING USING STORED FILES 4 Tap the Move key ...
Страница 935: ...2018D US1 ...


