2-81
GENERAL PROCEDURE FOR USING STAMP
To select stamp settings, follow the steps below.
1
Place the ori
g
inal.
Place the original face up in the document feeder tray, or face down on the document glass.
2
Select the special modes.
(1) Touch the [Special Modes] key.
(2) Touch the
keys to switch throu
g
h the screens.
(3) Touch the [Stamp] key.
+
Special modes menu (2nd screen)
(page 2-38)
3
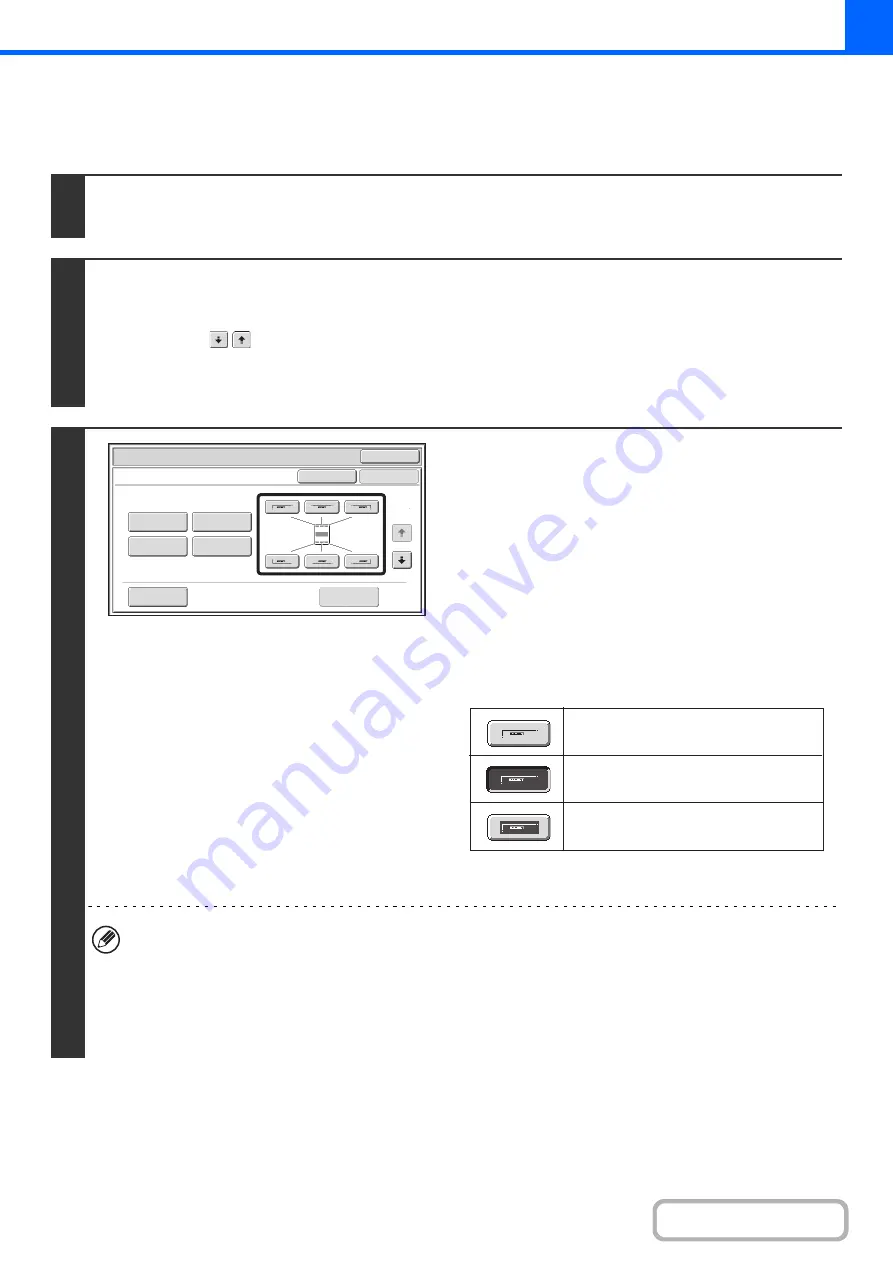
Select the print position.
Select from 6 positions: top left, top center, top right, bottom
left, bottom center, bottom right.
You can also skip this step and go directly to the next step. In
this case, the stamp items will be printed in the following
positions:
Date:
Top right
Stamp:
Top left
Pa
g
e number:
Bottom center
Text:
Top left
The position of a watermark cannot be selected. Proceed to the
next step.
Print positions
The keys that show the print positions will appear as follows
depending on the state of the settings.
The above key is the top left key. The appearance of each key
varies depending on the position of the key.
• "Date" and "Page Numbering" cannot be selected in multiple positions. If the [Date] key or [Page Numbering] key is
touched when "Date" or "Page Numbering" has already been selected for a position, a message will appear asking
you if you wish to move that item to the selected position. To move the item, touch the [Yes] key. Otherwise, press
the [No] key.
• If you attempt to set "Date", "Text", or "Page Numbering" in a position where one of these items is already set, a
message will appear. To change the previously selected item to the new item, touch the [Yes] key. To keep the
previous item, touch the [No] key.
OK
Special
Modes
Stamp
OK
Layout
Cancel
Date
Watermark
Page
Numbering
Text
Stamp
1
2
Not selected, stamp setting has not
been selected.
Selected during selection of the stamp
setting.
Not available, stamp setting has already
been allocated.
Содержание MX-M266N
Страница 6: ...Make a copy on this type of paper Envelopes and other special media Tab Paper Transparency film ...
Страница 8: ...Assemble output into a pamphlet Create a stapled pamphlet Staple output Create a blank margin ...
Страница 11: ...Conserve Print on both sides of the paper Print multiple pages on one side of the paper ...
Страница 12: ...Print without a computer Print a file in a USB memory device Print a file stored in the machine ...
Страница 34: ...Search for a file abc Search for a file using a keyword Search by checking the contents of files ...
Страница 35: ...Organize my files Delete a file Delete all files Periodically delete files Change the folder ...
Страница 259: ...3 19 PRINTER Contents 4 Click the Print button Printing begins ...
Страница 267: ...3 27 PRINTER Contents 1 Select Layout 2 Select Long edged binding or Short edged binding Macintosh 1 2 ...


