4-99
ADDING YOUR SENDER INFORMATION TO
FAXES (Own number sending)
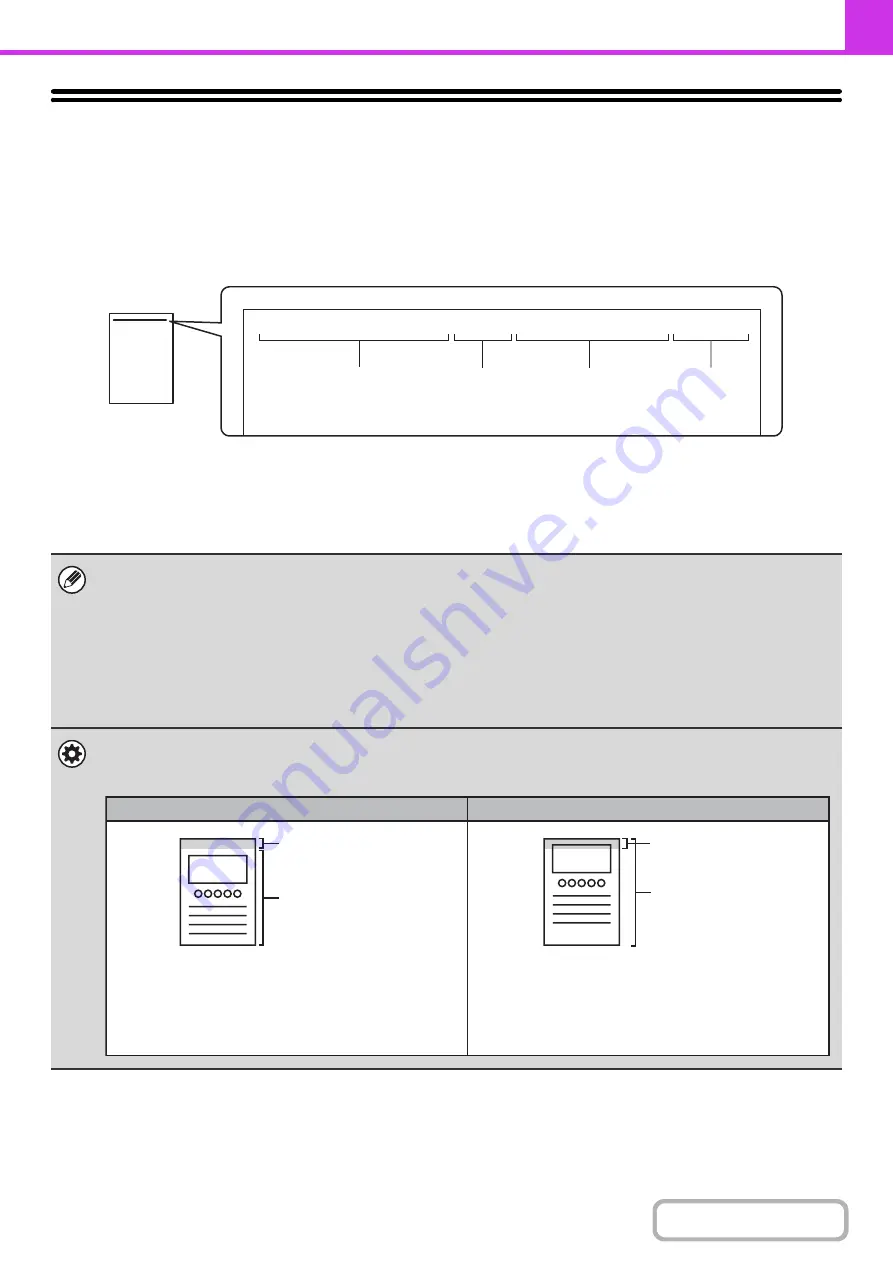
Your sender information (date, time, sender name, sender fax number, number of pages) is automatically added to the
top of each fax page you transmit.
Example of the sender information printed
(1) Date, time:
The date and time of transmission.
(2) Sender name:
The sender name programmed in the machine.
(3) Sender fax number: The sender fax number programmed in the machine.
(4) Page numbers:
Page number / total pages (the total page number is only printed
when the fax is sent by memory transmission.)
Information programmed in Own Number Sending
Date, time:
Adjust the setting in "Clock Adjust" in the system settings.
Sender name, sender fax number: Program the sender name and fax number in "Sender Data Registration" in the system
settings (administrator). If you intend to use own number sending, be sure to configure
this information.
Page numbers:
Select whether or not to include page numbers in "Printing Page Number at Receiver" in
the system settings (administrator).
Page numbers appear in the format "page number / total pages". Only the page number
is printed when manual transmission or quick online transmission is used.
System Settings (Administrator): Date/Own Number Print Position Setting
This is used to set the position where the sender information is printed. The sender information can be printed outside the
scanned original image or inside the scanned original image.
04/APR/2013/Thu 3:00 PM AAAAA FAX No. 0123456789 P.001/001
(1)
(2)
(3)
(4)
Sender
information
Sender
information
Originals
Originals
Outside scanned image (factory default setting)
Inside scanned image
The transmitted image length will be: length of sender
infor length of original image. When the fax is
printed by the receiving machine, it may be reduced or
divided onto two pages.
The sender information is printed inside the original
image, and thus the transmitted image length is the
length of the original. Note that the sender information
will overlap part of the original image (the overlapped
part of the original image will not appear).
Содержание MX-2314N
Страница 11: ...Conserve Print on both sides of the paper Print multiple pages on one side of the paper ...
Страница 34: ...Search for a file abc Search for a file using a keyword Search by checking the contents of files ...
Страница 35: ...Organize my files Delete a file Delete all files Periodically delete files Change the folder ...
Страница 284: ...3 19 PRINTER Contents 4 Click the Print button Printing begins ...
Страница 293: ...3 28 PRINTER Contents 1 Select Layout 2 Select Long edged binding or Short edged binding Macintosh 1 2 ...
Страница 836: ...MX2314 GB ZZ Operation Guide MX 2314N MX 2614N MX 3114N MODEL ...


